Bodhi Linux is a new Linux distribution, based on Ubuntu Linux – which in turn is based on Debian – that aims to be lightweight and free.
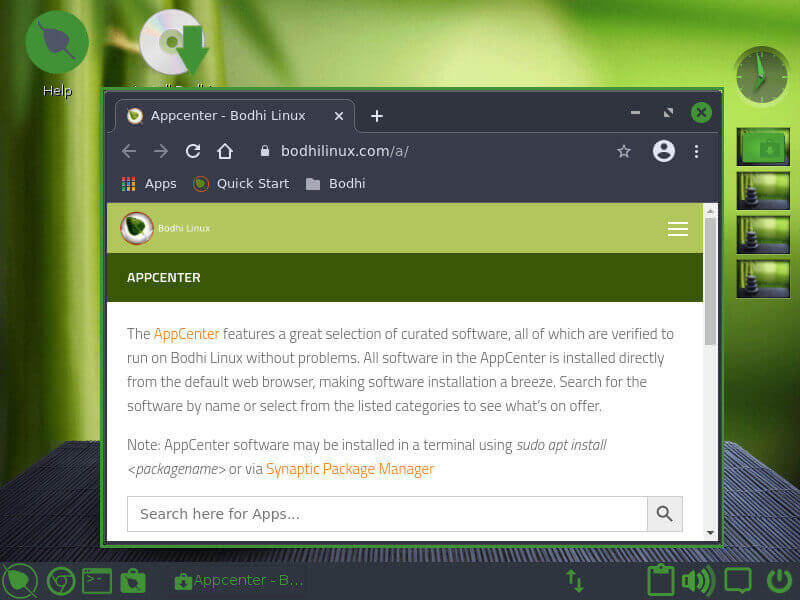
As an Ubuntu-based system, we have the advantage of apt, synaptic, and Bodhi’s designated AppCenter as options for the plethora of applications we can utilize under Bodhi.
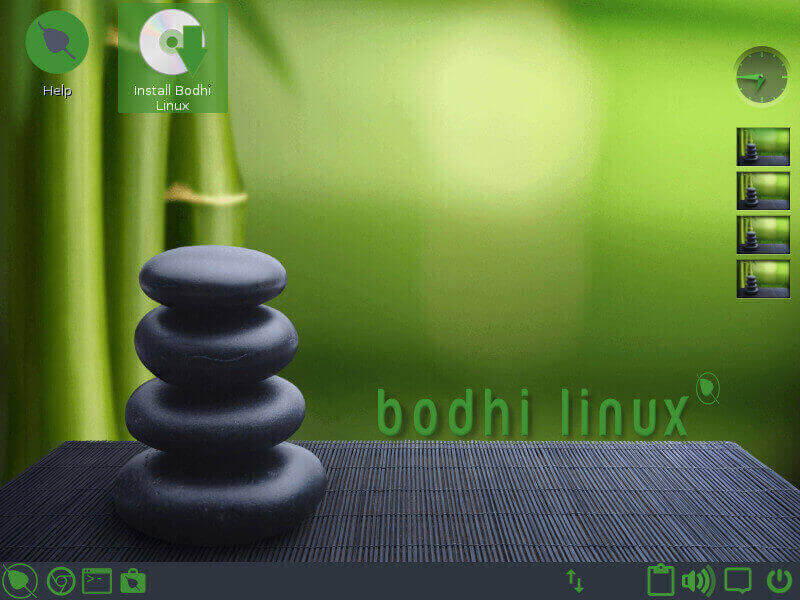
As a fully-featured and lightweight distribution, Bodhi is bundled with an in-house desktop environment called Moksha Desktop with an intentionally minimalistic approach.
This is such that the desktop is oriented towards the population later on as opposed to being overwhelming by default. Overwhelming in this case can be considered the default desktop experience across the board where you generally have icons sitting on your desktop.
Installation and Review of Bodhi Linux
To install Bodhi Linux, go to the official page of Bodhi Linux and download the Bodhi Linux for your system architecture and follow the instructions as explained below.
Configure Your BIOS
As a general rule, you will need to preconfigure your system BIOS or UEFI settings to facilitate the boot from the USB sequence. Depending on the system you own, you may just need to change the boot sequence. Others may require you to turn off secure boot and so on.
Your best chance is to Google the specific key combination that will enable you to access your UEFI and BIOS settings.
Burn Your USB
Once you’ve satisfied the need for a completely prepped BIOS/UEFI, now is time for the fun part. Grab any of the options of USB installers and install it onto your system. This will enable you to continue the installation process on the new system.
An important note is to make sure you backup your critical files before proceeding. If you’re on windows, refer to the related material by Googling the keywords.
Installing Bodhi Linux
Once you’ve booted from the USB drive, you’ll be presented with the install prompts. Use the relatively fluid graphical user interface to follow through with the options necessary to get your system ready for prime time.

Testing Bodhi Linux
In my test of the operating system, I can attest that the green accent quickly grew on me. Should you be inclined to feel like Hulk after using the Moksha desktop default theme, you’ll not be blamed. Another superhero movie that comes to mind is Green Lantern.
Enough trip down memory lane. Now it’s time to delve into some usability components. The desktop of Bodhi Linux bodes well with the majority of the Linux community due to the subtle Xfce look alike. It, however, reconciles this visual similarity by being based on an entirely different desktop environment called Enlightenment.

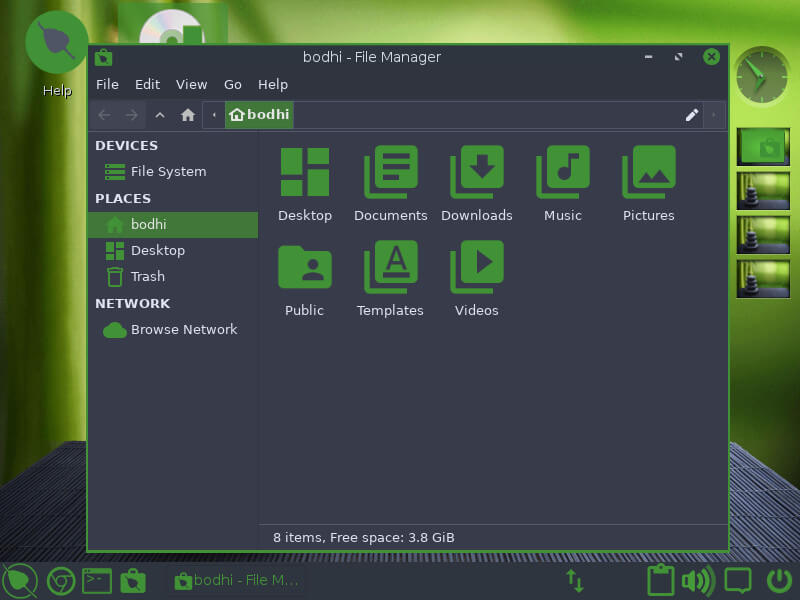
Bodhi bundles the Chromium web browser by default, together with the Thunar file manager, weather applet, animated desktop wallpaper, and a plethora of packages depending on the variant you go with.

The Bodhi Linux options include 64bit images by default namely: Standard, HWE, and AppPack with a 32bit legacy option.
Bodhi Linux Applications
If you’re keen on trying out a lot of applications, then you’ll be inclined to download the AppPack version of the operating system which has the added privilege of bundling the majority of the apps you may luster over without needing to download and do any post configuration after install.

WIth bundled applications in the range of Terminology, Chromium, Leafpad, ePhoto, Thunar, Synaptic, Gnome language selector, aRandr, Pavucontrol Pulseaudio Control, Bodhi Linux drastically expands your options as it leverages its minimalistic approach to the customization of your desktop environment.
Takeaway
Bodhi Linux is easily one of the more decent distro options which are just about what it takes to win over enthusiasts and newbies alike. The primary reason is its simplified approach to desktop environments.
A trick up its sleeve is a repository for theme options for your Moksha desktop environment. What are your thoughts? Let us know.
