FreeBSD is a free Unix-like operating system developed by the Berkeley Software Distribution. It is available for all major platforms, including x86_64, IA-32, PowerPC, ARM, etc., and primarily emphasizes features, speed, and performance stability.
FreeBSD is utilized by many top-level IT companies such as Juniper Networks, NetApp, Nokia, IBM, etc. It is available for server platforms with a command-line interface only, but users can also install any Linux desktop environment such as Xfce, KDE, GNOME, etc., to create a more user-friendly distribution.
My Environment Setup
IP Address	:	192.168.0.142
Hostname	:	freebsd.tecmintlocal.com
Hard Disk	:	16GB
Memory		:	2GB
This article will guide you through brief instructions on installing FreeBSD 14.0 and configuring network interfaces (setting static IP addresses) using a text-based installation utility named bsdinstall under i386 and AMD64 architectures.
Installation of FreeBSD 14.0
1. First go to the official FreeBSD site, and download the FreeBSD installer for your architecture, the installer comes in a variety of different formats including CD, DVD, Network Install, USB images, as well as Virtual Machine images.
2. After downloading the FreeBSD installer image, burn it to the media (CD/DVD or USB), and boot the system with inserted media. After the system boots with the installation media, the following menu will be displayed.
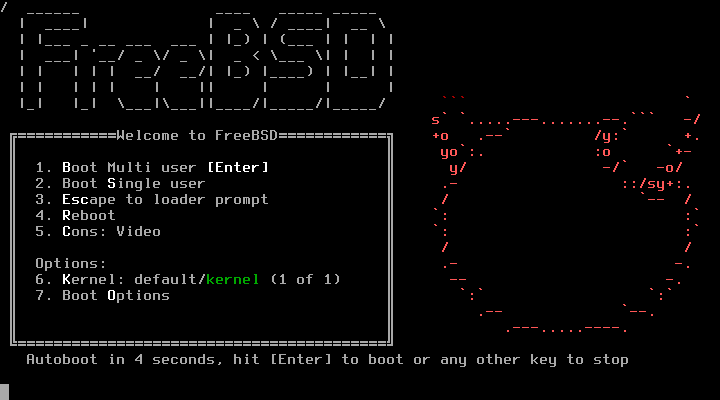
3. By default, the menu will wait for 10 seconds for user input before it boots into the FreeBSD installer or we can press the ‘Backspace‘ key to continue the installation, and then press the ‘Enter‘ key to boot into FreeBSD.
Once the boot is complete, a welcome menu is displayed with the following options.
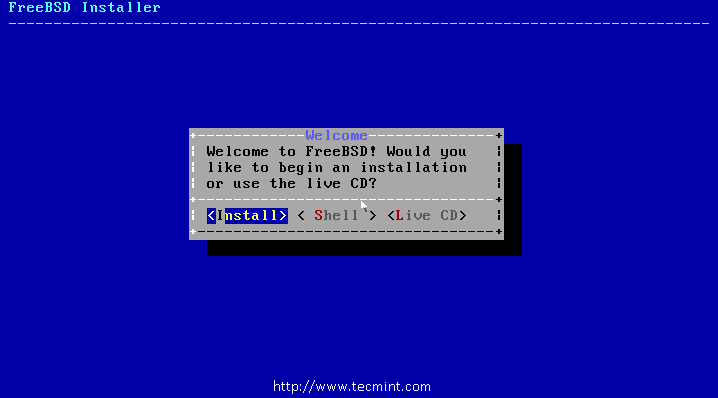
Press Enter to choose the default option ‘Install‘, or you can choose ‘Shell‘ to access command-line programs to prepare the disks before installation or select the ‘Live CD‘ option to try out FreeBSD before installing it. But, here we going to use the default option ‘Install‘ as we are installing FreeBSD.
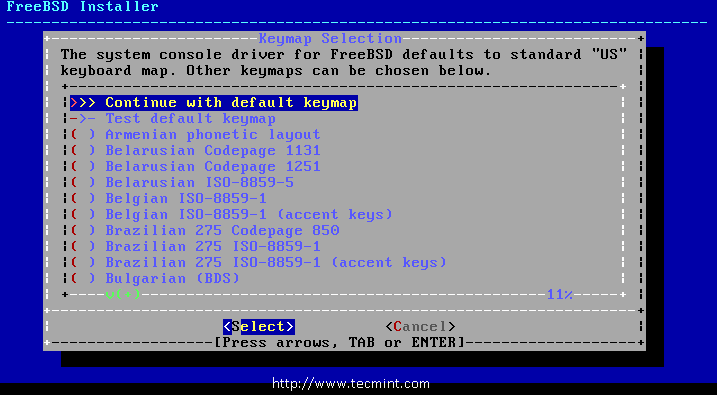
4. Next, a list of keymaps is shown, with the default selection of Keymap, just choose the default option to continue with the keymap setup.
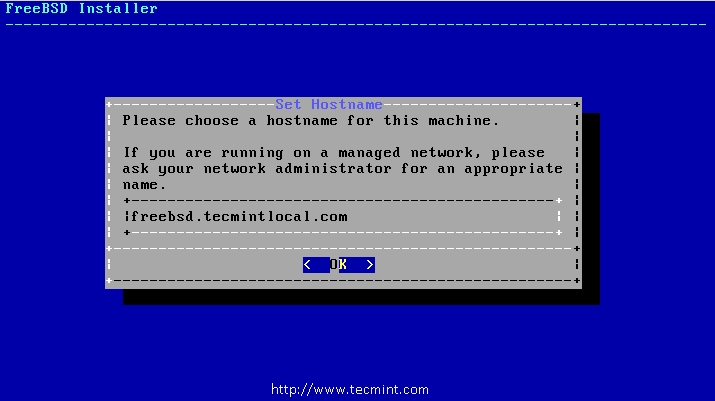
5. Next, give a hostname for our system, I have used freebsd.tecmintlocal.com as my hostname.
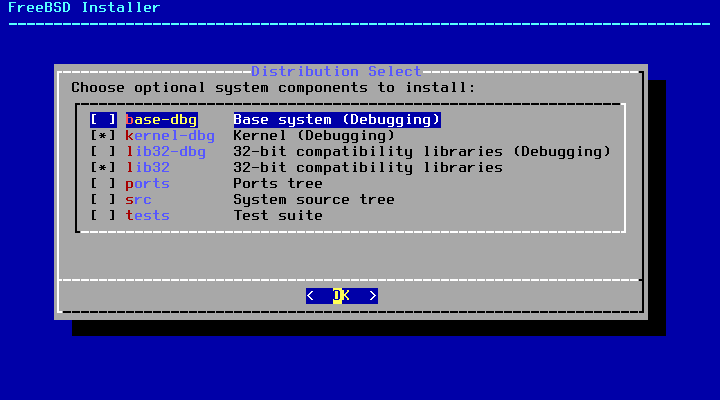
6. Choose the components to install for FreeBSD, by default every option is preselected.
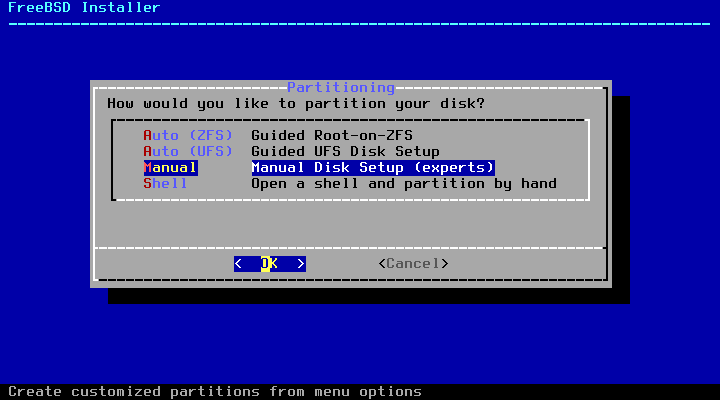
7. In this step, we need to partition the Disk for our installation. Here you will have four options:
- Auto (ZFS) – This option automatically creates an encrypted root-on-ZFS system using the ZFS file system with support for boot environments.
- Auto (UFS) – This option automatically creates disk partitions using the ZFS file system.
- Manual – This option enables advanced users to create customized partitions from menu options.
- Shell – This option allows users to create customized partitions using command-line tools such as fdisk, gpart, etc.
But, here we going to choose the ‘Manual‘ option to create partitions as per our needs.
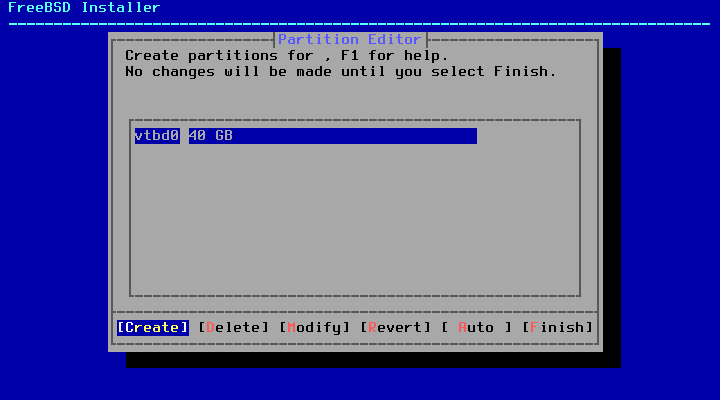
8. After selecting ‘Manual Partitioning‘, a partition editor opens with highlighted drive ‘vtbd0‘ and chooses to Create for Creating a valid partition scheme.
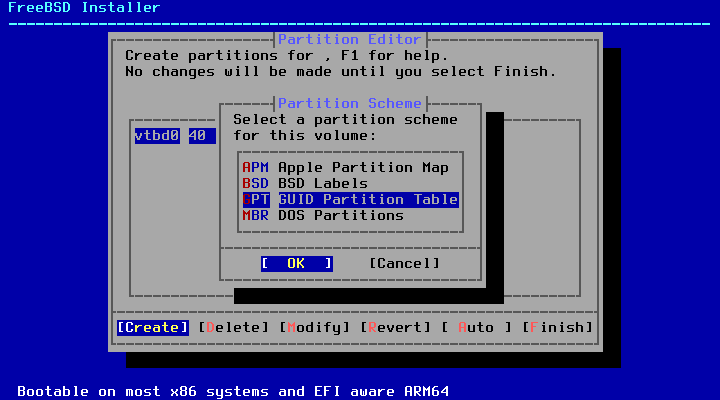
9. Next, choose GPT to create a Partition table. GPT is usually the most selected method for amd64 computers. Older computers, which are not compatible with GPT should use MBR.
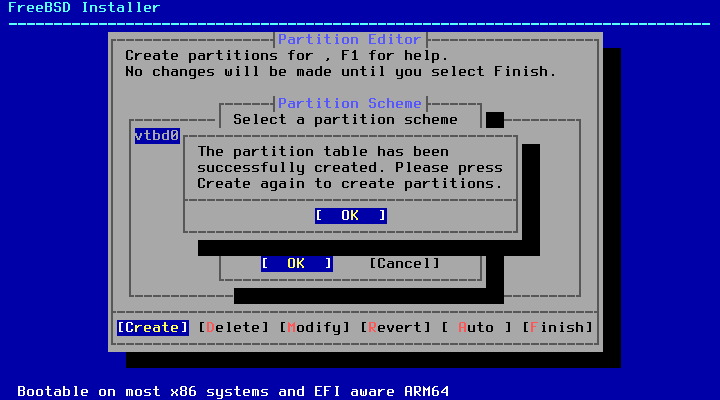
10. After creating the Partition table, now you can see that our Disk was changed to a GPT partition table, Choose ‘Create‘ to define the partitions.
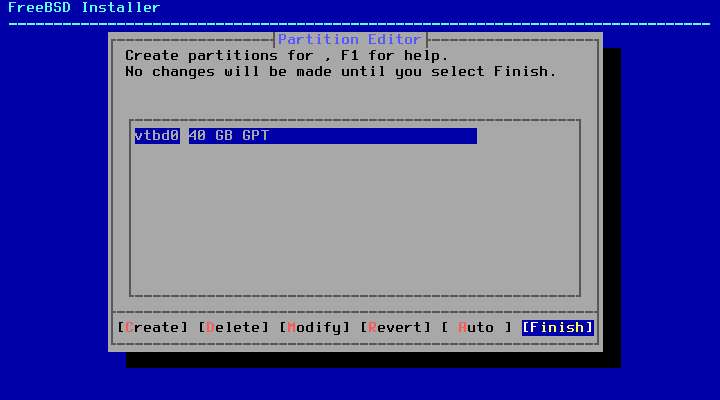
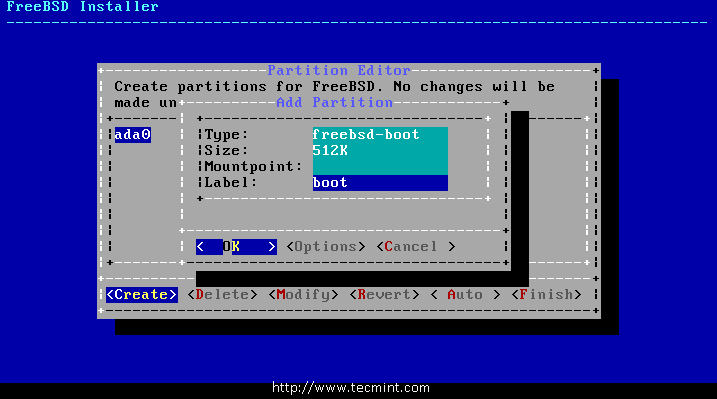
11. Now, here we need to define three Partitions for /boot, Swap, /. I’m going to define my partition size as follows.
- /boot – 512 MB in Size
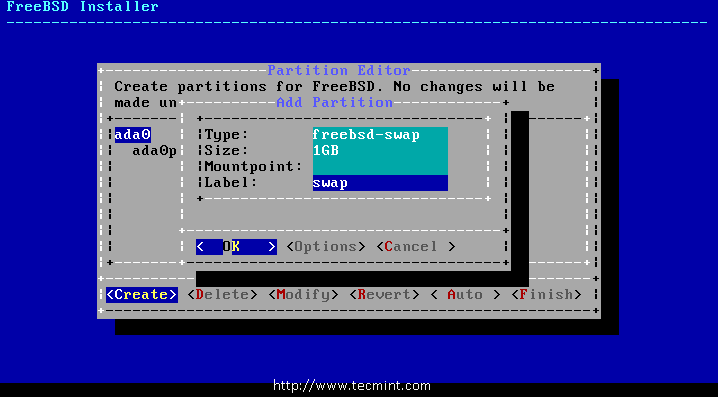
- Swap 1GB in Size
- / 15GB in Size
Choose ‘Create‘ and define the partitions one by one, at first boot ‘Type‘ needs to be ‘freebsd-boot‘ and size here I have used 512K and press OK to create the next Partition Swap.
Choose ‘Create‘ and define the swap partition for 1 GB and Press OK.
Then again Choose ‘Create‘ and define / partition. Now use the remaining size for / partition. Use Type as freebsd-ufs and mount point as /.
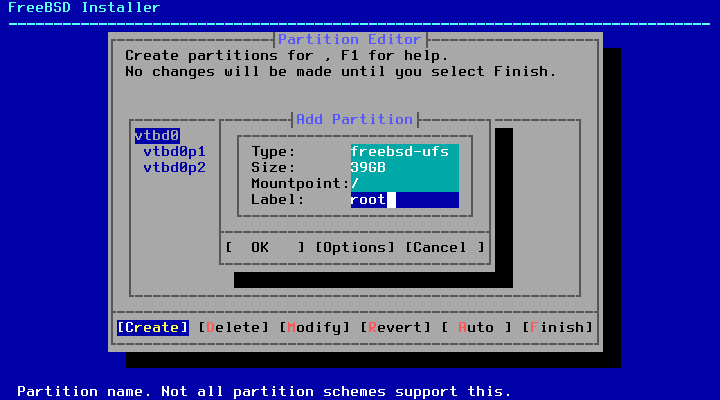
12. After creating all partitions we will get the below layout. Choose ‘Finish‘ to move forward to the next step for installation.
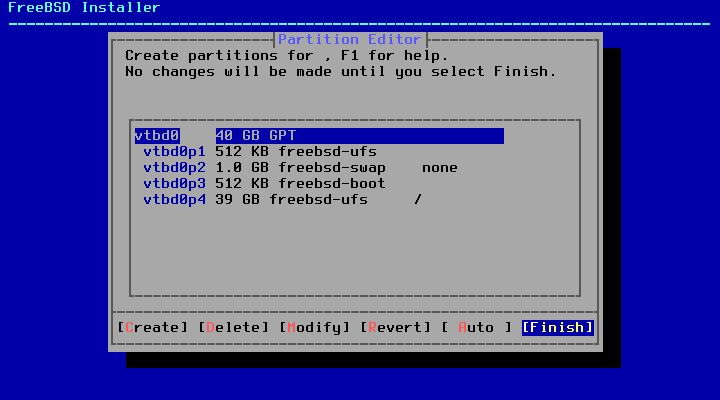
13. Once the disks are created, the next window provides the last chance to edit changes before the selected disk(s) are formatted. If you wish to make a change, select [ Back ] to go back to the main partitioning menu or select [ Revert & Exit ] to exit the installer without modifying any changes to the disk. But, here we need to select ‘Commit‘ to start the installation and press ‘Enter‘.
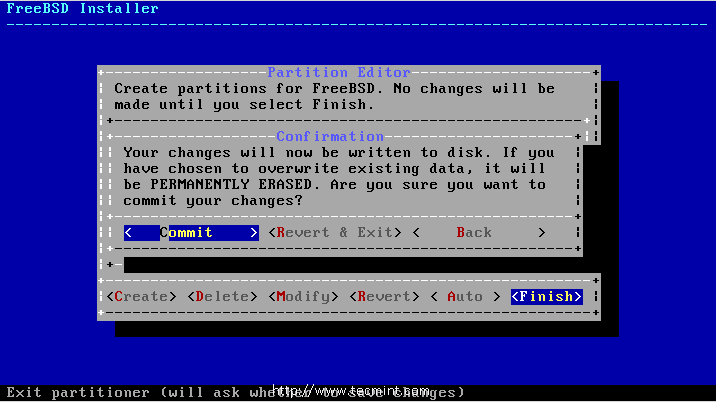
14. Once the installer formats all selected disks, then it initializes the partitions to download and verify all the selected components, and then downloaded components are extracted to the disk..as shown in the picture below.
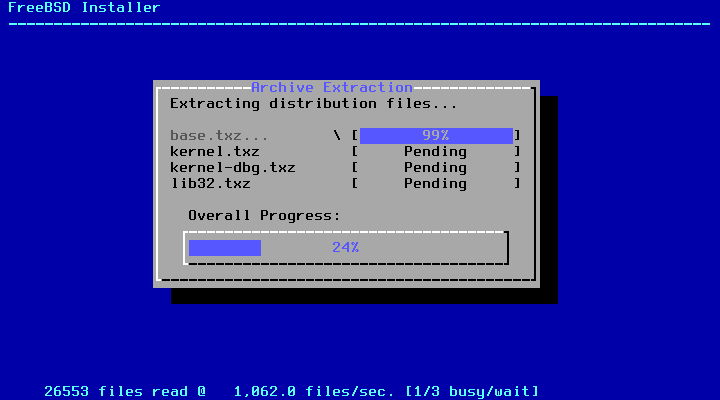
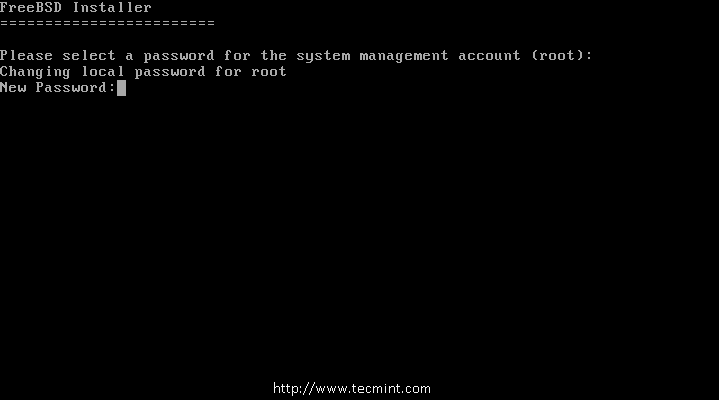
15. Once all requested distribution packages have been extracted to the disk, the next window displays the first post-installation configuration screen. Here, first, you need to set the ‘root‘ password for our FreeBSD server.
Configuring Network Interface on FreeBSD
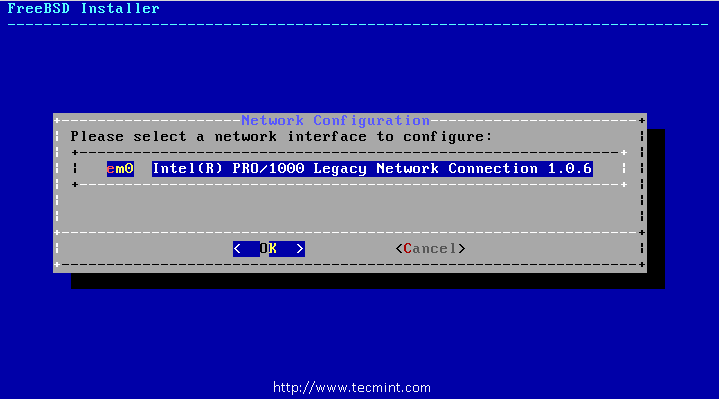
16. Next, a list of available network interfaces is displayed on the screen, select the interface to configure. Here I have only one network adapter. If you have multiple network adapters choose the adapter that you need to use.
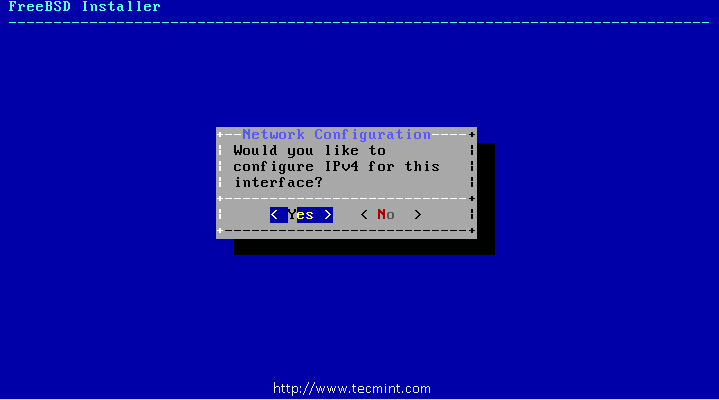
17. Next, select whether or not an IPv4 address should be defined on the selected Ethernet interface. Here we’ve 2 options to configure the network interface, one is using DHCP which will automatically assign an IP address to our network interface, second is to define IP address manually. But, here we are assigning a static IP address to the computer as shown below.
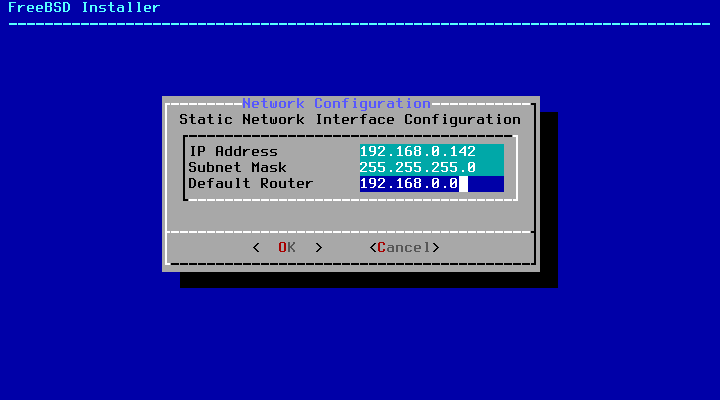
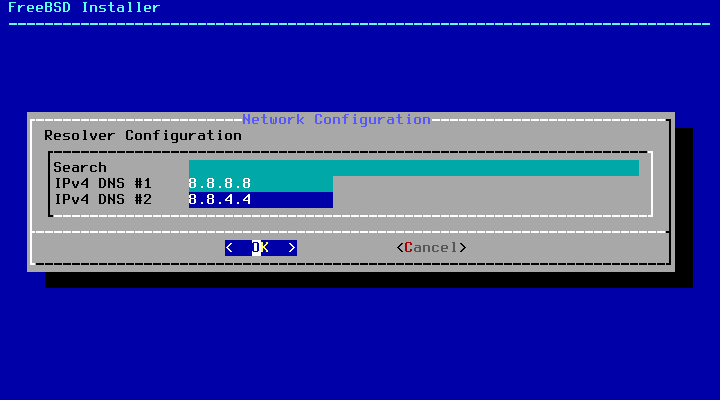
18. Next, enter a valid DNS server IP in IPv4 DNS #1 and #2 and Press OK to continue.
19. The next option prompts you to check the system clock uses UTC or local time, if you have doubt, just select ‘No‘ to select the more commonly used local time.

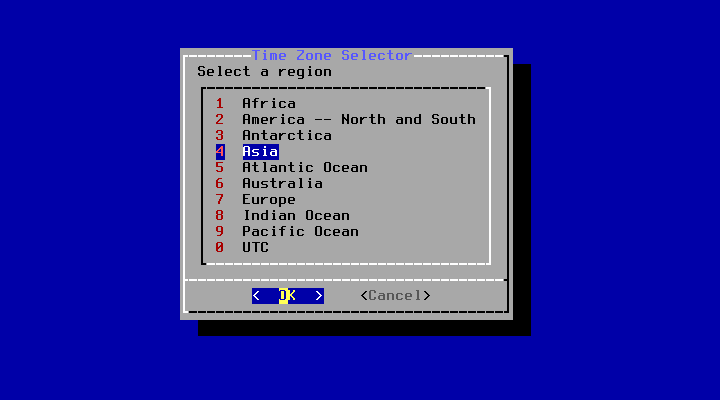
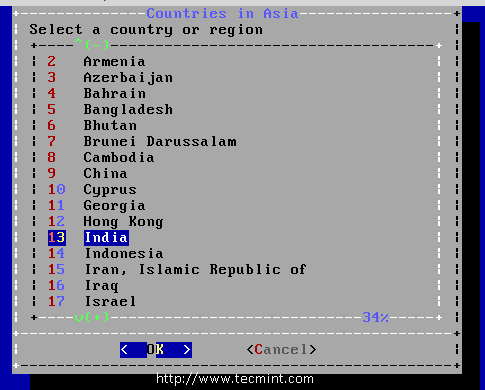
20. The next windows ask you to set the correct local time and time zone.
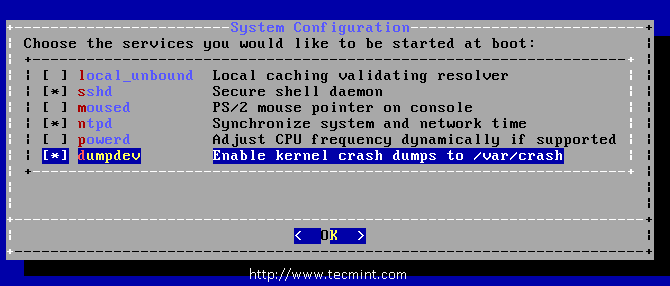
21. Next, select the services that you want to start at system boots.
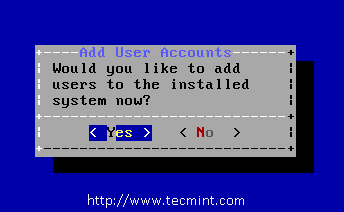
22. The next option, asks you to create at least one user account to login into the system as a non-root account to keep the system more safe and secure. Select [ Yes ] to add new users.
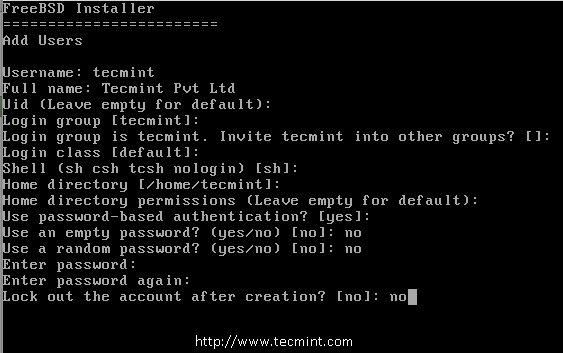
Follow the prompts and enter the requested information for the user account (for example user ‘tecmint‘) as shown in the picture below.
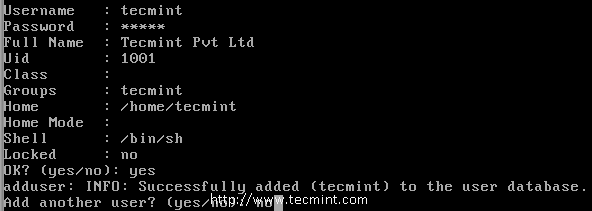
After entering the user information above, a summary is shown for review. If any mistake was made during user creation, enter no and try again. If everything is entered correctly, enter yes to create the new user.
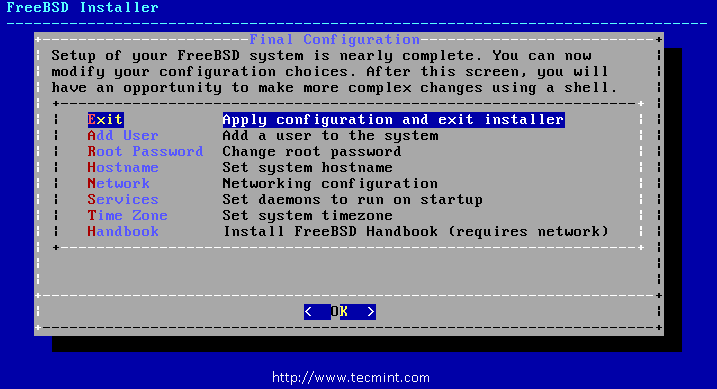
23. After configuring everything above, a final chance is given to modify or change settings. After any final configuration is complete, select Exit.
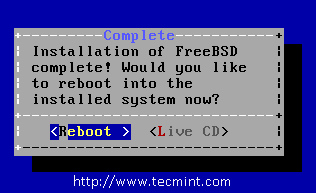
24. After installation is completed, select ‘Reboot‘ reboot the system, and start using your new FreeBSD system.
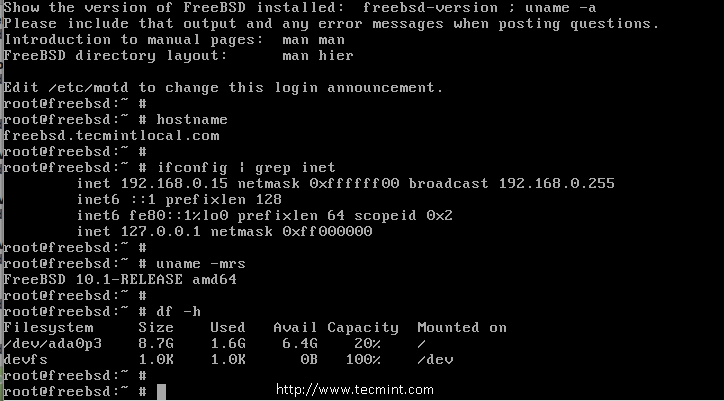
25. After the reboot completes we will get the Terminal to log in for an account, By default, we will have root and tecmint which we have created during installation. Login to the root account and check for system information such as IP Address, host name, file system disk space, and release version.
# hostname
# ifconfig | grep inet
# uname -mrs // To get the Installed FreeBSD release version.
# df -h // Disk space check.
Conclusion
In this article we have seen, how we’ve installed and configured FreeBSD, in my next upcoming article, we will see how to install and configure packages in FreeBSD. If you’ve any queries about installation, feel free to drop your valuable comments below.

which tool you are using for burning image to usb …please i really need that tools ..thanks
@Zubair,
Use Unetbootin Tool to burn the image to USB..
Apologies for the email address with my previous post (the submitted email address had a typo).
This is a brilliant guide and maps to the letter my experience of installing the package on my own PC (before I read this article). The problem is now I have to wait for your upcoming article, to see how to install and configure packages on my new FreeBSD system. Without this the system is useless as a home desktop operating system.
Can you able to use the package manager please navigate to the menu you can find the package manager.
I now this is a noob question but, i have Windows 8 installed will this unnistal it?
Install in a separate partition will not wipe the existing OS