Nginx is a very popular high-performance web server that combines the power of reverse proxying, load balancing, caching and so much more. Depending on how it is configured, it can act as a reverse proxy as well as a load balancer for HTTP/HTTPS servers.
Nginx web server has a phenomenal capability in serving thousands of concurrent connections and this makes it the fastest web server, powering over half of the busiest sites on the globe. These include Netflix, DuckDuckGo, and DropBox to mention just a few.
In this tutorial, we will walk you through the steps on how to install Nginx with virtual hosts to host multiple domains on a Debian 12 server.
Prerequisites
Before we get started, ensure the following requirements are met:
- An instance of the Debian 12 server.
- A Fully Qualified Domain Name (FQDN) pointing to the server.
- In this guide, we use the domain
tecmint.compointing to a Debian 12 system with an IP address 192.168.122.27. - A good internet connection.
Step 1: Update the Debian 12 Package Repository
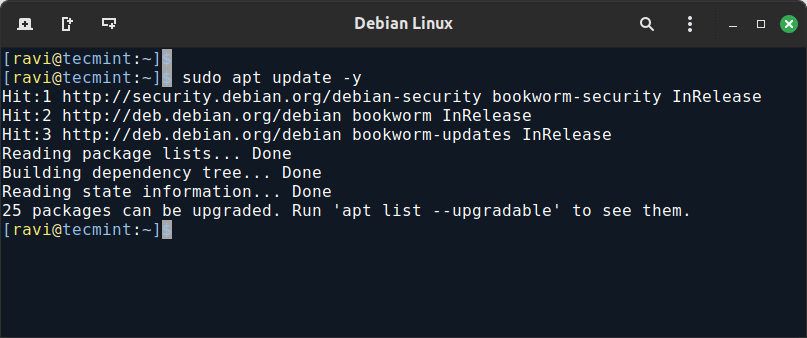
Before anything else, we need to update our local package repository to the latest versions. To achieve this, log in as a regular user with sudo privileges and run the command below.
sudo apt update -y
Step 2: Install Nginx on Debian 12
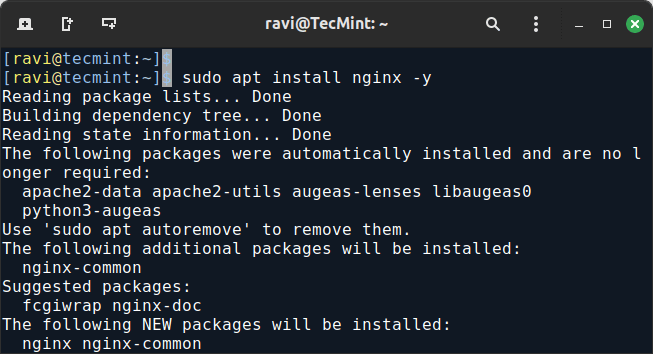
Since Nginx is present in Debian’s repositories, we can comfortably go ahead and install it using the apt package manager that comes with Debian.
sudo apt install nginx -y
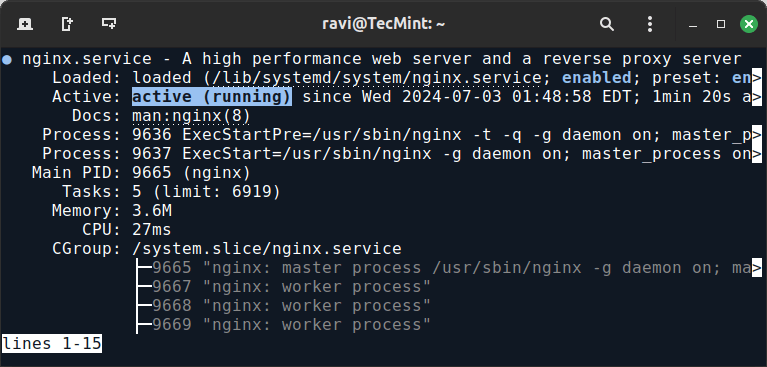
If you encountered no errors, then the Nginx web server was successfully installed. It’s prudent to verify the status of the web server before making further configurations.
To check the status of Nginx, execute:
sudo systemctl status nginx
If the web server is up and running, you’ll get the notification below.
If you wish to restart the Nginx web server, run the command.
sudo systemctl restart nginx
To stop Nginx, issue the command.
sudo systemctl stop nginx
To start the web server, run.
sudo systemctl start nginx
To configure the Nginx web server to start on boot run.
sudo systemctl enable nginx
Step 3: Configure the Firewall to Open Nginx Port
With Nginx successfully installed and running, we need to allow web access to the service, especially to external users. If you have UFW firewall enabled, you need to allow HTTP and HTTPS access through the firewall.
To achieve this, execute the command.
sudo ufw allow 'Nginx HTTP'
Next, reload the firewall to effect the changes.
sudo ufw reload
Great, now you can verify that HTTP is allowed through the firewall by running.
sudo ufw status
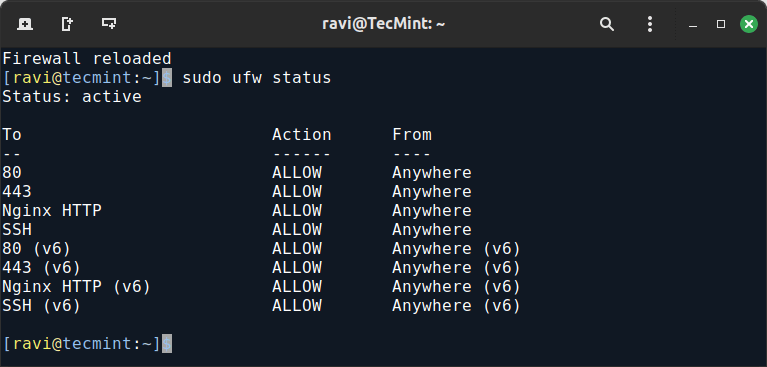
From the snippet above, we can clearly see that Nginx HTTP has been allowed through the UFW firewall.
Step 4: Accessing Nginx Web Server
We have so far made the basic configurations to get Nginx up and running. To access the web server via the web browser, browse the server’s IP address as shown.
http://server-IP-address
OR
http://server-domain-name
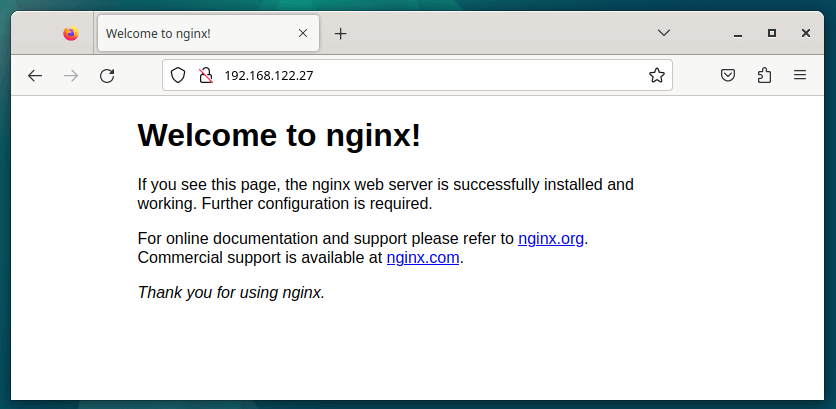
This is a confirmation that Nginx is up and running.
Step 5: Configuring Nginx Server Blocks on Debian 12
This is an optional step and is useful when you want to host multiple domains on a Nginx web server. For this to work, you need to have a domain name pointed to your Debian server.
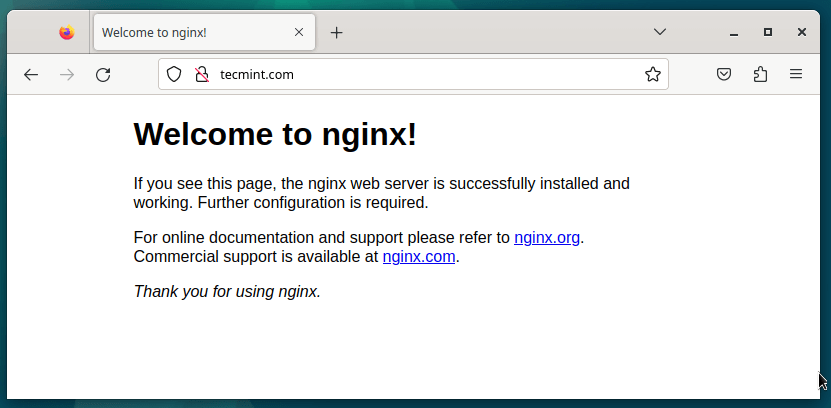
For this section, we shall use the domain name tecmint.com who’s A record is pointed to the server’s IP 192.168.122.27.
When you point the domain name to your server’s IP address, the domain name will soon change and point to your web server as shown.
Let’s now create a server block.
Firstly, let’s create a directory for our domain as shown.
sudo mkdir -p /var/www/html/tecmint.com
Then assign the required file ownership as shown.
sudo chown -R $USER:$USER /var/www/html/tecmint.com
Next, assign read and execute permissions to the group and the public users as shown.
sudo chmod -R 755 /var/www/html/tecmint.com
Let’s now create a simple index.html sample webpage using vim text editor.
sudo vim /var/www/html/tecmint.com/index.html
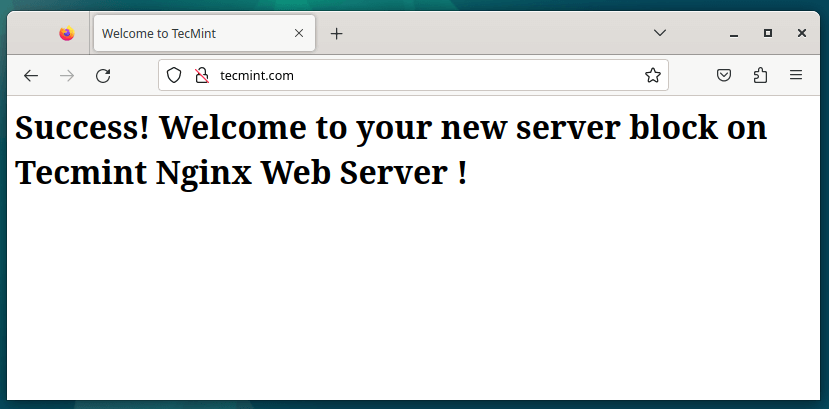
Add some sample content to the file. This will be displayed on the browser.
<html>
    <head>
        <title>Welcome to TecMint</title>
    </head>
    <body>
        <h1>Success! Welcome to your new server block on Tecmint Nginx Web Server !</h1>
    </body>
</html>
Save and exit the editor
For this content to be served, a server block needs to be created.
Let’s create a server block
sudo vim /etc/nginx/sites-available/tecmint.com
Copy and paste the following content into the server block file.
server {
        listen 80;
        listen [::]:80;

        root /var/www/html/tecmint.com;
        index index.html index.htm index.nginx-debian.html;

        server_name tecmint.com www.tecmint.com;

        location / {
                try_files $uri $uri/ =404;
        }
}
Be sure to update the domain name tecmint.com with your own domain name.
To activate or enable the server block file, create a symbolic link as shown.
sudo ln -s /etc/nginx/sites-available/tecmint.com /etc/nginx/sites-enabled/
To verify that all settings in Nginx are properly configured, run.
sudo nginx -t
Great, we are good to go! Finally, restart Nginx.
sudo systemctl restart nginx
Head out to your browser and refresh and if all went well, the browser should be serving your server block web page as shown.
Step 6: Enabling HTTPS/SSL with Let’s Encrypt on Nginx
To enable HTTPS on Nginx, you need to install a Certbot tool that automatically downloads a free SSL certificate for a domain from Let’s Encrypt.
sudo apt install certbot python3-certbot-nginx -y
Run Certbot to obtain the certificate and automatically configure Nginx to use it.
sudo certbot --nginx -d tecmint.com -d www.tecmint.com

Certbot should automatically configure your virtual host to use SSL for your domain.

Open a web browser and navigate to your domain, you should see the sample page you created earlier, and the connection should be secure with HTTPS.
Step 7: Automatically Renew SSL Certificate for Nginx
Let’s Encrypt certificates are valid for 90 days, so it’s important to set up automatic renewal via cron job.
sudo crontab -e
Add the following line to the crontab.
0 0 * * 0 /usr/bin/certbot renew --quiet
This will automatically renew the SSL certificate every week, ensuring it’s renewed well before the 90-day expiration.
Conclusion
In this guide, you learned how to install Nginx on your Debian 12 instance and configure it further to support additional domains. We hope you found this guide insightful. Your feedback will be appreciated.


Great article between, good job man but why use
vimto view the logs?