openSUSE Tumbleweed is a rolling release version of the openSUSE project, which ships with the latest stable applications including everyday-to-use office applications, Linux kernel, Git, Samba, and many more. It is an ideal distribution for enthusiasts and developers who are developing the latest application stacks.
For new users to openSUSE, openSUSE Leap is a better fit since the software provided is thoroughly tested. It also uses binaries and sources from SUSE Enterprise Linux which results in a stable system, unlike Tumbleweed which is a rolling release distribution.
Requirements
Just before you get started out, ensure that your system meets the following requirements:
- Pentium 4 2.4 GHz or higher or any AMD64 or Intel64 processor recommended).
- Minimum 2 GB RAM
- Minimum 15 GB of hard disk space (At least 20GB Recommended).
- 16 GB USB flash drive for creating a bootable medium.
In this guide, we will demonstrate how to install openSUSE Tumbleweed.
Step 1: Download openSUSE Tumbleweed ISO
The initial step in the installation of openSUSE TumbleWeed is to download the ISO image. Therefore, visit the Official openSUSE Download Page and download the ISO image that corresponds to your system’s architecture.
Step 2: Create an openSUSE Bootable USB Drive
With the ISO in place, grab your USB drive and make it bootable. There are a couple of applications that you can use to make your USB drive bootable including Balena Etcher, Ventoy, and Rufus. Check out our guide on the top 10 USB creation tools.
If you are installing on VirtualBox or VMware, you create a Virtual machine first and then mount the ISO image.
Next, plug in the bootable USB medium and reboot the PC. Ensure to modify the BIOS settings in order to boot from the USB drive first.
Step 3: Begin openSUSE Tumbleweed Installation
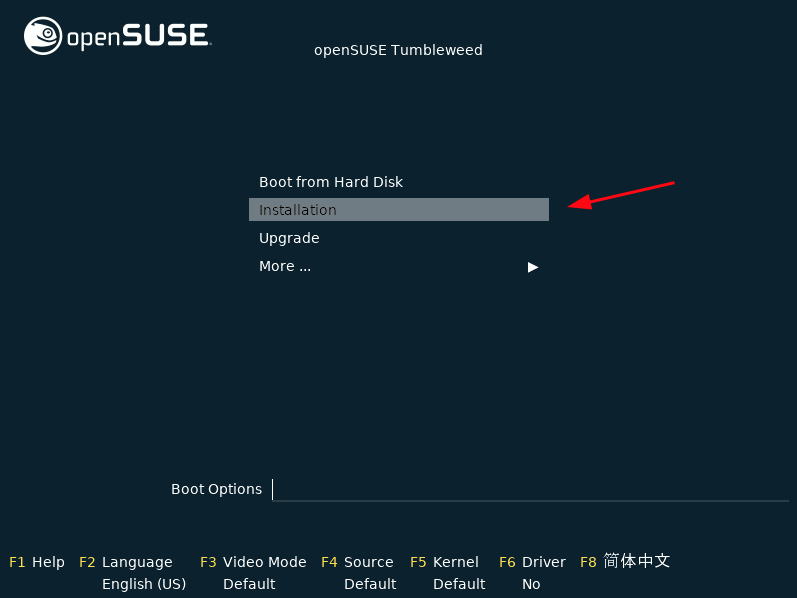
Once the system has rebooted, you will get the screen shown below. Using the arrow down key, select the ‘Installation’ option and press ENTER.
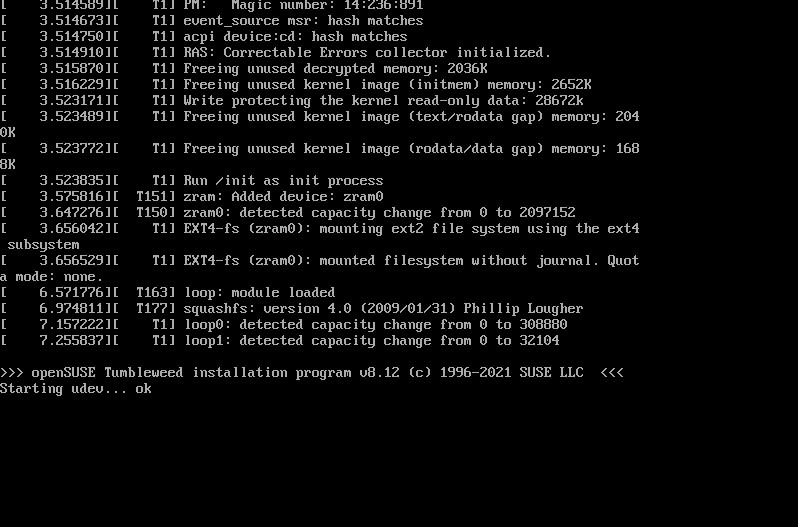
You will see a bunch of boot messages splashed on the screen.
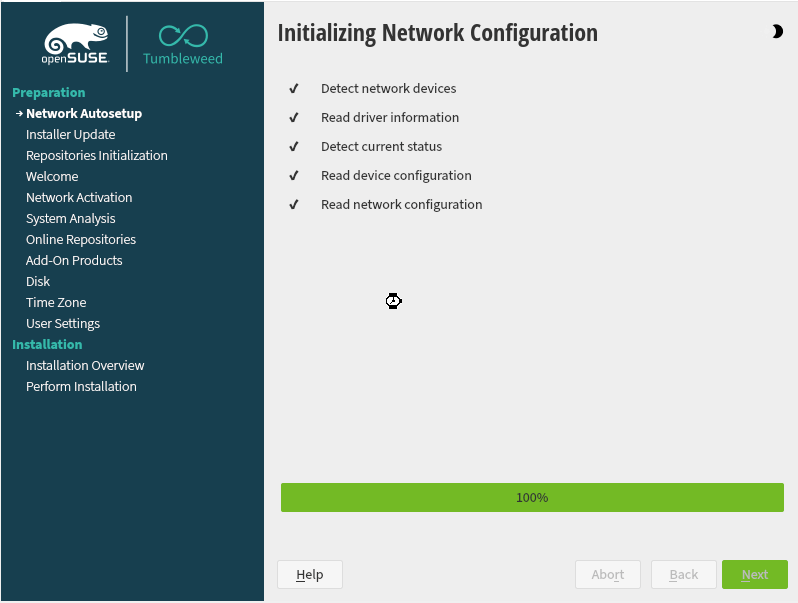
Next, the installation wizard will initialize the network configuration. This includes detecting network devices and reading network configuration. This configures the system to use DHCP configuration.
Once complete, click on ‘Next’ to proceed to the next step.
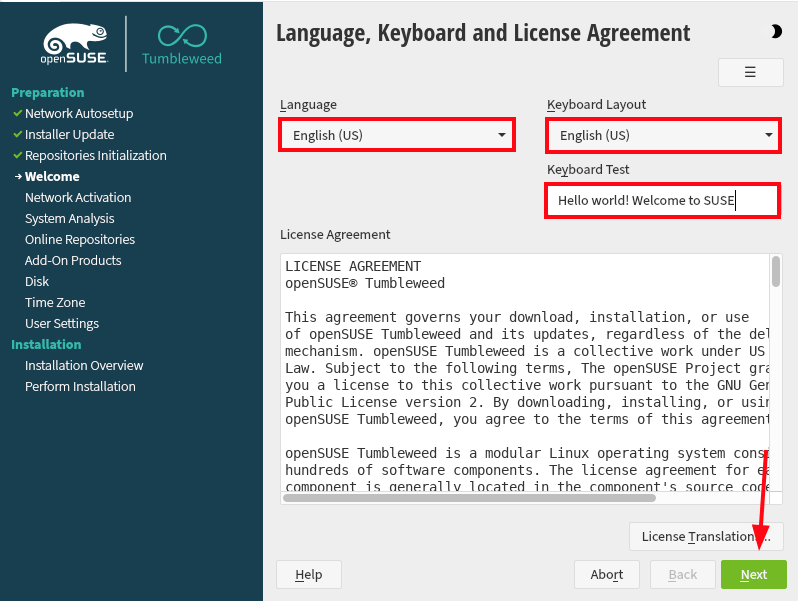
In the next step, be sure to configure the preferred language, keyboard, and accept the license agreement and then click ‘Next’.
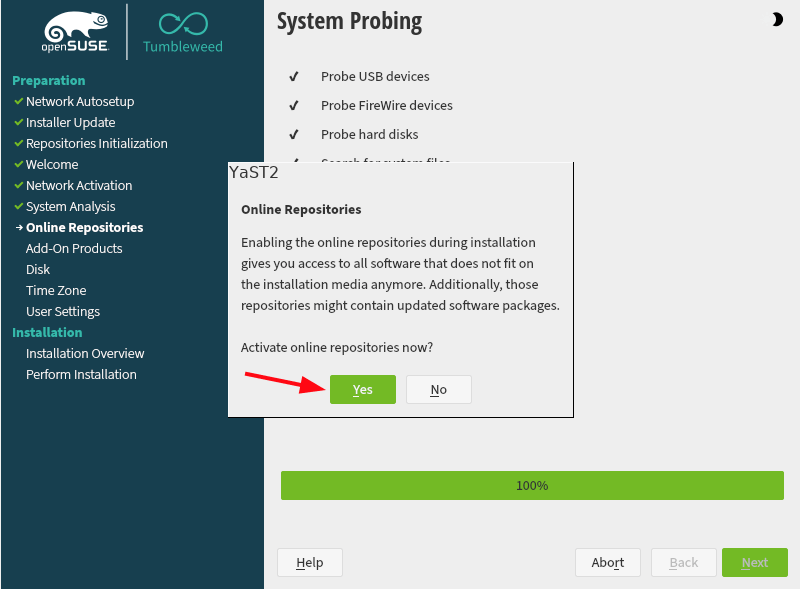
In the next step, the installer will probe all the system hardware devices. Additionally, you will be given the option to enable online repositories during installation. These repositories contain updated software packages and grant you access to additional packages.
So, enable the online repositories by clicking ‘Yes’.
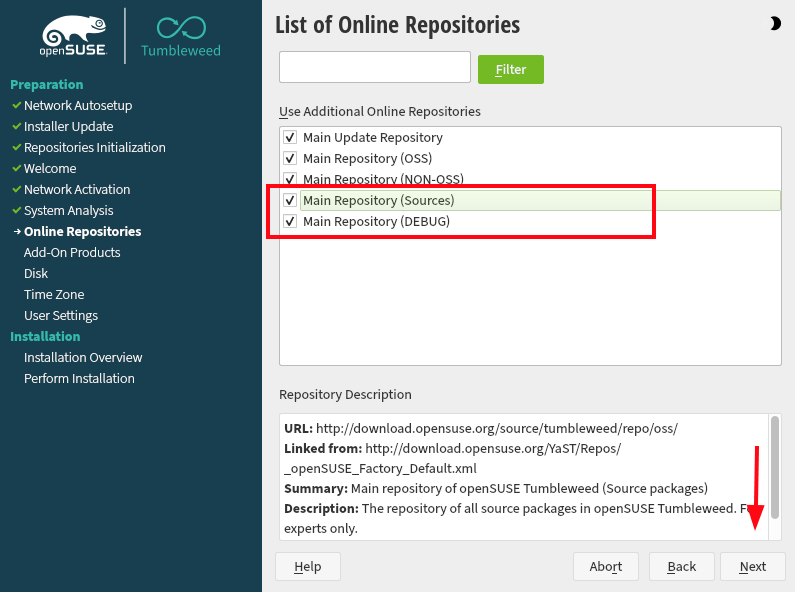
Next, a list of repositories will be displayed. By default, the first three are selected. In this example, we have opted to select all the repositories. Once you have selected your preferred repositories, click ‘Next’.
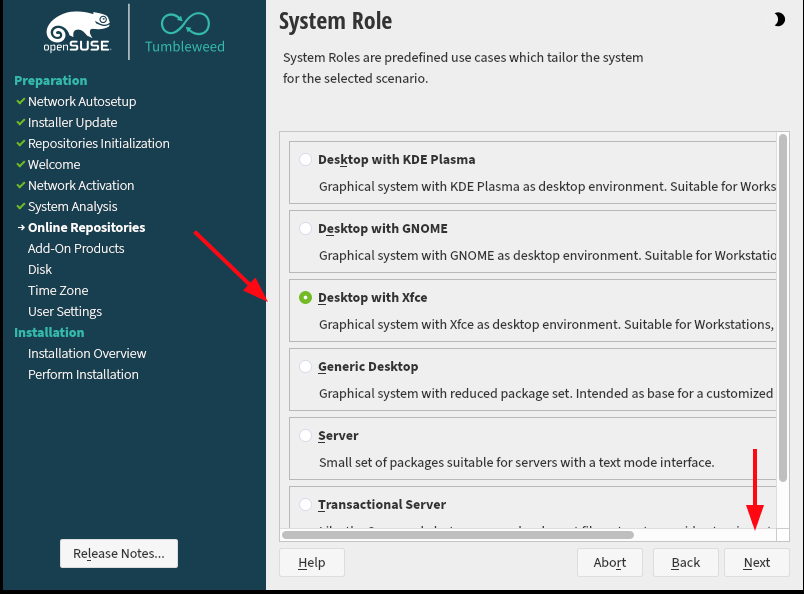
The installer provides a set of predefined system roles which define the appearance and functionality of the system. So, select your preferred option from the list of system roles and click ‘Next’.
For this guide, we have chosen the XFCE Desktop environment which is lightweight and hence, suitable for workstations.
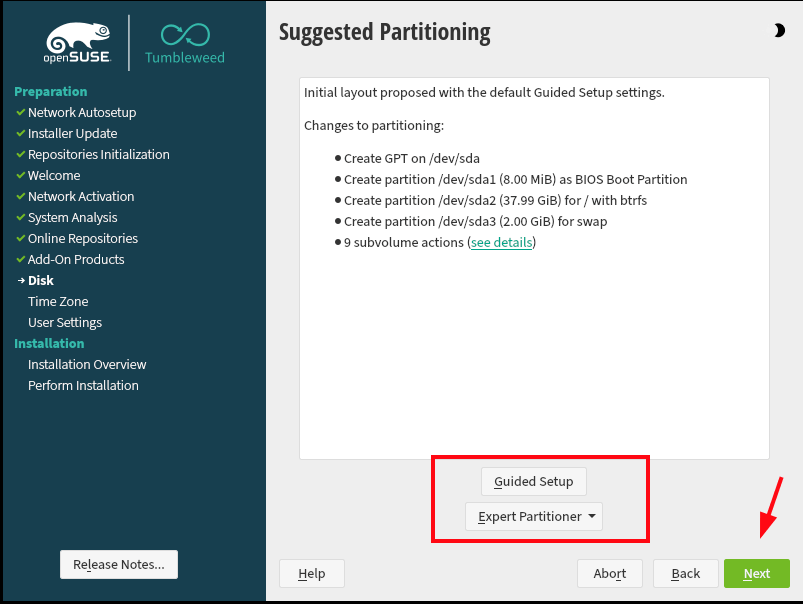
In this step, you will be required to configure your disk partitions. You can either use the ‘Guided Setup’ option which will automatically partition your drive or opt for the ‘Expert Partitioner’ option that lets you manually partition the drive.
Once you have selected your option, click ‘Next’.
For simplicity’s sake, we will go with the ‘Guided Setup’.
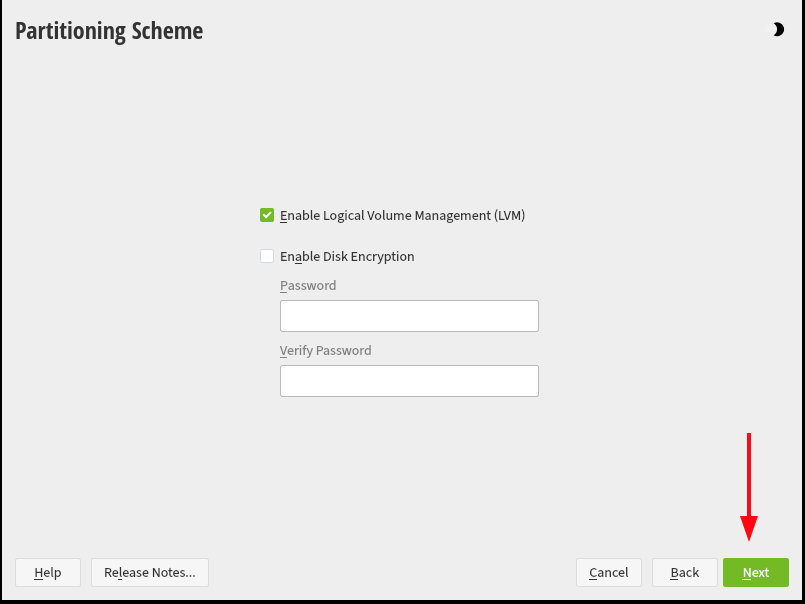
In the ‘Partitioning Scheme’ section, enable the LVM (Logical Volume Management) option and click ‘Next’.
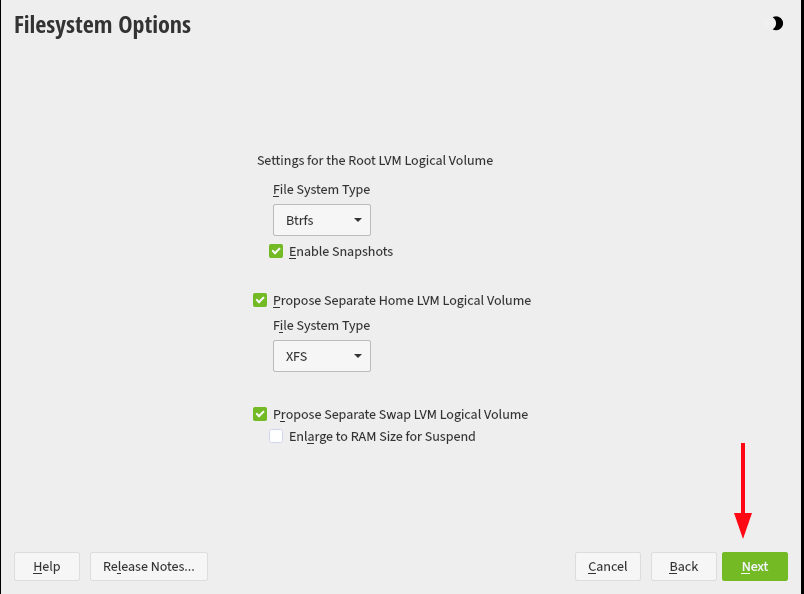
In the ‘Filesystem Options’ section, make your selection for the filesystem type and click ‘Next’.
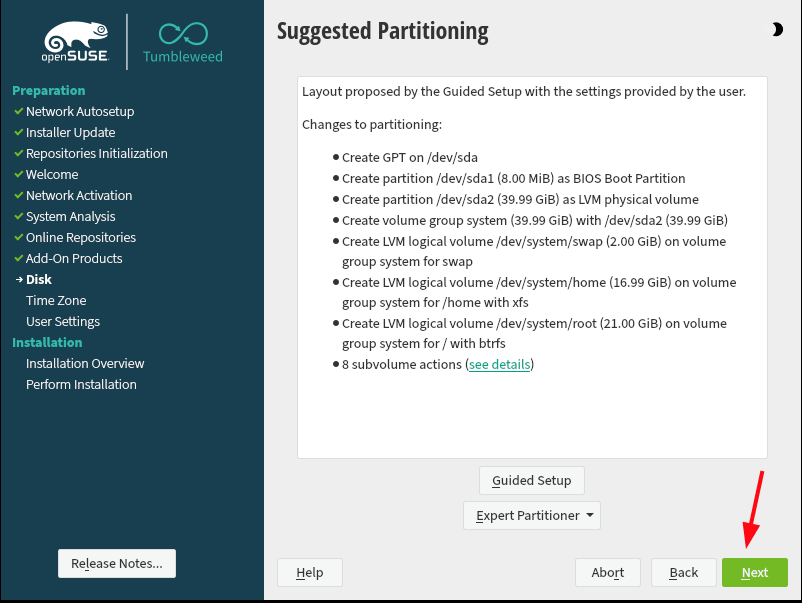
Next, review the suggested partitioning scheme, and click ‘Next’ to continue.
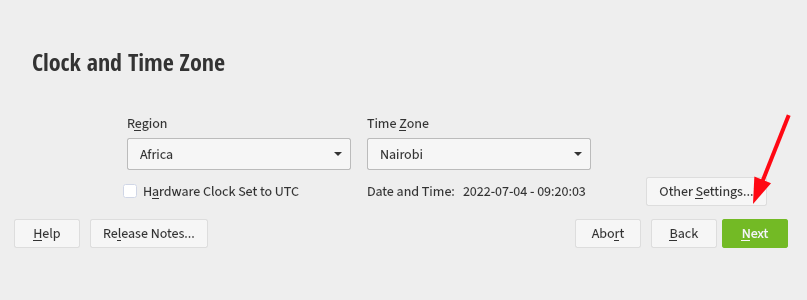
Next, specify your region and timezone and click ‘Next’.
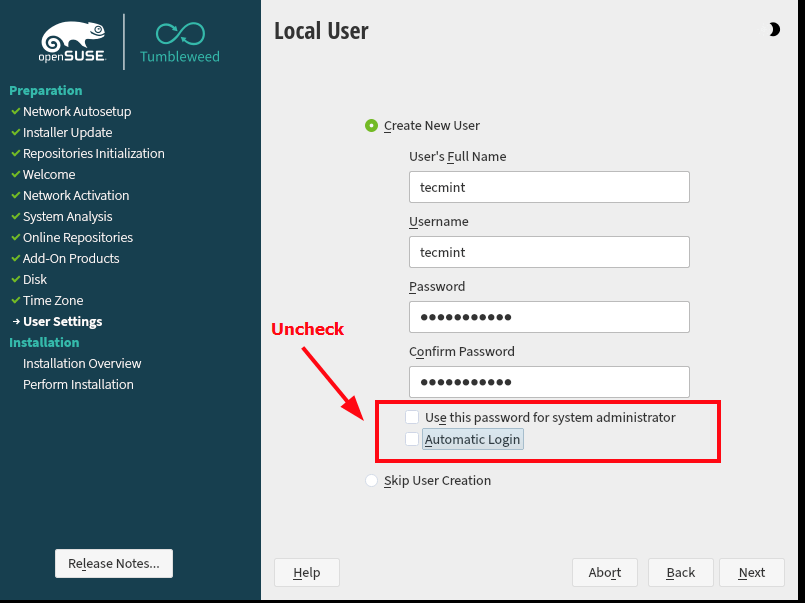
In this step, configure a local user account by providing the name and password of the user and click ‘Next’.
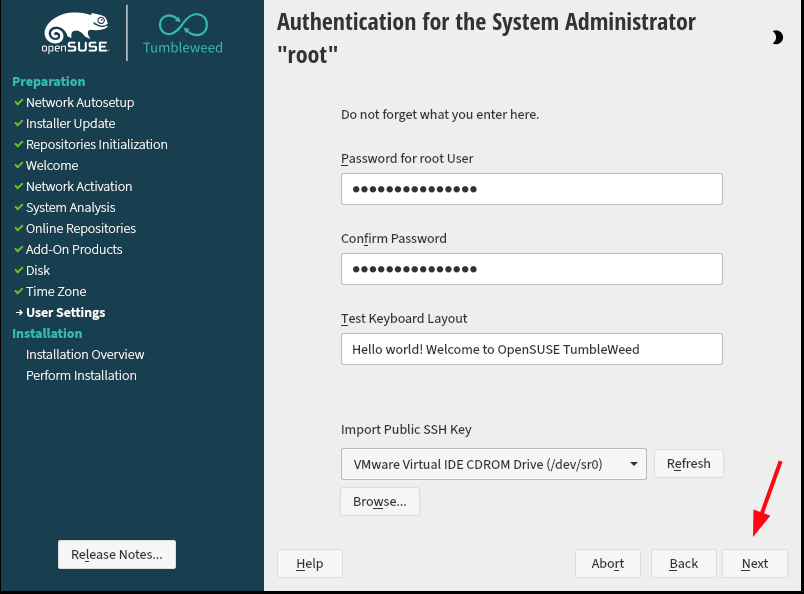
Then create the root user by providing the root user’s password and clicking ‘Next’.
Thereafter, you will get a summary of all the settings that you have made. Carefully go over the settings, and if all looks good, click ‘Next’. Otherwise, click back and make the necessary adjustments.
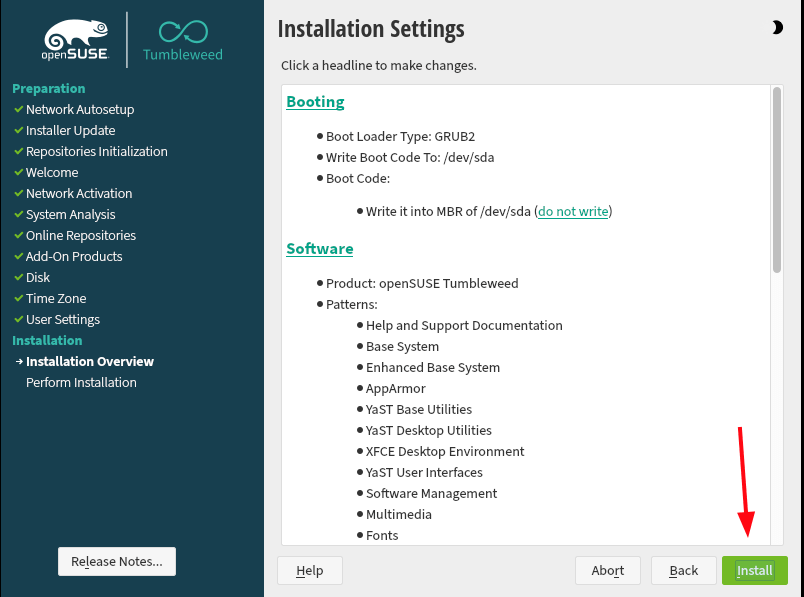
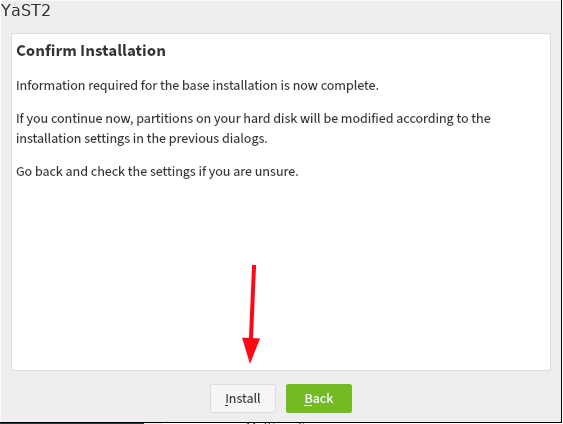
Then click ‘Install’ to begin installing openSUSE Tumbleweed on the hard drive.
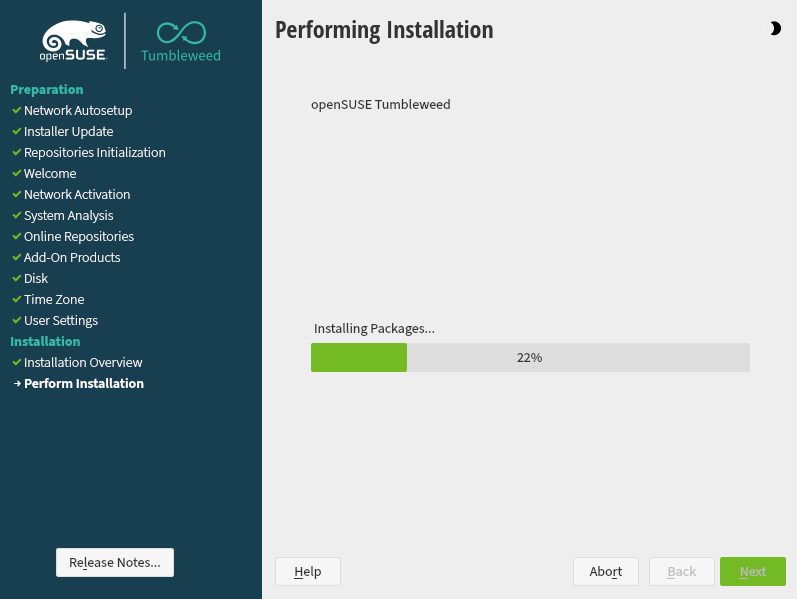
The installation will begin as the installer copies all the files from the ISO image to the hard disk. This takes quite a bit of time, and at this point, you can grab yourself a cup of coffee.
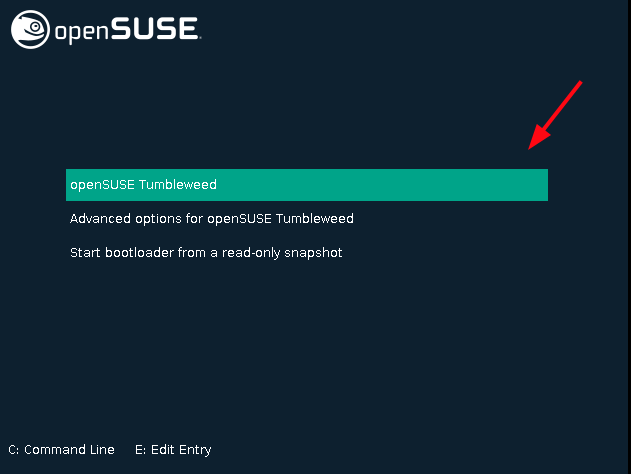
Once the installation is complete, the installer will automatically reboot. On the GRUB menu, select the first option and hit ENTER.
Next, log in using the local user’s login credentials. Finally, this ushers you to the openSUSE desktop.
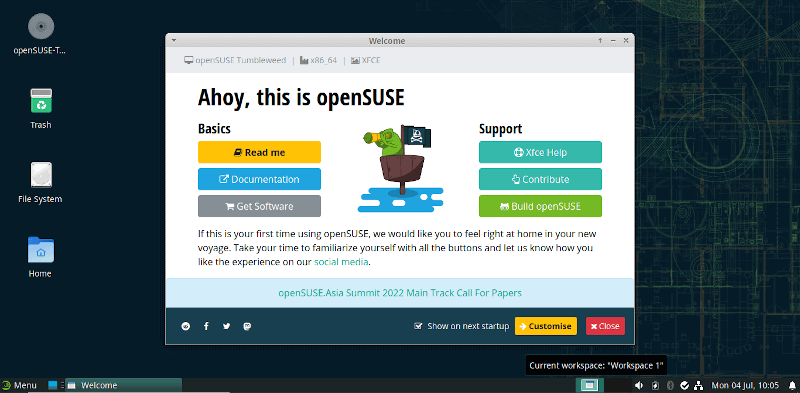
There you go! We have successfully walked you step-by-step on how to install openSUSE Tumbleweed Linux. Your feedback is highly welcome.






The project’s name is written as openSUSE, not OpenSuse/opensuse/OpenSUSE while the distro is written as Tumbleweed, not TumbleWeed/tumbleweed/tumbleWeed.
Hope this helps, and you can fix tags and articles where it is not typed correctly.
@Adathor,
Thanks, corrected the article…
I want a full pack of 4dvd sets not a download link as I want to avoid the net updating installation, please send me the clue, how can I get it ?
HI
Would I be able to use it as a Primary Domain Controller as I see Samba 4.1 comes standard with it? if yes, would you be able to do the set-up with screenshots to run A Primary Domain Controller & Backup Domain Controller with two servers with drs replication between them?
Love your work……
Fernando
I want to install openSUSE KDE to an external HDD. It’s an external 2 TB 3.5 USB HDD on which i need 3 partitions (2 NTFS as storage media that can be accessed from windows as well) and on 1 of which i want to install openSUSE 13.1 x64.
Can you write down detailed instructions how to do this?
Many thanks!
Yes! surely will write-up on the requested article.