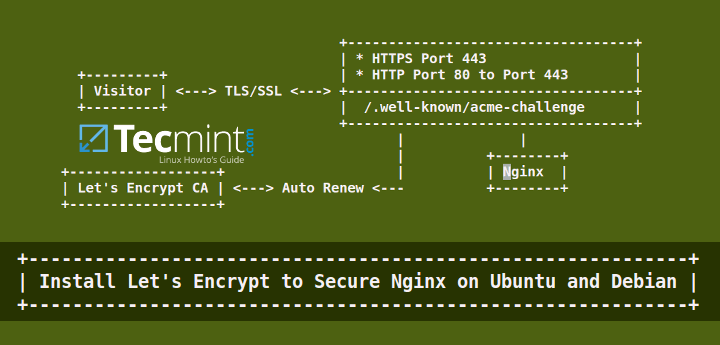
Following the previous Let’s Encrypt tutorial regarding Apache SSL, in this article we’ll discuss how to generate and install a free SSL/TLS certificate issued by Let’s Encrypt CA for Nginx webserver on Ubuntu or Debian.
Also Read
- Secure Apache with Free Let’s Encrypt on Ubuntu and Debian
- Install Let’s Encrypt SSL to Secure Apache on RHEL and CentOS
Testing Sample Environment
Requirements
- A registered domain with valid DNS
Arecords to point back to IP address of your server. - A installed Nginx web server with enabled SSL and Vhost, in case you planning to host multiple domains or subdomains.
Step 1: Installing Nginx Web Server
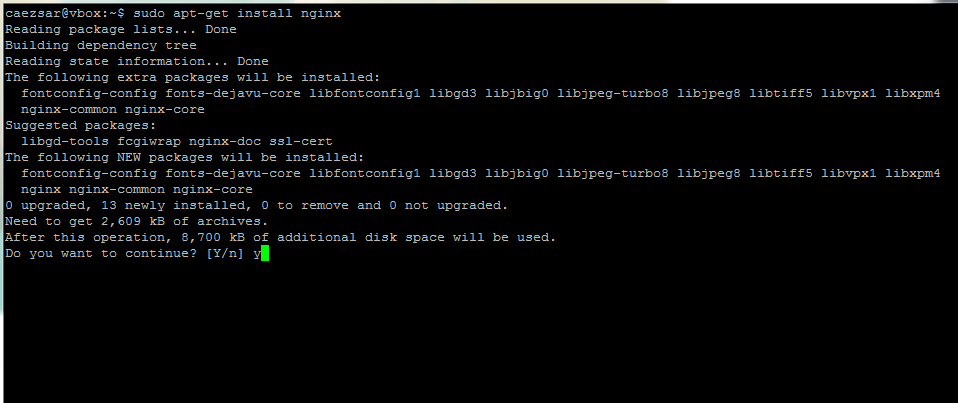
1. On the first step install Nginx web server, if not installed already, by issuing the below command:
$ sudo apt-get install nginx
Step 2: Generate a Let’s Encrypt SSL Certificate for Nginx
2. Before generating a free SSL/TLS certificate, install Let’s Encrypt software in /usr/local/ filesystem hierarchy with the help of git client by issuing the below commands:
$ sudo apt-get -y install git
$ cd /usr/local/
$ sudo git clone https://github.com/letsencrypt/letsencrypt
3. Although the procedure of getting a Certificate for Nginx is automated, you can still manually create and install a free SSL certificate for Nginx using Let’s Encrypt Standalone plugin.
This method requires that port 80 must not be in use on your system for a short period of time while Let’s Encrypt client validates the server’s identity before generating the certificate.
In case you are running Nginx already, stop the service by issuing the following command.
$ sudo service nginx stop
OR
$ sudo systemctl stop nginx
In case you’re running other service that binds on port 80 stop that service as well.
4. Confirm that port 80 is free by running the netstat command:
$ sudo netstat -tlpn | grep 80

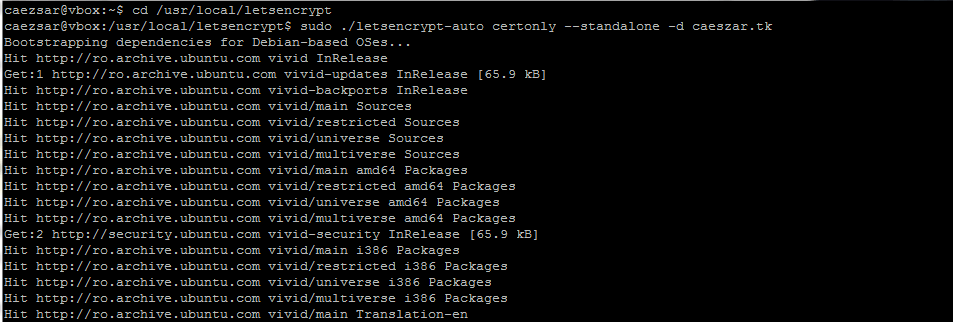
5. Now it’s time to run letsencrypt in order to obtain a SSL Certificate. Go to Let’s Encrypt installation directory found in /usr/local/letsencrypt system path and run the letsencrypt-auto command by providing the certonly --standalone option and -d flag for each domain or subdomain you wish to generate a certificate.
$ cd /usr/local/letsencrypt
$ sudo ./letsencrypt-auto certonly --standalone -d your_domain.tld
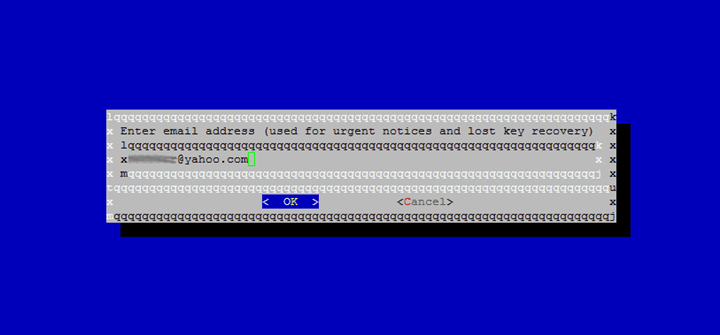
6. Enter the email address which will be used by Let’s Encrypt for lost key recovery or urgent notices.
7. Agree with the terms of the license by pressing Enter key.

8. Finally, if everything went successful, a message similar to the screenshot below should appear on your terminal console.

Step 3: Install Let’s Encrypt SSL Certificate in Nginx
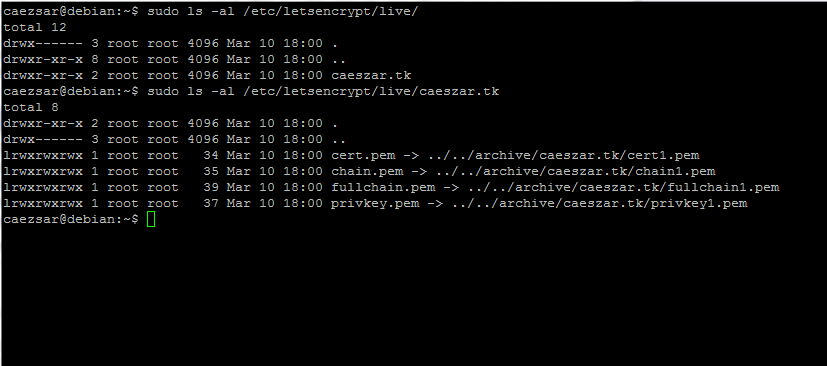
9. Now that your SSL Certificate has been generated is time to configure Nginx webserver to use it. The newly SSL certificates are placed in /etc/letsencrypt/live/ under a directory named after your domain name. Run ls command to list the Certificate files issued for your domain.
$ sudo ls /etc/letsencrypt/live/
$ sudo ls -al /etc/letsencrypt/live/caeszar.tk
10. Next, open /etc/nginx/sites-available/default file with a text editor and add the following block after the first commented line that specifies the beginning of the SSL block. Use the below screenshot as guidance.
$ sudo nano /etc/nginx/sites-enabled/default
Nginx block excerpt:
# SSL configuration
        #
        listen 443 ssl default_server;
        ssl_certificate /etc/letsencrypt/live/caeszar.tk/fullchain.pem;
        ssl_certificate_key /etc/letsencrypt/live/caeszar.tk/privkey.pem;
        ssl_protocols TLSv1 TLSv1.1 TLSv1.2;
        ssl_prefer_server_ciphers on;
        ssl_ciphers 'EECDH+AESGCM:EDH+AESGCM:AES256+EECDH:AES256+EDH';
        ssl_dhparam /etc/nginx/ssl/dhparams.pem;
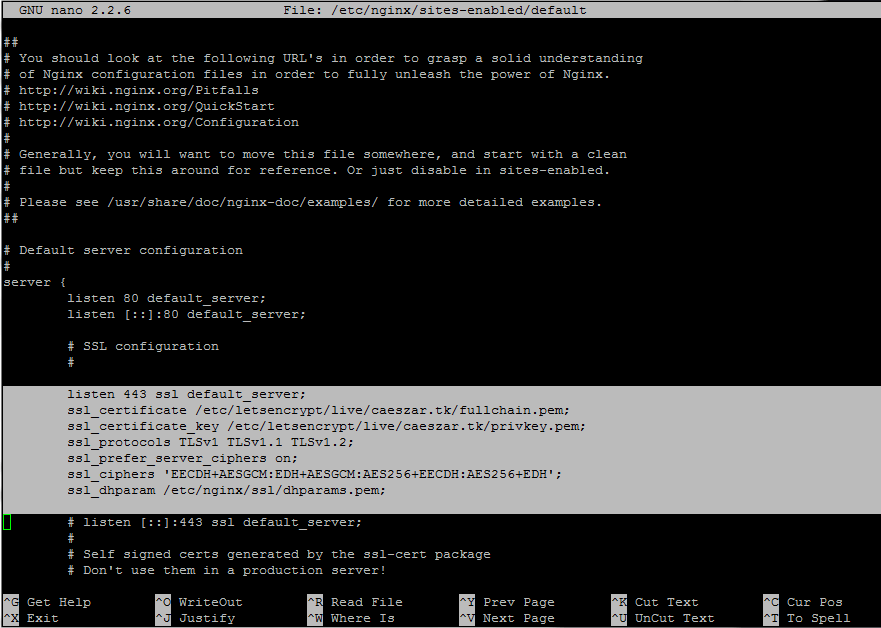
Replace the domain name values for SSL certificates accordingly.
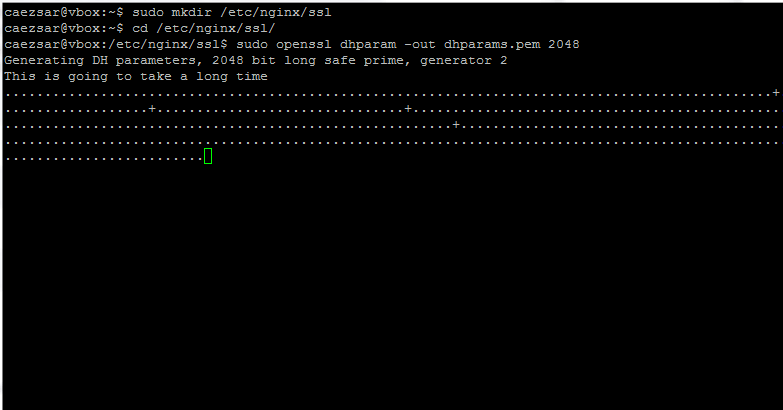
11. On the next step generate a strong Diffie-Hellman cipher in /etc/nginx/ssl/ directory in order to protect your server against the Logjam attack by running the following commands.
$ sudo mkdir /etc/nginx/ssl
$ cd /etc/nginx/ssl
$ sudo openssl dhparam -out dhparams.pem 2048
12. Finally, restart Nginx daemon to reflect changes.
$ sudo systemctl restart nginx
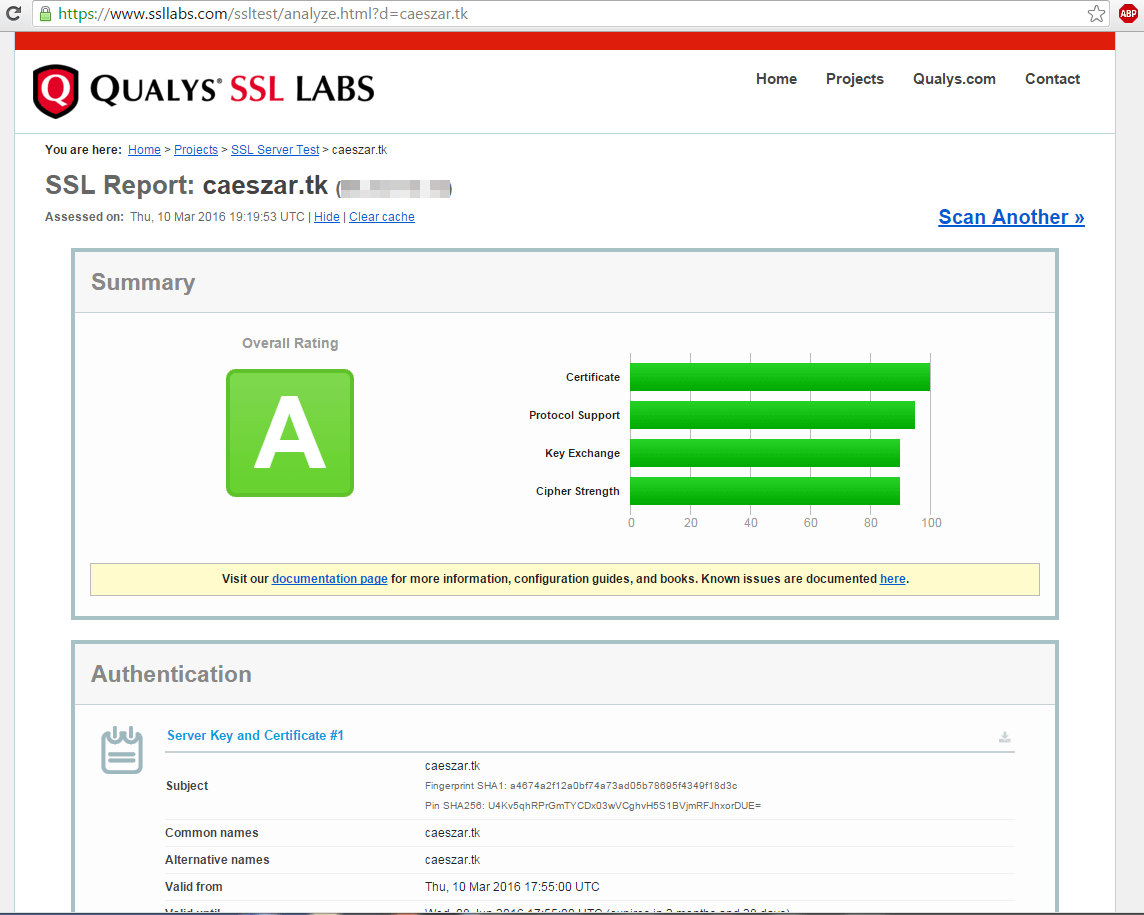
and test your SSL certificate by visiting the below URL.
https://www.ssllabs.com/ssltest/analyze.html
Step 4: Auto Renew Let’s Encrypt Nginx Certificates
13. Certificates issued by Let’s Encrypt CA are valid for 90 days. In order to auto renew the files before expiration date create ssl-renew.sh bash script in /usr/local/bin/ directory with the following content.
$ sudo nano /usr/local/bin/ssl-renew.sh
Add the following content to ssl-renew.sh file.
#!/bin/bash

cd /usr/local/letsencrypt
sudo ./letsencrypt-auto certonly -a webroot --agree-tos --renew-by-default --webroot-path=/var/www/html/ -d your_domain.tld
sudo systemctl reload nginx
exit 0

Replace the --webroot-path variable to match your Nginx document root. Make sure the script is executable by issuing the following command.
$ sudo chmod +x /usr/local/bin/ssl-renew.sh
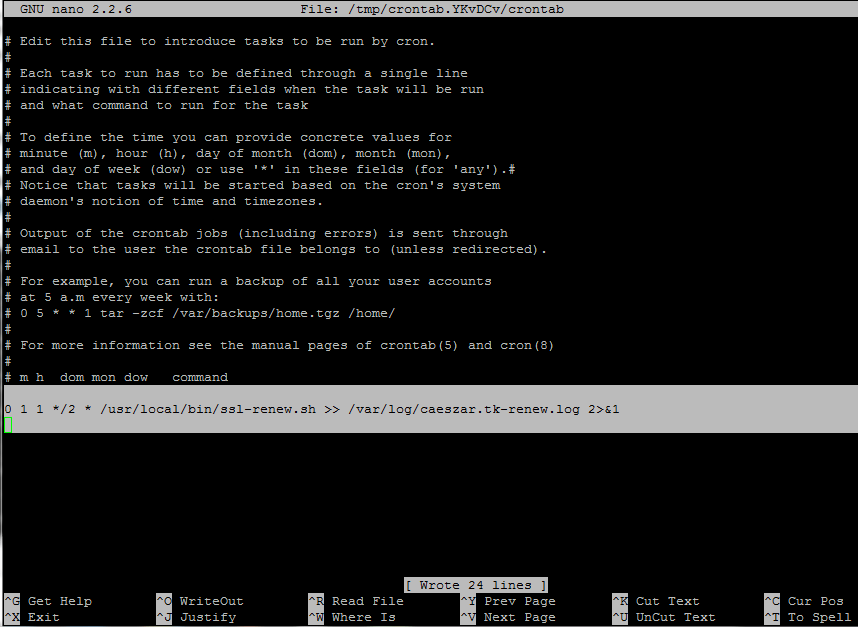
14. Finally add a cron job to run the script every two months at midnight in order to assure that your certificate will be updated in approximately 30 days before it expires.
$ sudo crontab -e
Add the following line at the bottom of the file.
0 1 1 */2 * /usr/local/bin/ssl-renew.sh >> /var/log/your_domain.tld-renew.log 2>&1
That’s it! Your Nginx server is now serving SSL content using a free Let’s Encrypt SSL certificate.





Hi Cezar, thanks for this tutorial. I followed all the steps, but when I tested it on ssllabs, I received this message: “Evaluation failed: unable to connect to the server”. The only reason I assume is that I don’t know what to do here: “Replace the domain name values for SSL certificates accordingly” …
My application is installed on the EC2 instance, NGINX is running, but does not respond over HTTPS. How can I check or proceed to resolve this?
Thank you for your help and time
@Antionio,
Does your domain name was accessible from browser using HTTP and HTTPS? could you share your domain name to check at our end?
Your tutorials are inspired from real life experience? from production?
This tutorial is great, I can create https in my site. But I have questions. This tutorial can’t create https for multiple domain in the same server.
can you show another tutorial for create https for multiple domain, thanks
Thanks for this great tutorial!
I’m a totally newbie in linux and server managing and took a little time to have my site secured.