In our previous article, we showed you how to install TrueNAS server. This article will guide you through configuring TrueNAS to set up ZFS storage disks and create NFS shares, enabling you to store and share data efficiently across your network.
Hardware Requirements
Before diving into the configuration of TrueNAS, ensure that you have a minimum of two disks properly connected and recognized by the system to create a ZFS pool.
However, three or more disks are recommended for better performance and redundancy (RAID-Z1, RAID-Z2, or RAID-Z3).
Configuring ZFS Storage Disks
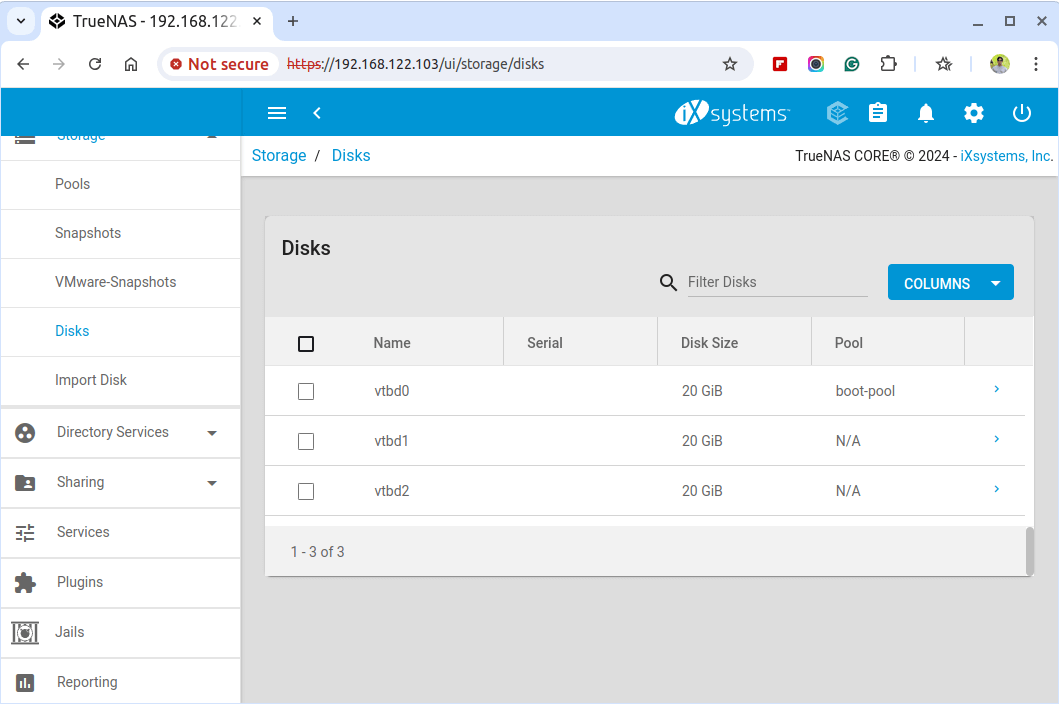
To add a ZFS storage disk, navigate to Storage > Disks and click on the Add Disk button to select and configure the disks you want to use for storage.
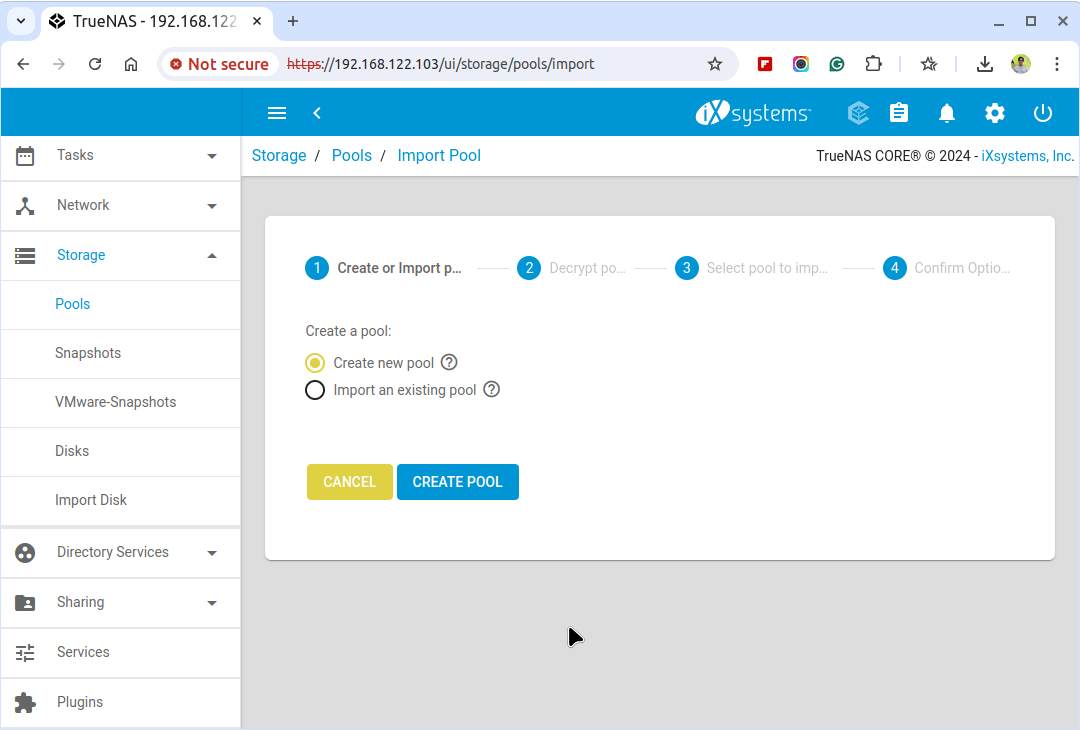
To create a ZFS Pool, navigate to Storage > Pools and click on the Add button to create a new pool.
Next, enter a name for your pool and select the disks you want to include in the pool from the available list.
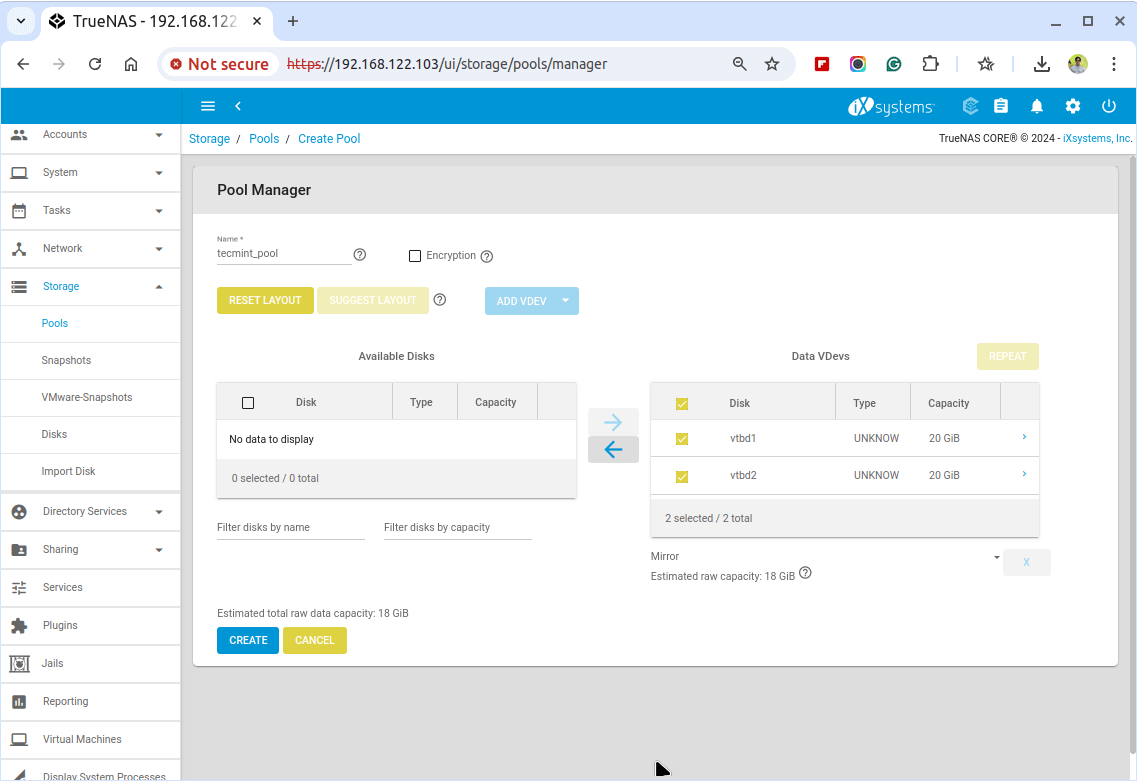
Your ZFS pool is now set up and ready for use.
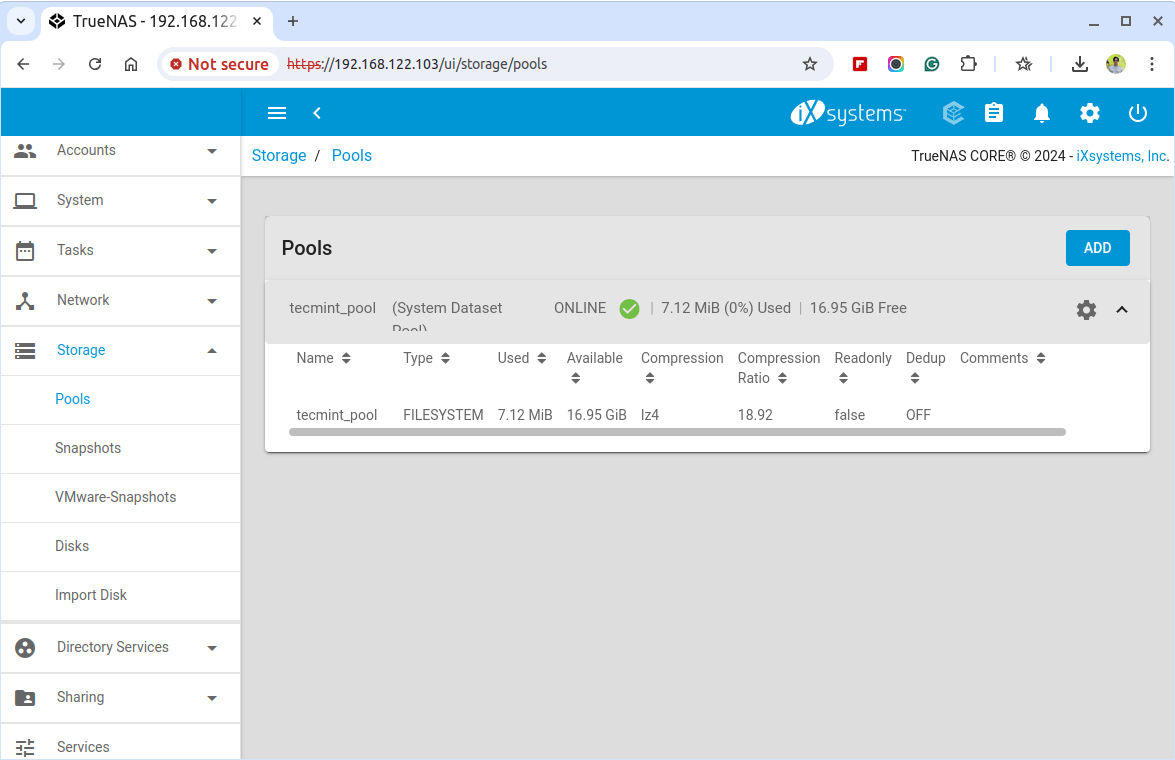
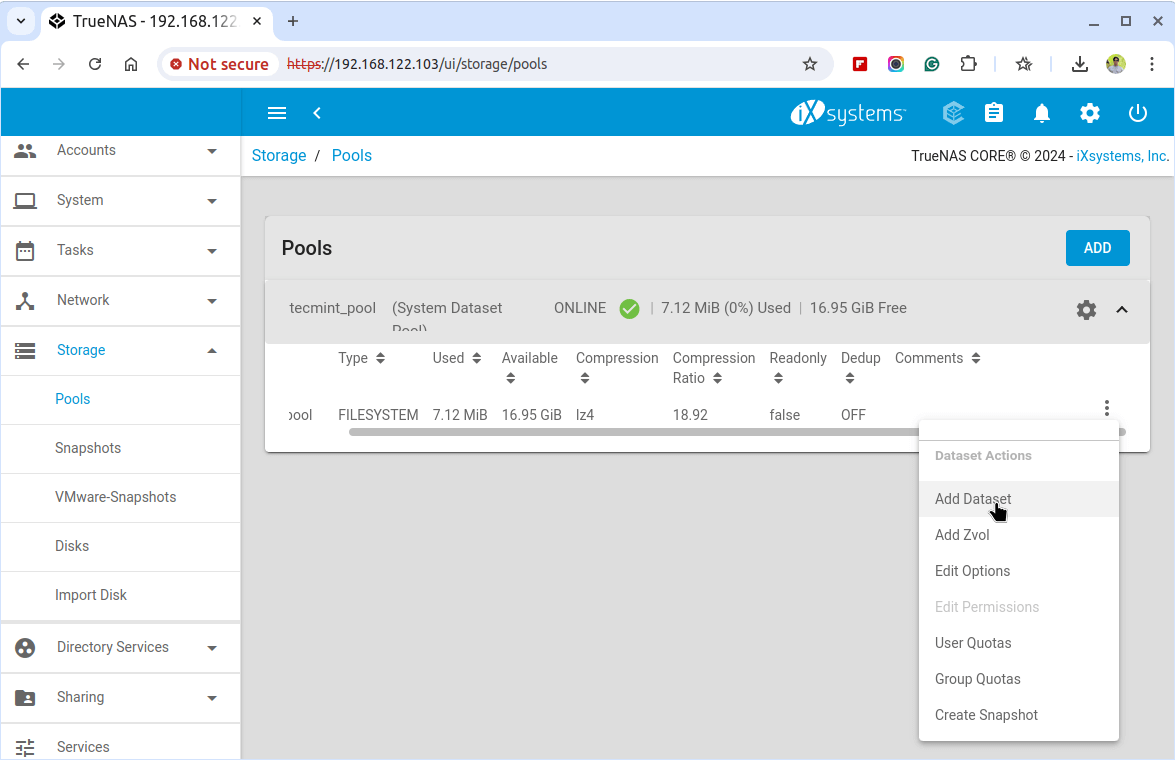
After creating the storage pool, click on the pool you just created and click on the ... (three dots) next to it and choose Add Dataset to create a new dataset.
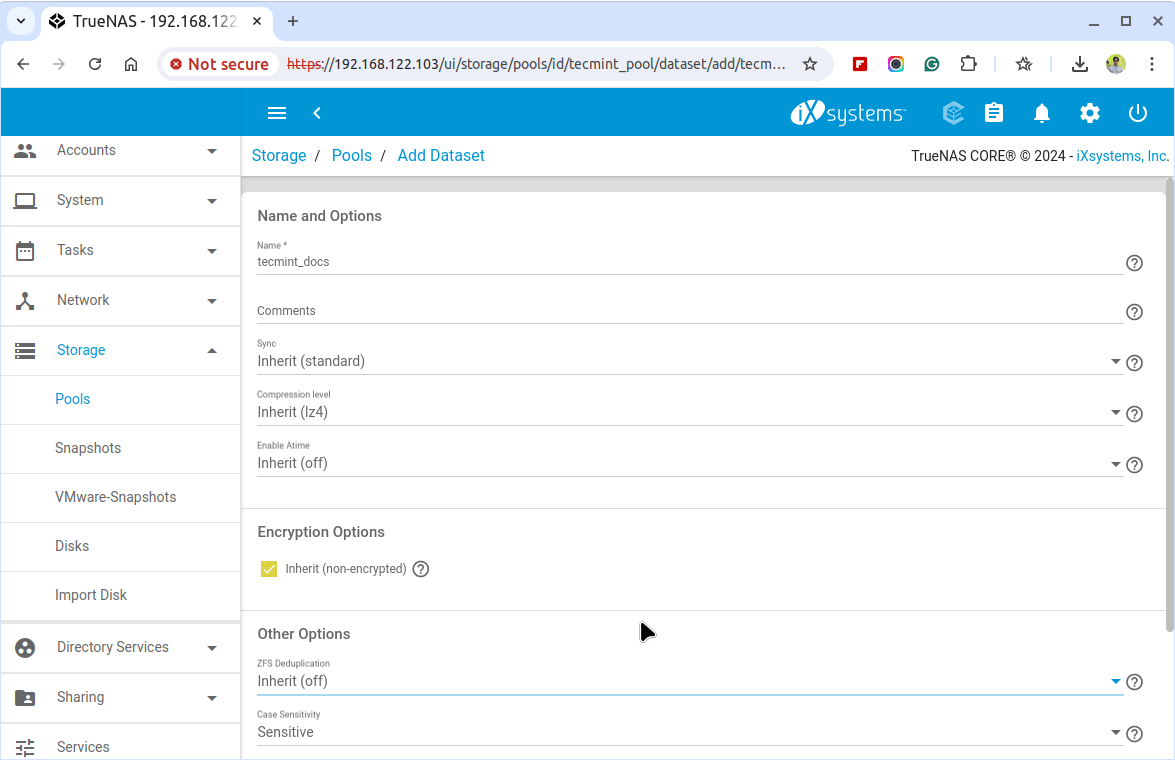
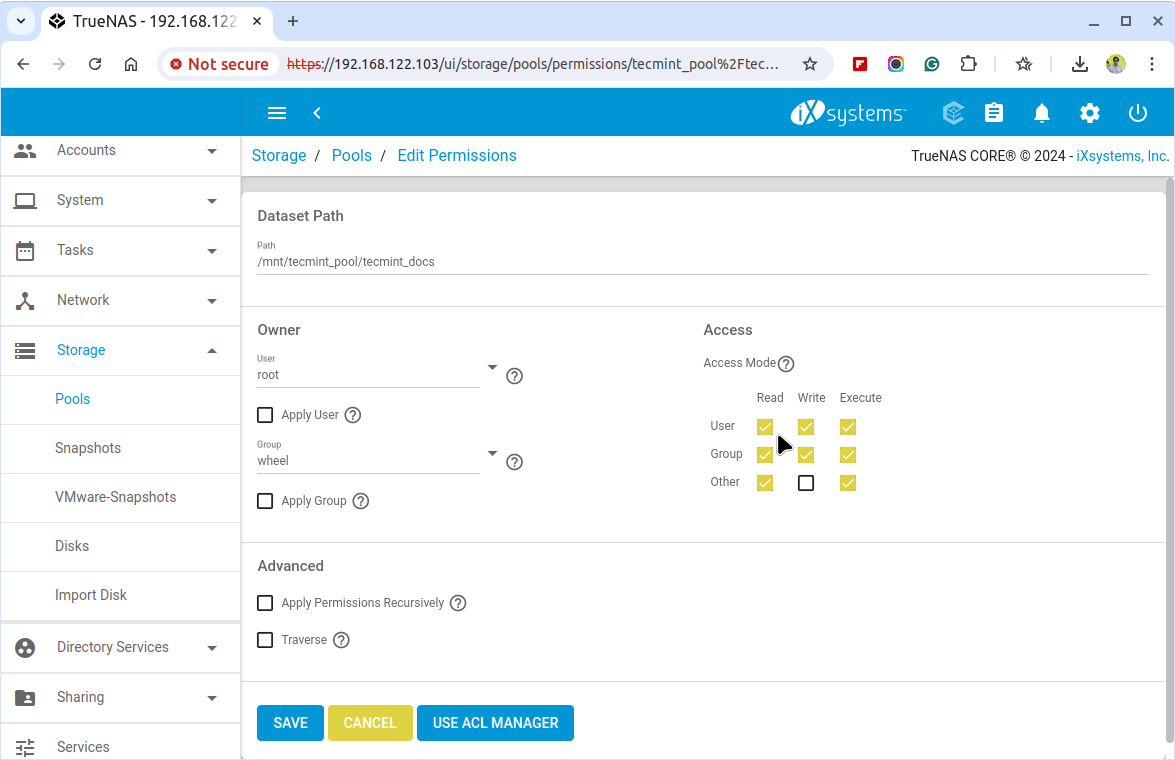
Next, enter a name for the dataset and configure the permissions for the dataset by navigating to the Permissions tab. Set the owner and group permissions, as well as read, write, and execute permissions as needed.
Creating NFS Shares for ZFS Datasets
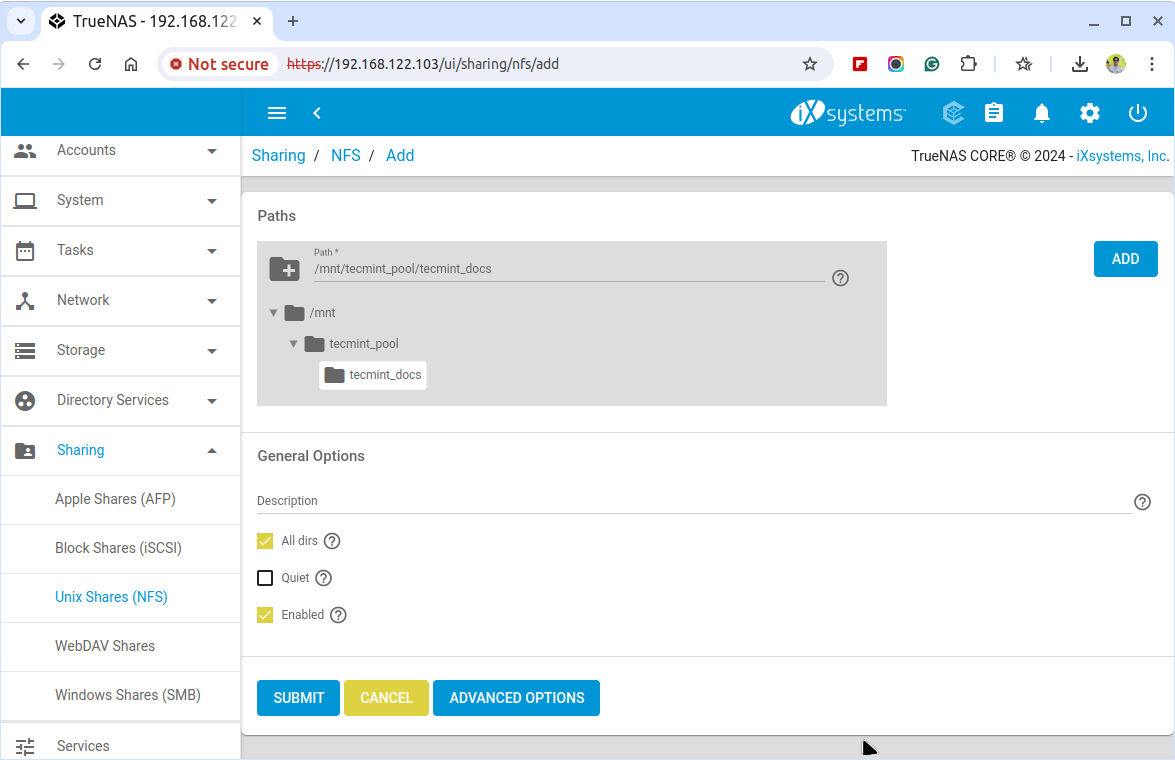
To share ZFS datasets on Unix machines, go to the “Sharing” tab from the top menu, and choose the Unix Shares (NFS) type.
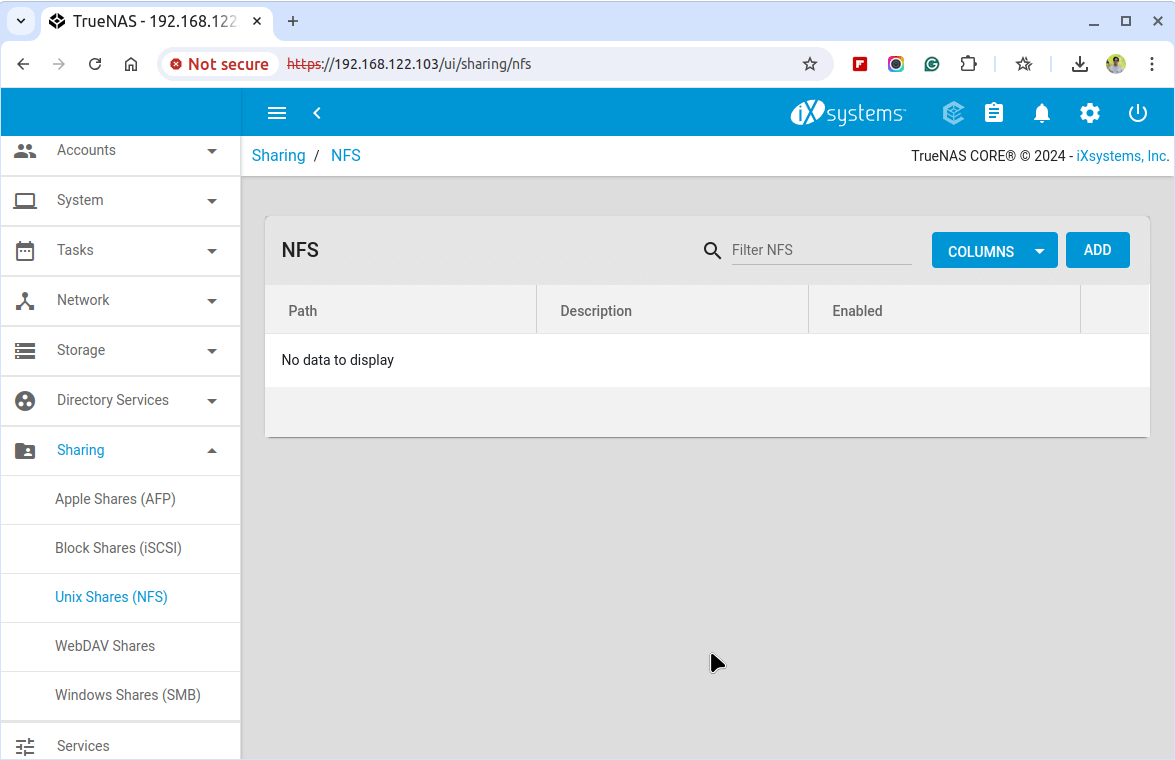
Next, click on the Add NFS Share button choose the location of the dataset you created earlier, and configure the share settings, including options for read/write access and allowed hosts.
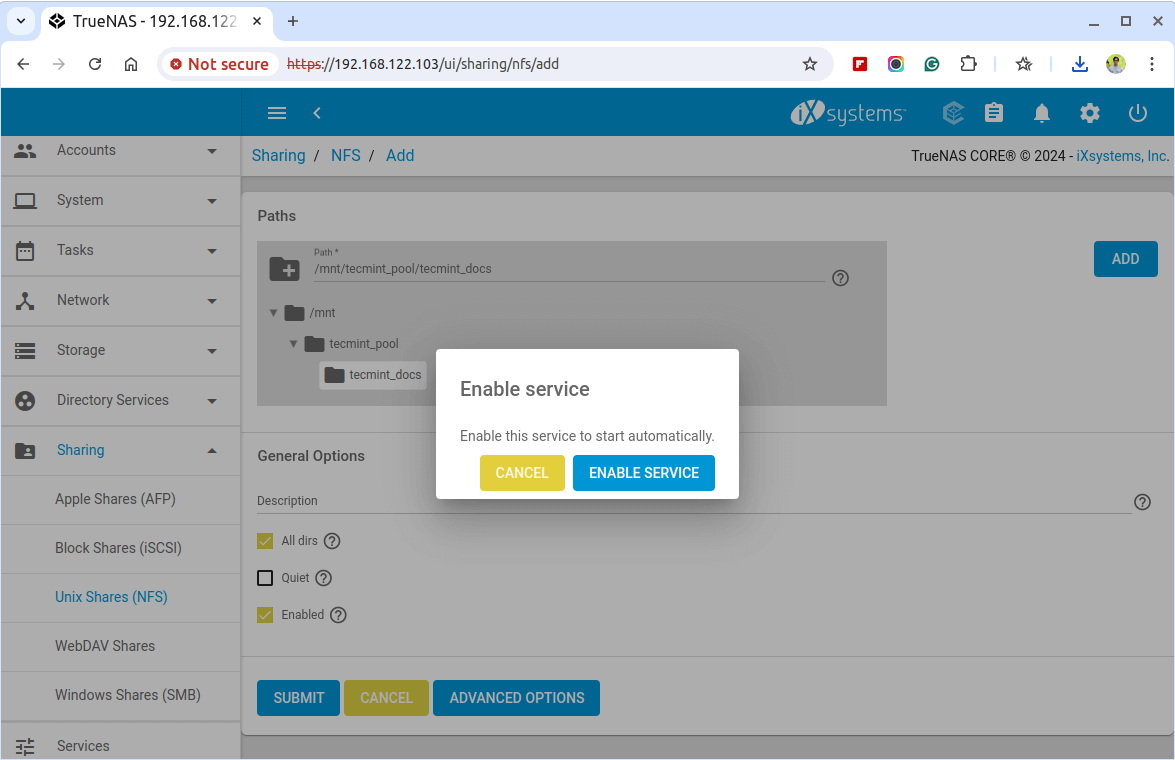
After clicking on Submit, a confirmation message will prompt, asking if you would like to enable this service. Click Yes to enable the sharing. You will then see that the NFS service has been started.
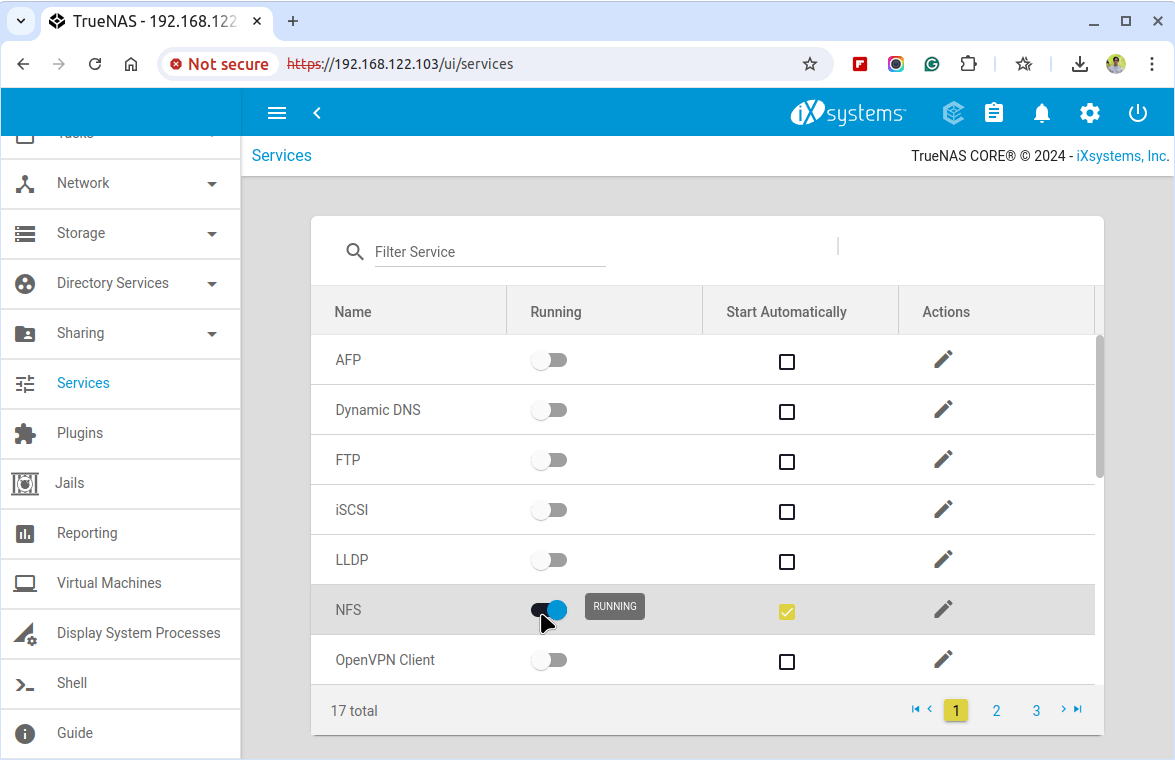
To confirm the NFS service status, navigate to Services and look for the NFS service. Make sure the toggle is in the ON position to confirm that the service is running.
Mounting NFS Share on Unix Client
Now login to your Unix client machine (Here I’ve used Ubuntu 22.04 with IP Address 192.168.122.12), and check whether NFS share from TrueNAS works or not.
But, before checking TrueNAS NFS shares, your client machine must have the NFS package installed on the system.
sudo dnf install nfs-utils -y	    [On RedHat systems]
sudo apt install nfs-common -y	    [On Debian systems]
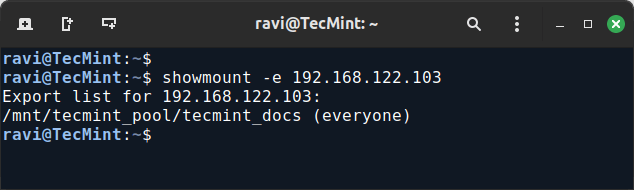
After installing NFS, use the following command to list the NFS share from TrueNAS.
showmount -e 192.168.122.103
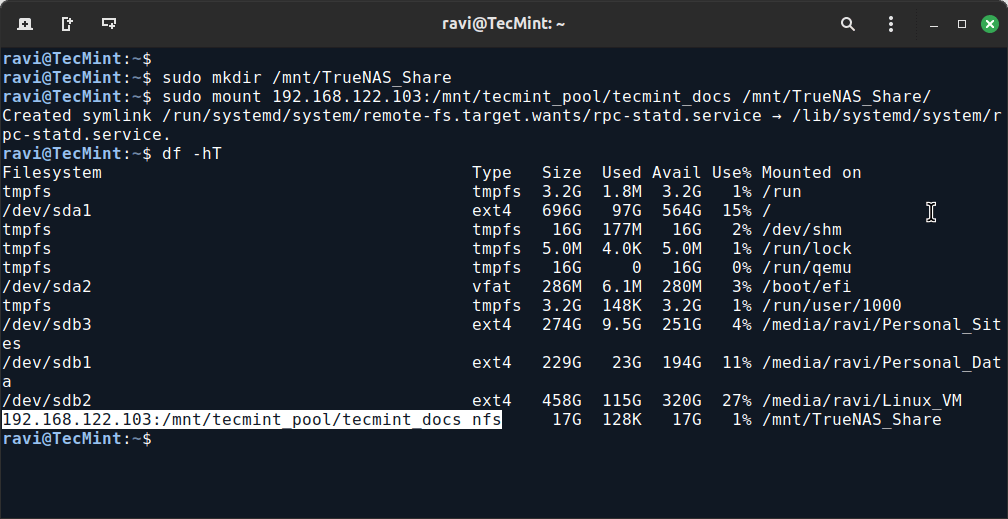
Now, create a mount directory under ‘/mnt/TrueNAS_Share‘ in the client machine, mount the TrueNAS NFS Share in this mount point, and confirm it using the df command.
sudo mkdir /mnt/TrueNAS_Share
sudo mount 192.168.122.103:/mnt/tecmint_pool/tecmint_docs /mnt/TrueNAS_Share/
df -hT
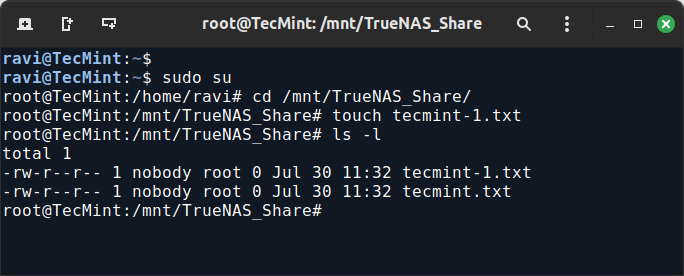
Once the NFS share is mounted, go inside that directory and try to create a file under this share to confirm that the root user has permission to this share.
sudo su
cd /mnt/TrueNAS_Share/
touch tecmint.txt
That’s it! we have configured the storage volume and defined an NFS share from TrueNAS.
Conclusion
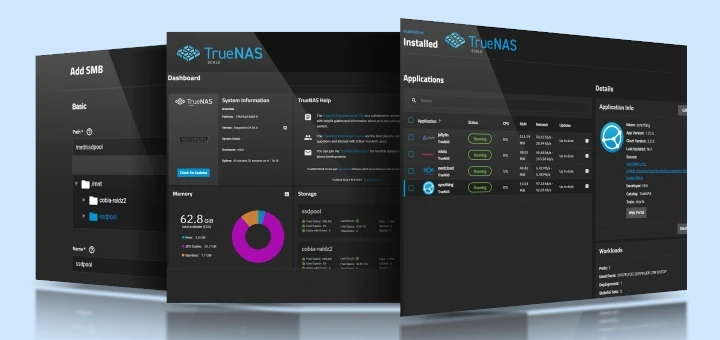
TrueNAS provides a user-friendly interface to manage the storage server. TrueNAS supports a large file system using ZFS with features such as compression, quotas, and permissions.
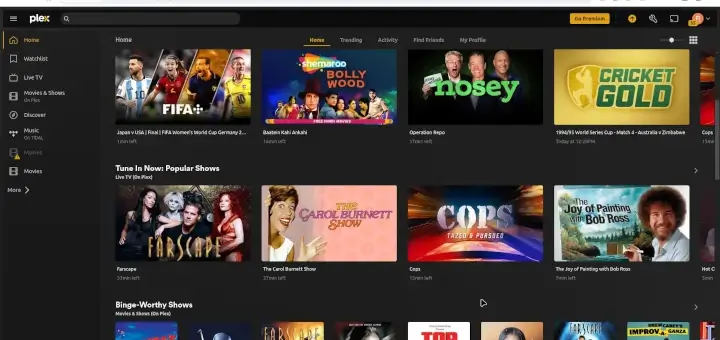
In future articles, we’ll explore how to use TrueNAS as a streaming server and torrent server.
I tried to install it on Synology DS214play, I could not connect or run on the NAS, even it was directly connected with a brand new ethernet cable between the laptop and NAS unit.
With Synology software DSM ver.6.2.4, it was installed once. But I have an 8TB NAS HDD 7200rpm, and I want to put ZFS on it.
How should I proceed?
There is no part 3 or 4?
Ravi this is really good stuff!! Thanks!
@Dipen,
Say thanks to our author Babin Lonston for such a wonderful series on FreeNAS, all credit goes to Babin..
Can you just have one hard drive for storage? I tried following your steps but your screen shots are not like mine but close. But I cannot create any volumes. Current setup: 8GB Flash drive(freeNAS installed to) and 1 500GB HDD want to use for storage.
@BFD AI,
Yes you can use a single disk for FreeNAS os and 500GB for contents.
Hi, If I am only sharing with windows do I skip Step 4: Mounting NFS Share on Unix Client
@Mark,
Yes, you can skip that step, if you only concern with Windows users..
Thanks Ravi Saive its very useful.
But how to accesses this sharing folder in Windows based PC can it will be access-able only through IP address.
@Rubesh,
Yes it’s only accessible via IP address only..:)
How might I print your articles – specifically the three part “Installing and Configuring FreeNAS (Network-attached Storage)”?
@James,
Currently there isn’t any support added on print option, but we will soon add this feature to site so that users can print directly from the browser….give us some time to implement this..