Android development is an exciting field, and Kotlin has quickly become the preferred language for building Android apps.
If you’re running Ubuntu 24.04 and want to set up Android Studio for Kotlin development, this guide is for you.
In this article, we will walk through the process of installing Android Studio, setting up Kotlin, and creating and running your first Android project in Kotlin.
Step 1: Installing Android Studio on Ubuntu 24.04
Android Studio is the official Integrated Development Environment (IDE) for Android development that includes everything you need to build Android apps, such as a code editor, debugging tools, and an emulator for testing your apps.
To install Android Studio and Kotlin, you need to have Java installed on your Ubuntu system, if not you can install it using the following commands.
sudo apt update && sudo apt upgrade -y
sudo apt install default-jdk -y
java -version

Now that Java is set up, let’s install Android Studio by manually downloading the tar file from the official Android Studio website.
After the download is complete, navigate to the directory where the .tar.gz file is located and use the following commands to install it.
tar -xvf android-studio-*-linux.tar.gz
sudo mv android-studio /opt/
To launch Android Studio, navigate to the bin directory inside the Android Studio directory.
cd /opt/android-studio/bin
./studio.sh
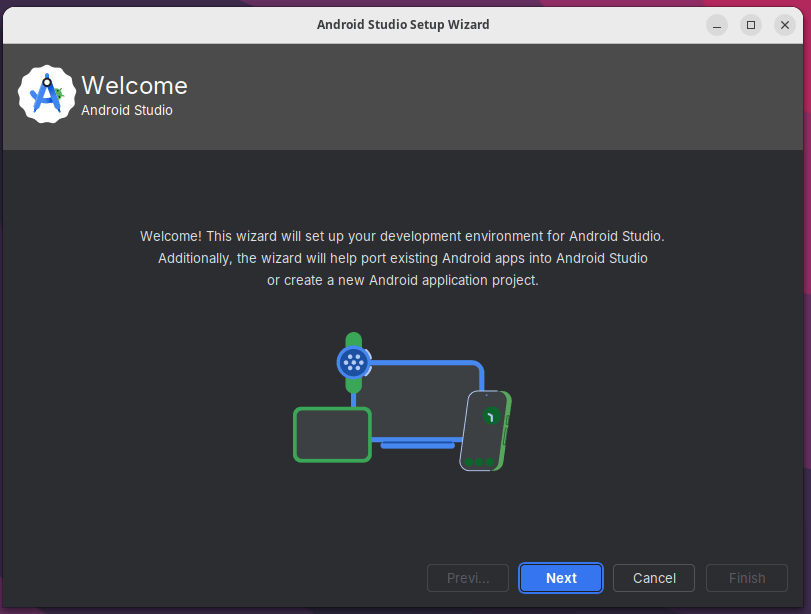
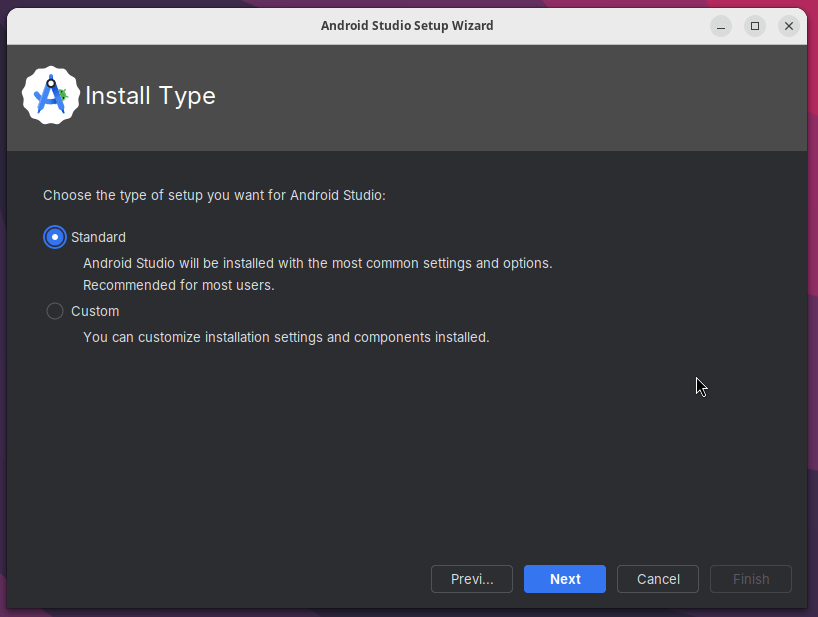
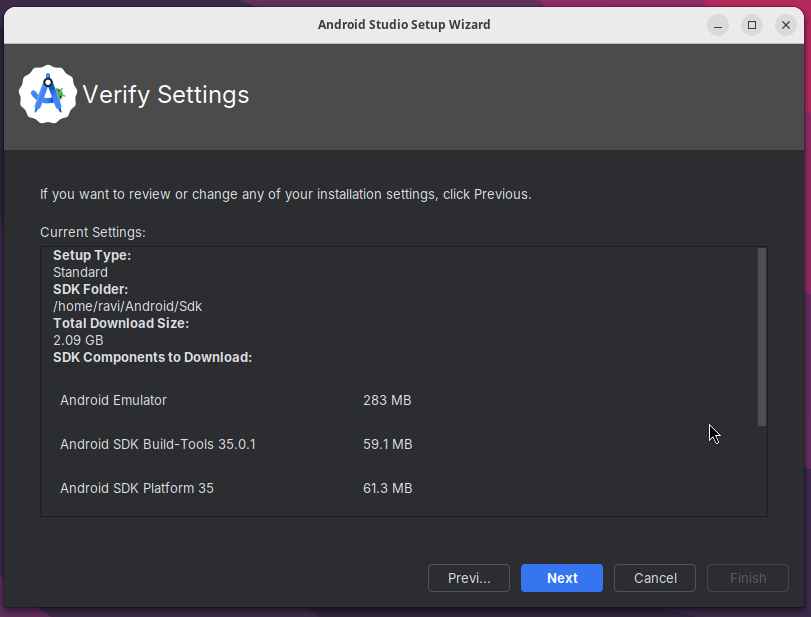
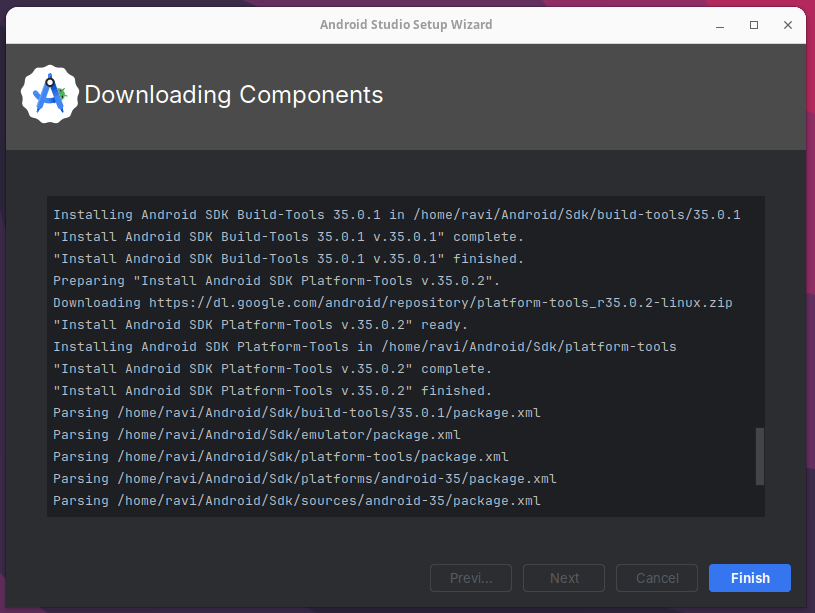
This will open Android Studio, which will prompt you to complete the initial setup, including downloading the necessary SDK packages.
Follow the on-screen instructions to complete the setup.
Step 2: Installing Kotlin in Android Studio for Project
Android Studio comes with Kotlin support built-in, but you may need to enable it manually on your new project.
- Open Android Studio and click on New Project from the welcome screen.
- Choose a project template, we will use the Empty Activity template, which is a simple starting point for any Android app.
- Configure your project and make sure to choose Kotlin from the drop-down list, which tells Android Studio to use Kotlin for your project.
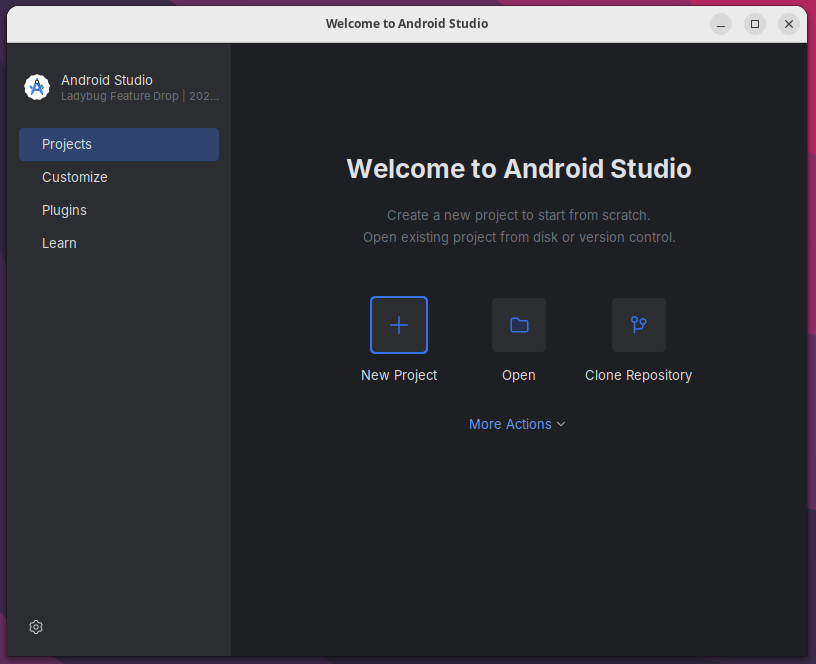
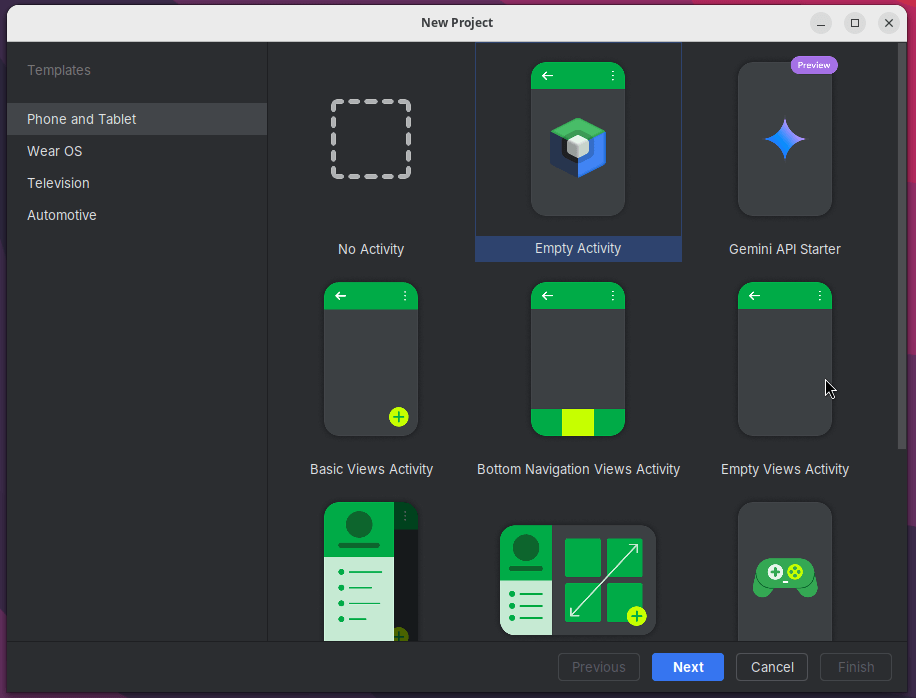
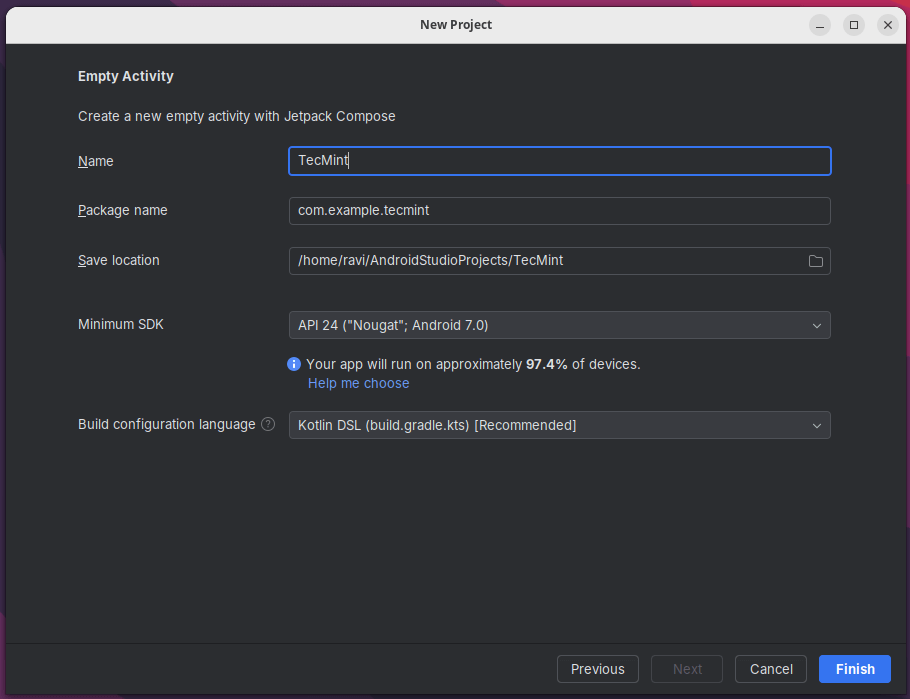
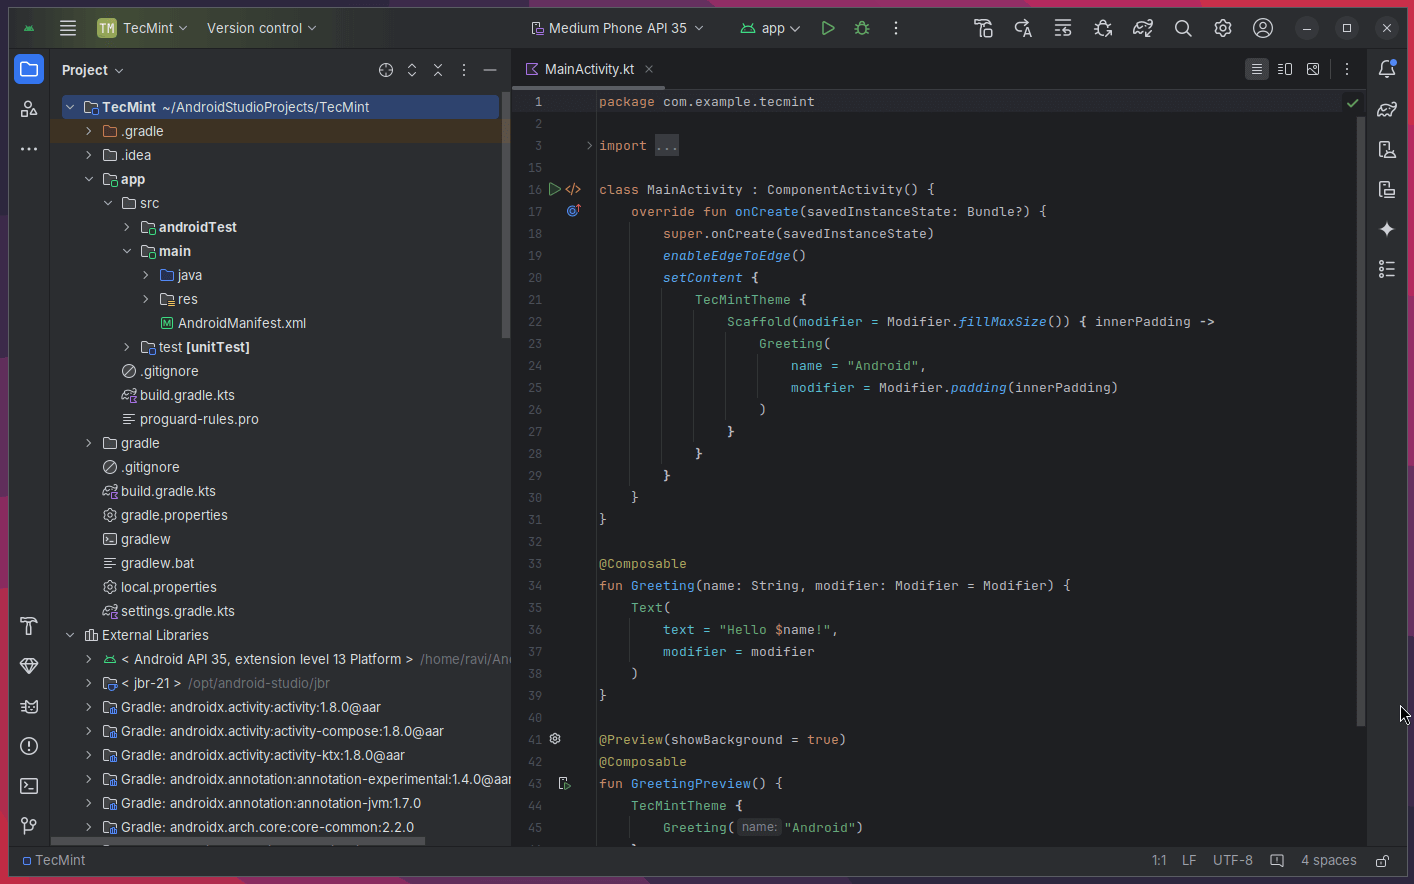
Android Studio will now create your project, and it might take a few moments to sync and download the necessary dependencies. Once your project is created, you will see several files and folders.
Step 3: Writing Your First Kotlin Code
Now that your project is set up, let’s add some Kotlin code to display a simple “Hello, World!” message on the screen.
Open the MainActivity.kt file, here you will see a default MainActivity class that extends AppCompatActivity, which looks like this:
package com.example.tecmint

import android.os.Bundle
import androidx.appcompat.app.AppCompatActivity

class MainActivity : AppCompatActivity() {
    override fun onCreate(savedInstanceState: Bundle?) {
        super.onCreate(savedInstanceState)
        setContentView(R.layout.activity_main)
    }
}
Let’s modify this code to display a “Hello, World!” message using a TextView. First, open the activity_main.xml file and add the following code inside the <RelativeLayout> tags:
<TextView
    android:id="@+id/helloText"
    android:layout_width="wrap_content"
    android:layout_height="wrap_content"
    android:text="Hello, World!"
    android:textSize="24sp"
    android:layout_centerInParent="true"/>
Now, go back to MainActivity.kt and update the code to reference the TextView we just added:
import android.os.Bundle
import androidx.appcompat.app.AppCompatActivity

class MainActivity : AppCompatActivity() {
    override fun onCreate(savedInstanceState: Bundle?) {
        super.onCreate(savedInstanceState)
        setContentView(R.layout.activity_main)
        val helloText = findViewById<TextView>(R.id.helloText)
        helloText.text = "Hello, World!"
    }
}
This code finds the TextView by its ID and sets its text to “Hello, World!”.
Step 4: Running Your First Kotlin Project
You are now ready to run your app and see the “Hello, World!” message on your Android device or emulator.
Setting Up an Emulator
If you don’t have a physical Android device, you can use the Android Emulator to run your app.
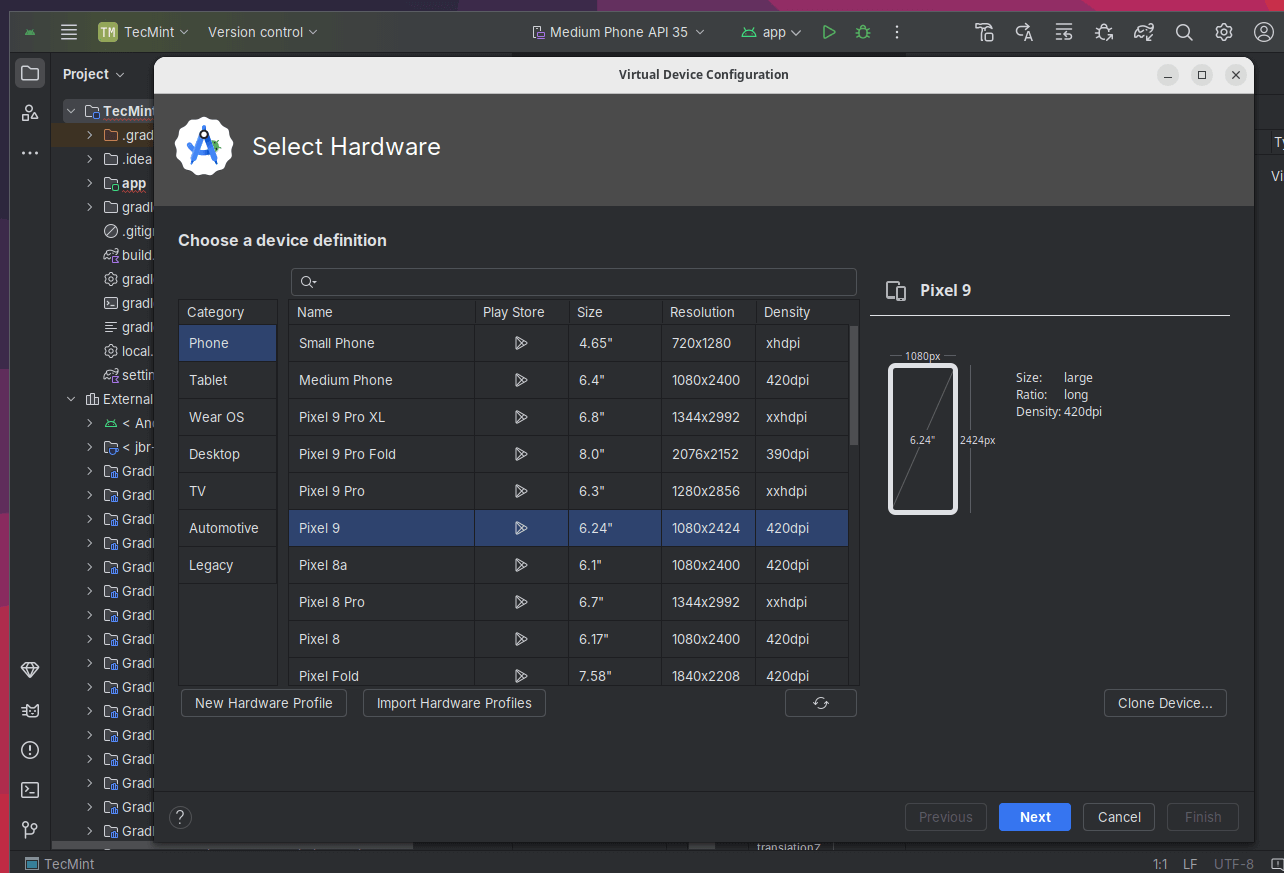
- Click on the AVD Manager icon in the toolbar (it looks like a phone).
- Click Create Virtual Device.
- Choose a device, such as the Pixel 4, and click Next.
- Select a system image (e.g., Android 11) and click Next.
- Click Finish.
Running the App
- Make sure your virtual device is selected in the toolbar.
- Click the Run button (green triangle) in the top toolbar.
- Android Studio will build the app, launch the emulator, and install the app on the virtual device.
- You should see your
“Hello, World!”message on the screen!
Conclusion
Congratulations! You’ve successfully set up Android Studio for Kotlin development on Ubuntu 24.04, and you’ve created and run your first Android app.
Now that you have a solid foundation, you can explore more advanced Android development topics, such as building user interfaces, working with APIs, and handling databases.

I’ve read many articles on this topic, and yours is one of the most useful.