Fedora 20, code-named “Heisenbug” was released on 17, December 2013 developed by global community members and sponsored by Red Hat Inc. Fedora 20 “Heisenbug” release is dedicates to Seth Vidal, who passed away this year in road accident. He was a lead developer of Yum and the Fedora update repository system. We, as a team (Tecmint.com) share deepest condolences and grief on this moment, may the God bless him the peace in heaven. This version is updated with latest version of packages and focused on cloud and virtualisation and ARM is now a primary an officially supported architecture.
Fedora 20 “Heisenbug” Features
- GNOME 3.10 used default software replacing gnome-packagekit frontends, new applications like gnome-music, gnome-map and Zimbra support.
- KDE Plasma Workspaces 4.11 – This release includes faster Nepomuk indexing, improvements to Kontact, KScreen integration in KWin, Metalink/HTTP support for KGet and much more.
- Ruby on Rails 4.0
- Improvement in NetworkManagerVM
- Spins – Spins are alternate version of Fedora
- Cloud and Virtualization Improvements
- ARM as a Primary Arch
- VM Snapshot UI and virt-manager
- Apache Hadoop 2.2.0
- WildFly 8 application server
- No default Sendmail and Syslog
Please use below link to Download Fedora 20 “Heisenbug,” ISO images directly.
Fedora 20 “Heisenbug” Installation Guide
1. Boot computer with Fedora 20 bootable media or ISO.
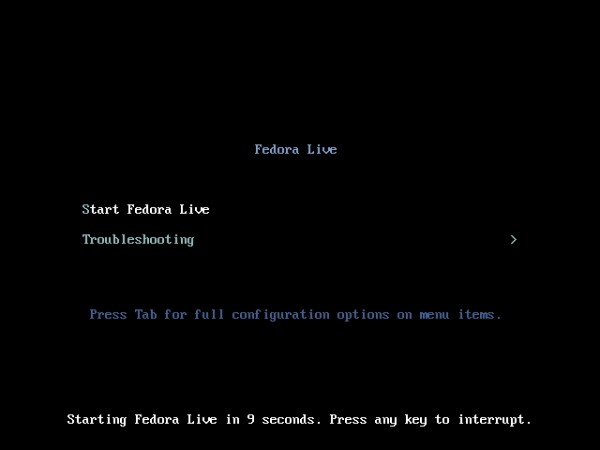
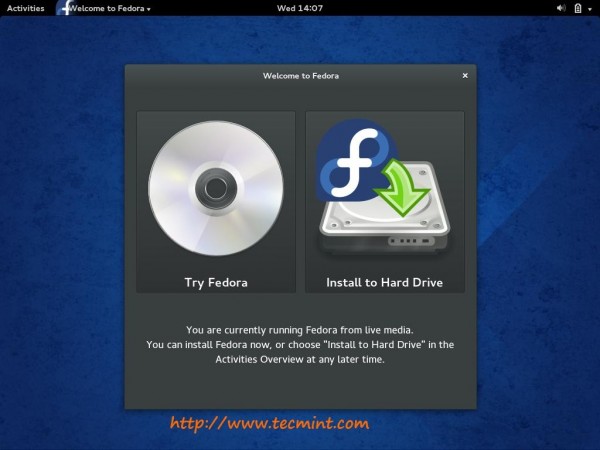
2. Click “Install to Hard Drive” You can try out clicking on “Try Fedora“.
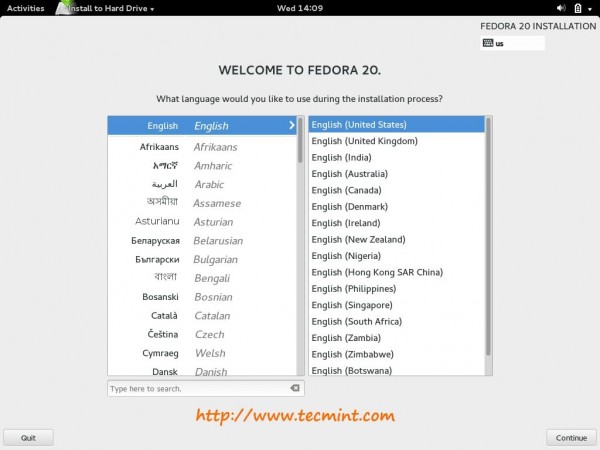
3. Fedora 20 installer started. Choose language of your choice during installation process.
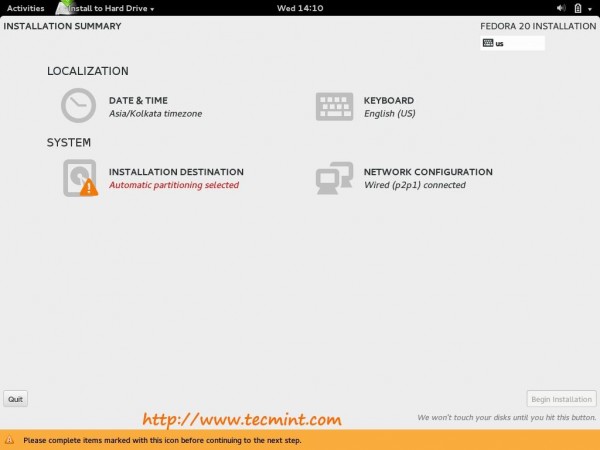
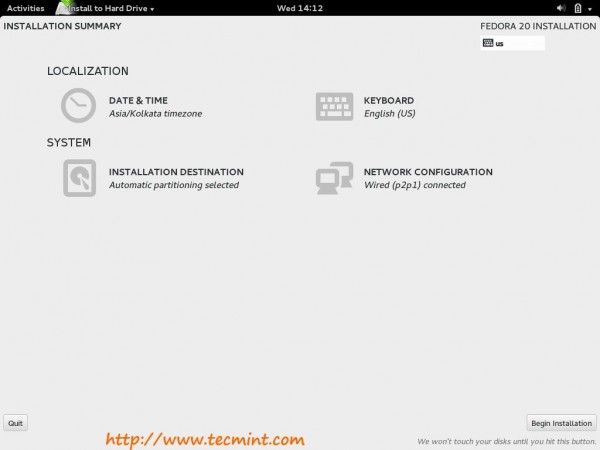
4. Installation Summary. Click each options to configure. Click on “Installation Destination” to select physical Hard Drive.
5. Select storage device, OS to install. Click on “Begin Installation” once selected the Disks.
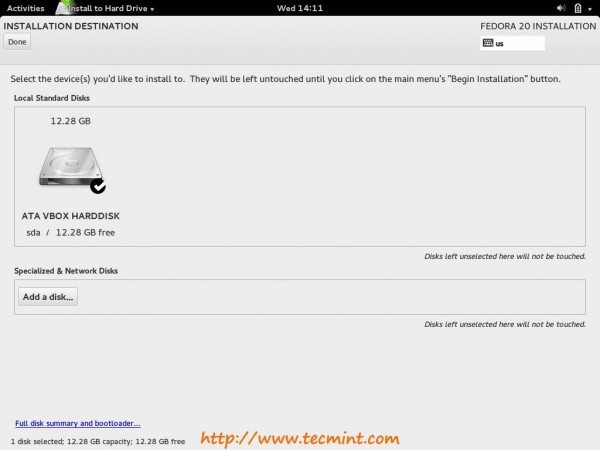
6. Installation Options. Select “Automatically configure my Fedora installation to the disks i selected and return me to the main menu“. You may select “I want to review/modify my disk partitions before continuing” (for advance users). Click on “Continue“. Once partition options selected click on “DONE“.
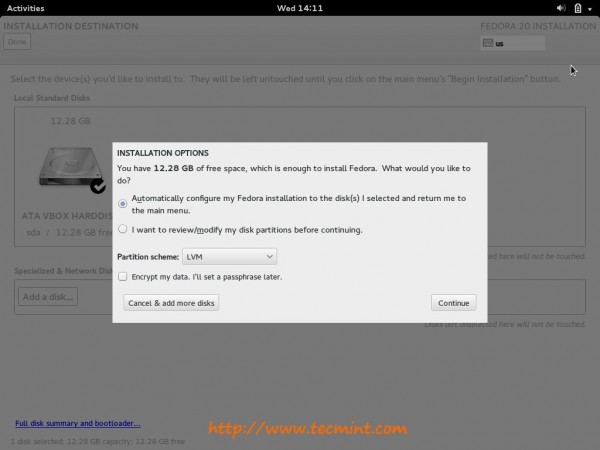
7. Installation Summary.
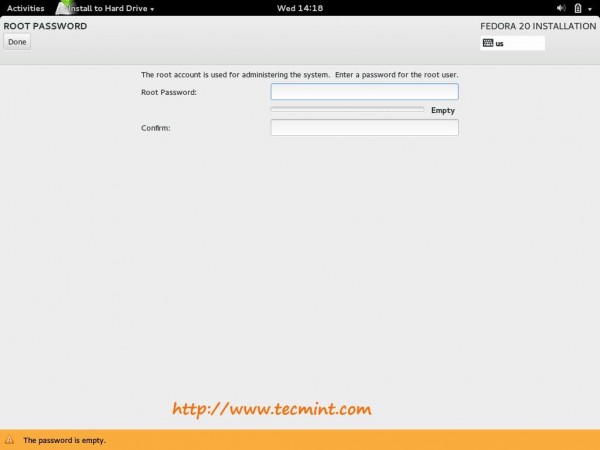
8. Set root password.
9. Create user.
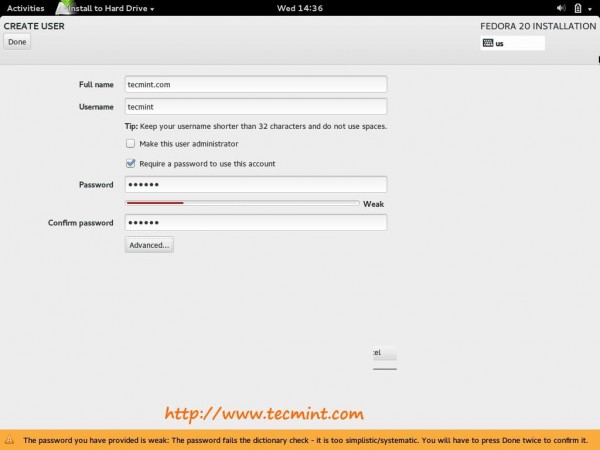
10. All set, Installation is in process.
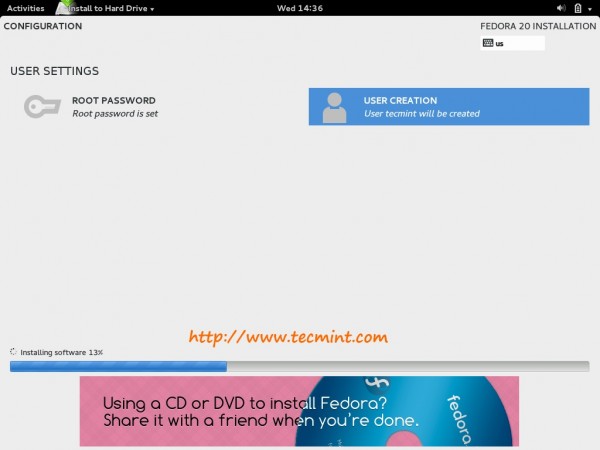
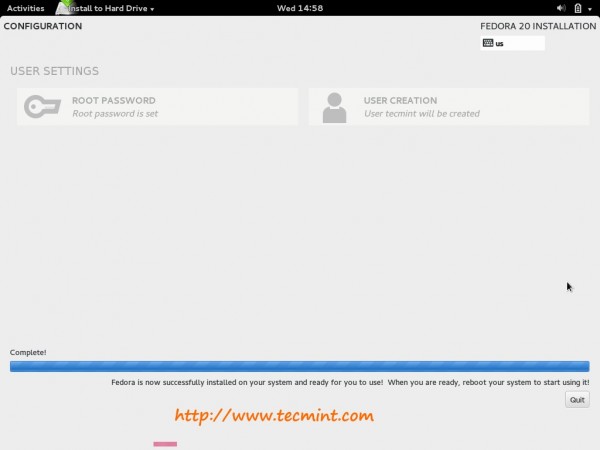
11. Installation is complete. Eject media and click on “Quit” and reboot.
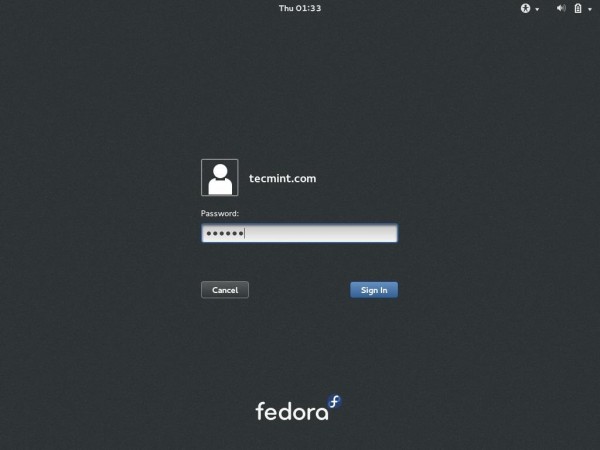
12. Login Screen.
13. Performing Post-Installation Setup. GNOME Initial Setup Activities.
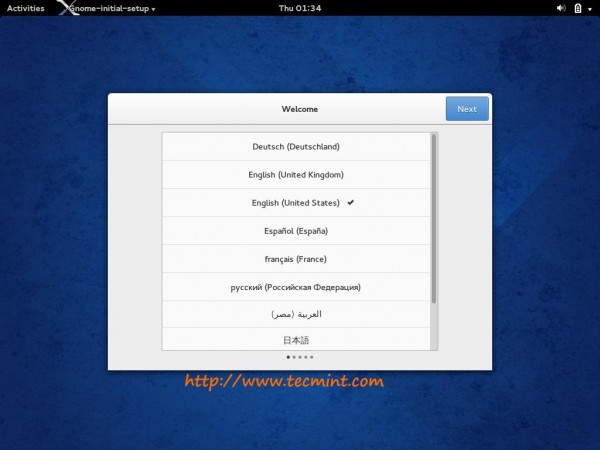
14. Online accounts configuration to connect your existing data in the cloud.
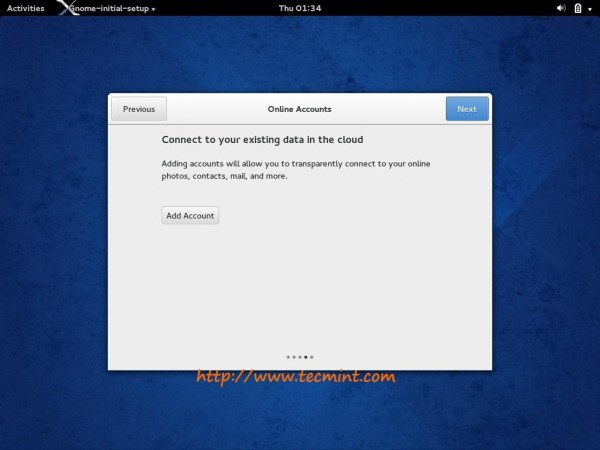
15. Add account with options given.

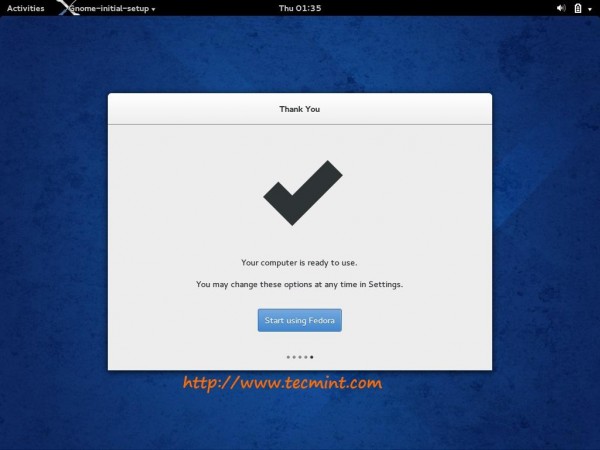
16. That’s it. Your base system is ready to use.
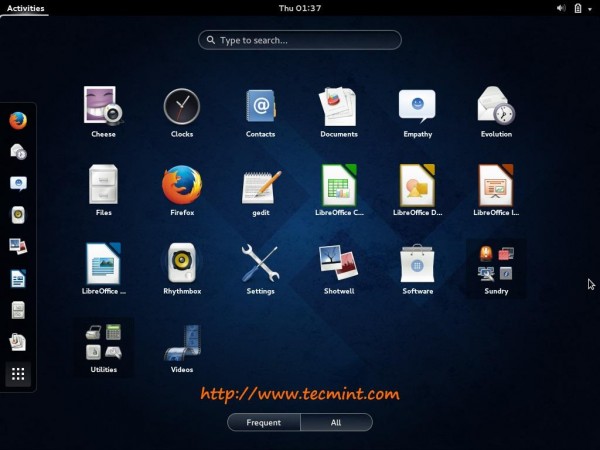
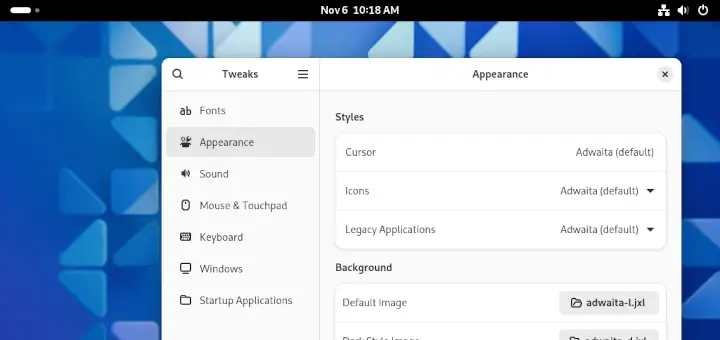
17. Fedora 20 Desktop view.






does any one know who can upgrade and check fedora 20 in Atlantic Canada?
Does Fedora 20 have Gnome ‘classic’ or do you have some screenshots you can post?
Great write up.