LAMP stack (Linux, Apache,MySQL/ MariaDB, PHP and PhpMyAdmin) represents a group of Open Source software commonly used in one of the most spread service in Internet today related to Web services.
This article will guide on how you can install LAMP stack on the last released version of Ubuntu Server (14.10).
Requirements
- Minimal installation of Ubuntu 14.10 Server edition with SSH server.
- If your machine is intended to be a production web server is best that you configure a static IP Address on the interface that will be connected to the network segment that will serve web content to clients.
Step 1: Setup Machine Hostname
1. After you have performed an minimal installation of Ubuntu 14.10 Server Edition, login to your newly server with the administrative sudo user and setup your machine hostname, then verify it by issuing the following commands.
$ sudo hostnamectl set-hostname yourFQDNname
$ sudo hostnamectl

2. Then, run the following commands to assure that your system is updated before we continue with LAMP installation process.
$ sudo apt-get update && sudo apt-get upgrade
Step 2: Install Apache Webserver
3. Now it’s time to proceed with LAMP installation. Apache HTTPD server is one of the oldest, well tested and robust Open Source software which had an enormous influence in what Internet is today, especially in web services development over the years.
Build with a modular design in mind, Apache can support a multitude of programming languages and features thanks to its modules and extensions, one of the most used this days being PHP dynamic programming language.
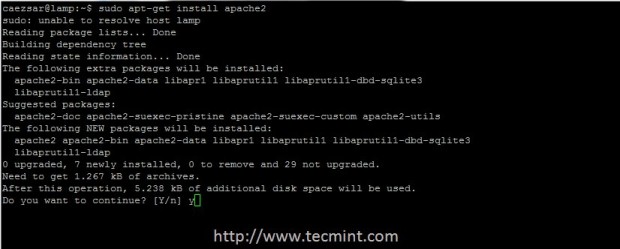
To install Apache HTTPD server run the following command on your console.
$ sudo apt-get install apache2
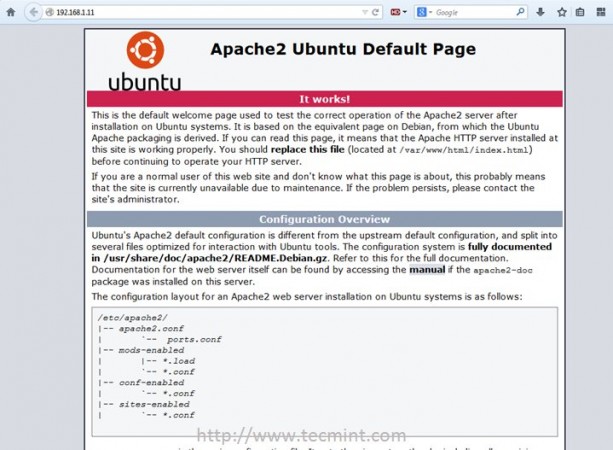
4. In order to determine your machine IP Address in case you haven’t configured a static IP Address, run ifconfig command and type the
resulted IP Address on a browser URL field to visit the default Apache web page.
http://your_server_IP
Step 3: Installing PHP
5. PHP is a powerful server-side dynamic scripting language mostly used in generating dynamic web applications that interact with databases.
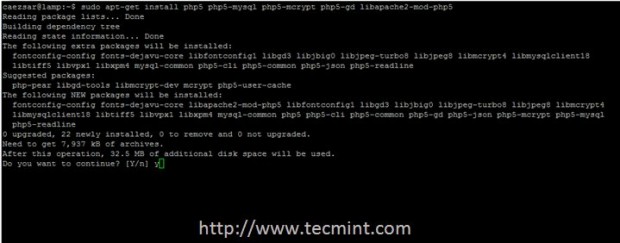
In order to use PHP scripting language for a minimal web development platform, issue the following command that will install some basic PHP modules needed to connect to MariaDB database and use PhpMyAdmin database web interface.
$ sudo apt-get install php5 php5-mysql php5-mcrypt php5-gd libapache2-mod-php5
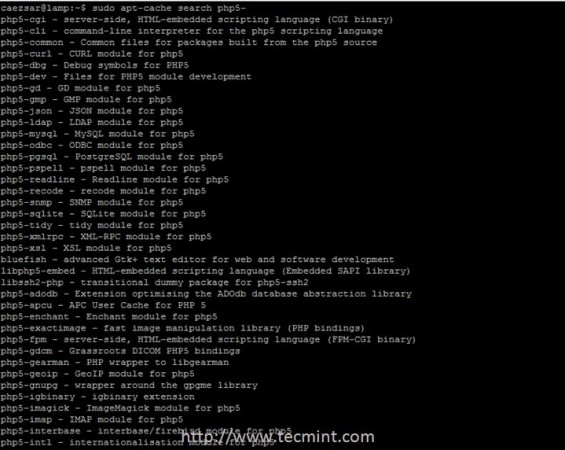
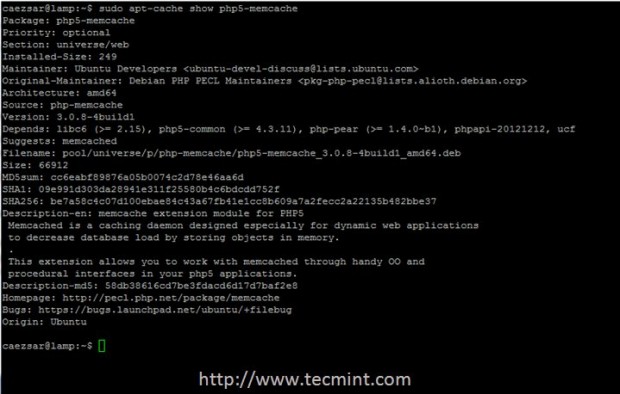
6. If you later need to install a PHP module use the below commands to search and find out detailed information about any specific PHP module or library.
$ sudo apt-cache search php5
$ sudo apt-cache show php5-module_name
Step 4: Install MariaDB Server and Client
7. MariaDB is a relative new relational database forked by the community from the oldest and famous MySQL database, who uses the same API and provides the same functionality as its ancestor MySQL.
To install MariaDB database in Ubuntu 14.10 server, issue the following command with root privileges.
$ sudo apt-get install mariadb-client mariadb-server
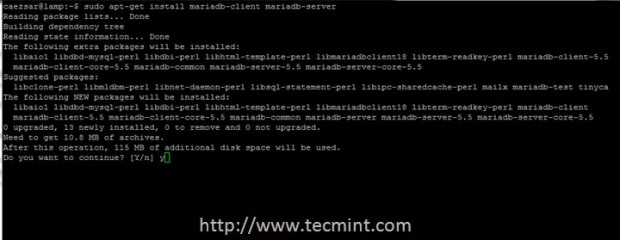
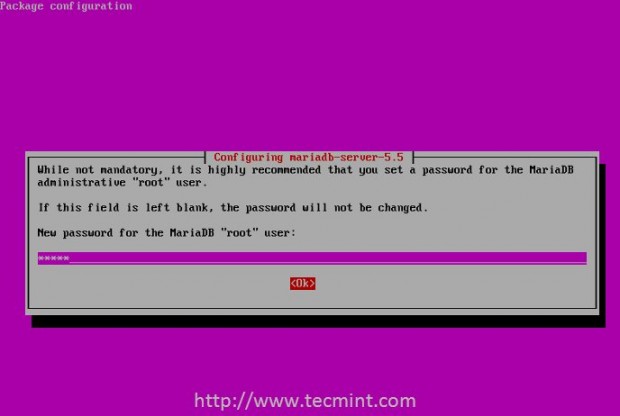
As the installation process of MariaDB takes place on your machine, you will be asked twice to enter and confirm the root password for MariaDB server.
Take notice that MariaDB root user is different from Linux system root user, so make sure you choose a strong password for database root user.
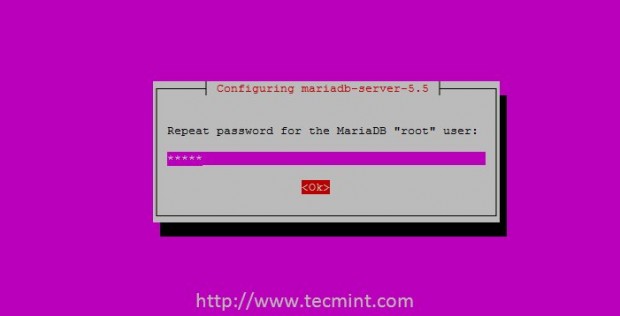
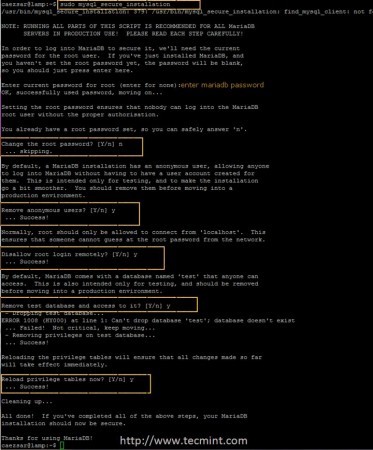
8. After MariaDB server finish installing, it’s time to proceed with a standard database secure installation, which will remove the anonymous user, delete test database and disallow remotely root logins.
Run the below command to secure MariaDB, choose No on the first question to keep your root password then answer Yes on all questions in order to apply the security features from above.
$ sudo mysql_secure_installation
Use the following screenshot as guidance.
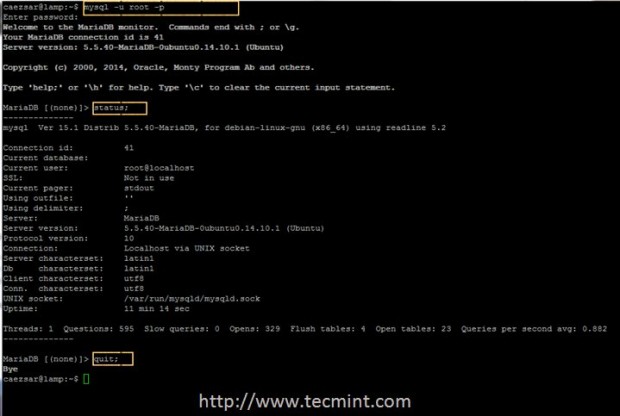
9. After the database has been secured, get the status of MariaDB by performing a command line login using the following command.
$ mysql -u root -p
10. Once inside the database run MySQL status; command to get an outlook of internal variables, then type quit; or exit; MySQL commands to turn back into Linux shell.
MariaDB [(none)]> status;
MariaDB [(none)]> quit;
Step 5: Installing PhpMyAdmin
11. PhpMyAdmin is a web panel frontend used to administer MySQL databases. To install PhpMyAdmin web panel on your machine run the following command, select apache2 as web server and choose not to Configure database for phpmyadmin with dbconfig-common as presented on the below screenshots:
$ sudo apt-get install phpmyadmin

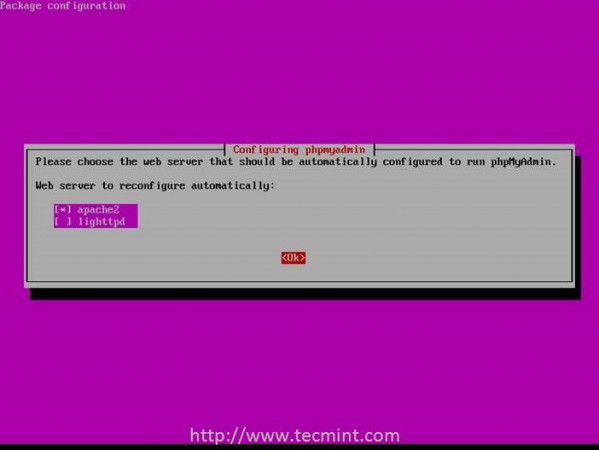
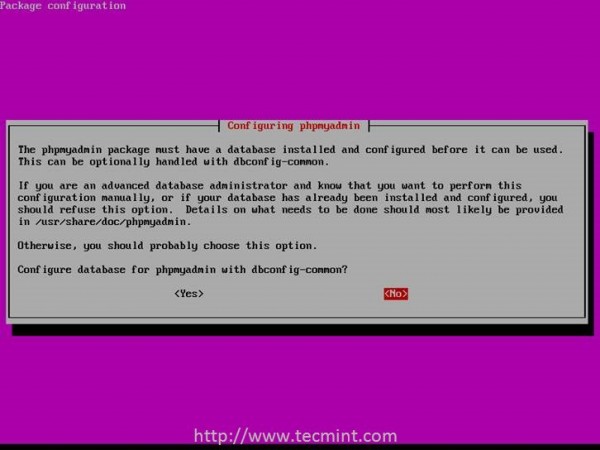
12. After PhpMyAdmin panel was installed, you need to manually enable it by copying its apache configuration file located in /etc/phpmyadmin/ path to Apache webserver available configurations directory, found on /etc/apache2/conf-available/ system path.
Then activate it using a2enconf Apache administrative command. After you finish this step reload or restart Apache daemon to apply all changes.
Use the below commands sequence to enable PhpMyAdmin.
$ sudo cp /etc/phpmyadmin/apache.conf /etc/apache2/conf-available/phpmyadmin.conf
$ sudo a2enconf phpmyadmin
$ sudo service apache2 restart

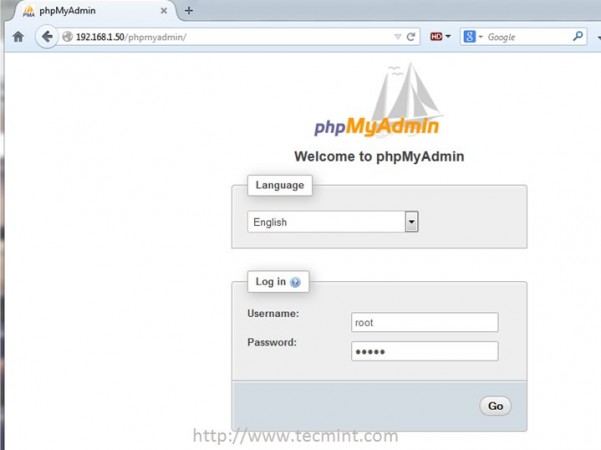
13. Finally, in order to access PhpMyAdmin web interface for MariaDB database, open a browser and type the following network address.
http://your_server_IP/phpmyadmin
Step 6: Test PHP Configuration
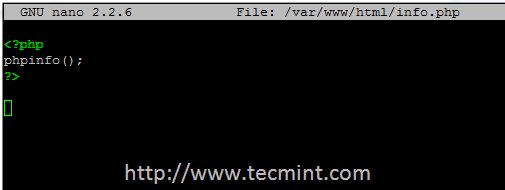
14. To get an inside on how your web server platform looks so far, create an info.php file in /var/www/html/ default Apache webroot
and put the following code inside.
$ sudo nano /var/www/html/info.php
Add following content to info.php file.
<?php

phpinfo();

?>
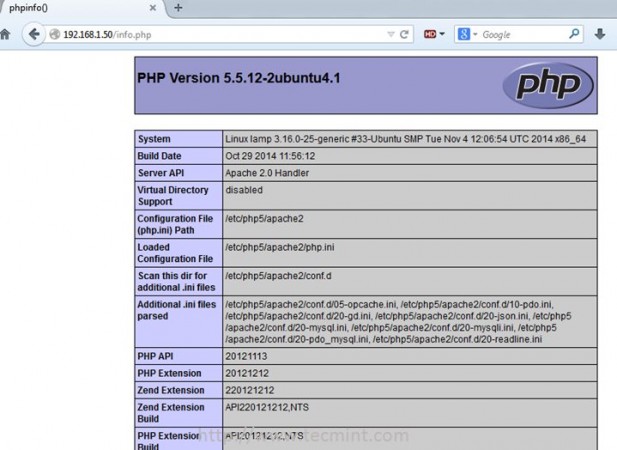
15. Then, save the file using CTRL+O keys, open a browser and direct it to the following network path to get a complete webserver PHP configuration info.
http://your_server_IP/info.php
Step 7: Enable LAMP System-Wide
16. Usually, Apache and MySQL daemons are automatically configured system-wide by the installer scripts, but you can never be too cautious!
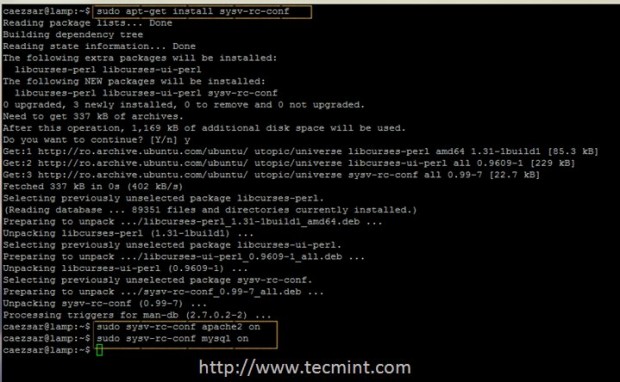
In order to be sure that Apache and MariaDB services are started after every system reboot, install sysv-rc-conf package that manages Ubuntu init scripts, then enable both services system-wide by running the following commands.
$ sudo apt-get install sysv-rc-conf
$ sudo sysv-rc-conf apache2 on
$ sudo sysv-rc-conf mysql on
That’s all! Now your Ubuntu 14.10 machine has the minimal software installed in order to be transformed into a powerful server platform for web developing with LAMP stack on top of it.



This is LAMP stack on Ubuntu, not RHEL 7!
Incomplete information about installation red hat 7 os, i unable to install .