Apache, popularly referred to as the Apache HTTP Server, is a free and open-source cross-platform web server maintained by the Apache Foundation.
Apache is still a major player but has a lower market share of 29.5% compared to Nginx. According to W3Techs, Nginx holds the leading position with a market share of around 34.1%.
Apache is highly reliable, flexible, easy to install, and ships numerous features that make it popular amongst developers and Linux enthusiasts.
Additionally, it is regularly maintained and updated by the Apache Foundation and this helps in fixing software bugs and improving its overall efficiency. When this article is written down, the latest version of Apache is 2.4.60.
In this guide, we will walk you through the steps on how to install Apache on Debian and configure virtual hosts to host multiple domains on a server with SSL.
Prerequisites
Before we get started, ensure the following requirements are met:
- An instance of the Debian 12 server.
- A Fully Qualified Domain Name (FQDN) pointing to the server.
- In this guide, we use the domain
tecmint.compointing to a Debian system with an IP address 192.168.122.27. - A good internet connection.
With our pre-flight check done, let’s get started
Step 1: Update the Debian 12 System Repository
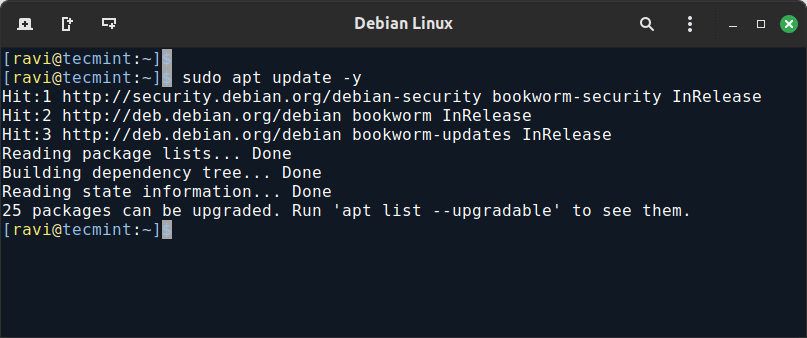
The first step in installing Apache on Debian 12 is updating the system repositories. To achieve this, log in as a regular user and using sudo privileges run the command.
sudo apt update -y
Step 2: Install Apache on Debian 12
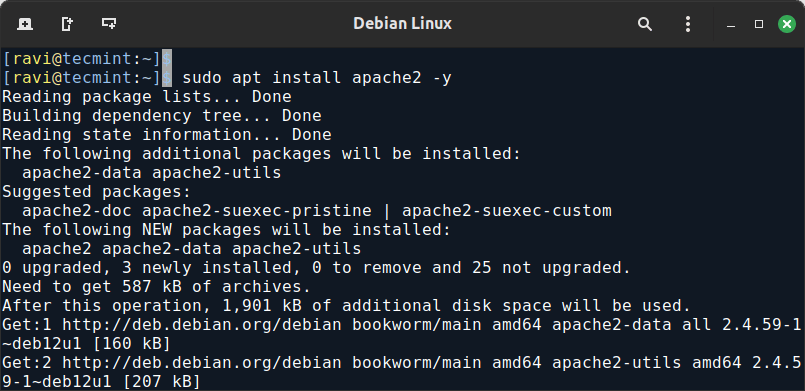
Installing Apache is a piece of cake and pretty straightforward. Once you have successfully updated the system repositories, run the command below to install Apache on Debian 12.
sudo apt install apache2 -y
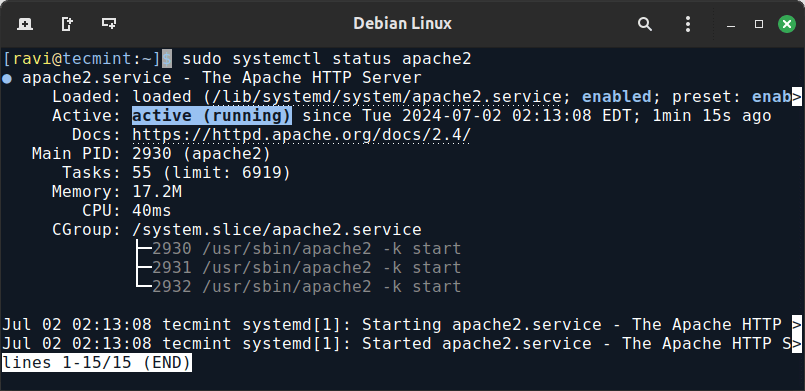
After the successful installation of the Apache web server, it’s always recommended to check if the service is running. Most systemd Linux systems will start the service automatically upon installation.
To check the status of Apache webserver execute the command.
sudo systemctl status apache2
If the service is not running, start the service using the command.
sudo systemctl start apache2
To enable Apache Web server on boot execute the command.
sudo systemctl enable apache2
To restart Apache run.
sudo systemctl restart apache2
Step 3: Configure the Firewall to Allow HTTP Port
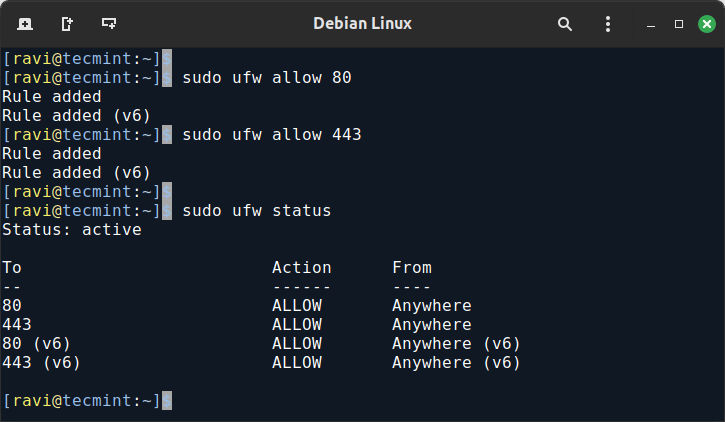
If the UFW firewall is already configured, we need to allow the Apache service across the firewall so that external users can have access to the web server.
To achieve this, we need to allow traffic on HTTP and HTTPS ports on the firewall.
sudo ufw allow 80
sudo ufw allow 443
To verify that the port has been allowed on the firewall, run.
sudo ufw status
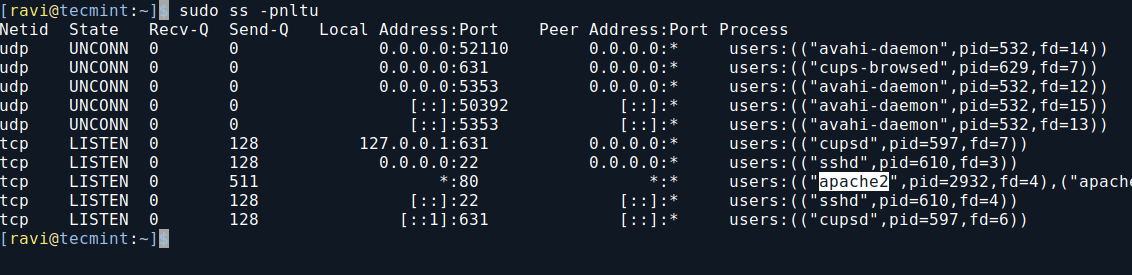
Additionally, you can use the netstat command or ss command to verify the port as shown.
sudo ss -pnltu
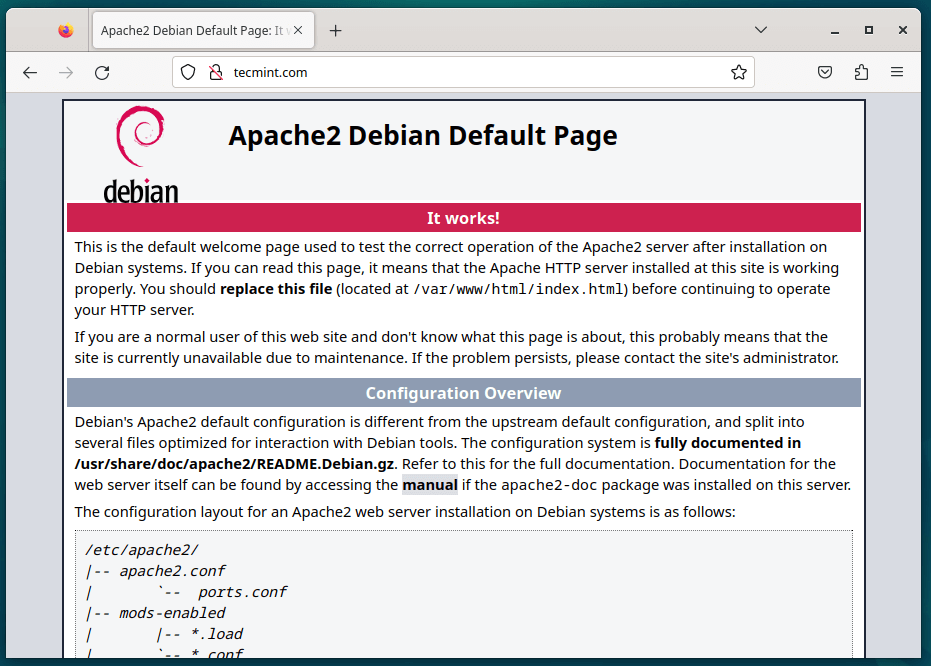
Step 4: Verify Apache HTTP Web Server
With all the settings in place, open your favorite web browser and browse your server’s IP address or FQDN as shown.
http://server-IP-address
OR
http://server-domain-name
Step 5: Host a Sample Website on Apache
With the Apache web server already set up, it’s time to host a sample website.
The default Apache webpage file index.html is found at /var/www/html/ which is the webroot directory. You can host a single site or create virtual host files to host multiple sites.
To host a single site, you can modify the index.html file located on the webroot directory.
But first, make a backup of the file as shown.
sudo mv /var/www/html/index.html /var/www/html/index.html.bak
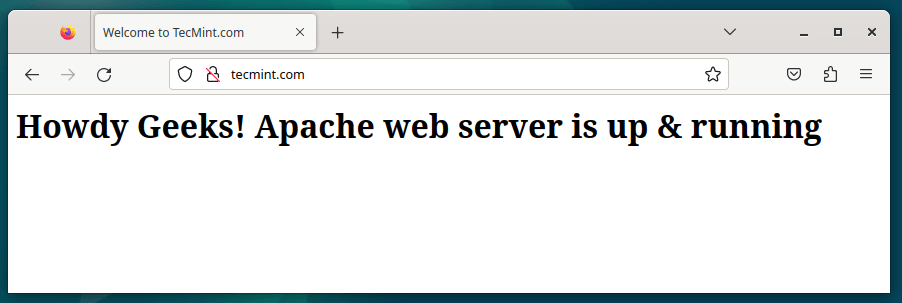
Now let’s create a new index.html file.
sudo nano /var/www/html/index.html
Let’s add some HTML sample content as shown.
<html>
    <head>
        <title>Welcome to crazytechgeek</title>
    </head>
    <body>
        <h1>Howdy Geeks! Apache web server is up & running</h1>
    </body>
</html>
Exit the text editor and restart the web server.
sudo systemctl restart apache2
Now reload your web browser and notice the changes to your new site.
Step 6: Creating Virtual Hosts on Apache
If you want your web server to host multiple sites, the best way to go around this is to create virtual hosts in the Apache web server. Virtual hosts come in handy when you want to host multiple domains in a single server
First, we need to create a webroot directory for the domain tecmint.com.
sudo mkdir -p /var/www/html/tecmint.com/
Next, we shall assign the necessary permissions to the directory using the $USER variable.
sudo chown -R $USER:$USER /var/www/html/tecmint.com/
Next, assign the necessary permissions of the webroot directory for the domain.
sudo chmod -R 755 /var/www/html/tecmint.com
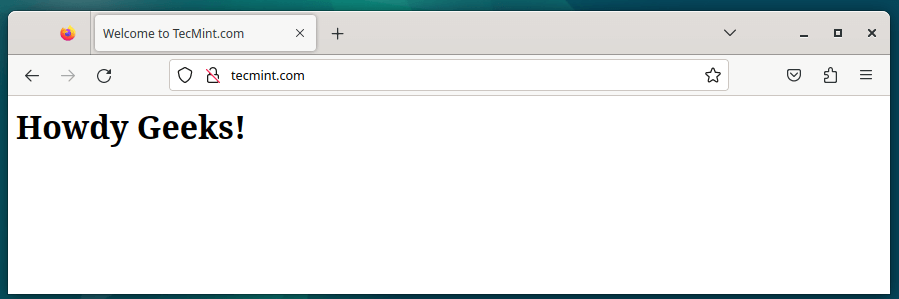
Now using your favorite text editor, head out and create a sample index.html file.
sudo nano /var/www/html/tecmint.com/index.html
Let’s add some HTML sample content as shown.
<html>
    <head>
        <title>Welcome to TecMint.com</title>
    </head>
    <body>
        <h1>Howdy Geeks!</h1>
    </body>
</html>
Save and exit the text editor.
Now, create a virtual host file for the domain using the command shown below.
sudo nano /etc/apache2/sites-available/tecmint.com.conf
Now copy and paste the content below and replace the domain tecmint.com with your own domain.
<VirtualHost *:80>
    ServerAdmin admin@tecmint.com
    ServerName tecmint.com
    ServerAlias www.tecmint.com
    DocumentRoot /var/www/html/tecmint.com/
    ErrorLog ${APACHE_LOG_DIR}/error.log
    CustomLog ${APACHE_LOG_DIR}/access.log combined
</VirtualHost>
Save and exit.
At this point, enable the virtual host file as shown.
sudo a2ensite tecmint.com.conf
Now let’s disable the default site
sudo a2dissite 000-default.conf
To effect the changes, reload the Apache webserver.
sudo systemctl restart apache2
Now reload your web server and notice the changes for your domain.
Step 7: Enabling HTTPS/SSL with Let’s Encrypt on Apache
To secure your site with HTTPS, you’ll use Let’s Encrypt to obtain a free SSL certificate.
To obtain a free SSL, you need to install the Certbot tool that automates the process of obtaining and renewing SSL certificates.
sudo apt install certbot python3-certbot-apache -y
Run Certbot to obtain the certificate and automatically configure Apache to use it.
sudo certbot --apache -d tecmint.com -d www.tecmint.com
You’ll be prompted to enter your email address and agree to the terms of service. Certbot will then contact the Let’s Encrypt CA to obtain and install your certificate.
Certbot should automatically configure your virtual host to use SSL and you can verify it by checking the configuration file:
sudo nano /etc/apache2/sites-available/tecmint.com-le-ssl.conf
It should look something like this:
<IfModule mod_ssl.c>
<VirtualHost *:443>
    ServerAdmin admin@tecmint.com
    ServerName tecmint.com
    ServerAlias www.tecmint.com
    DocumentRoot /var/www/html/tecmint.com/
    ErrorLog ${APACHE_LOG_DIR}/tecmint.com_error.log
    CustomLog ${APACHE_LOG_DIR}/tecmint.com_access.log combined

    SSLEngine on
    SSLCertificateFile /etc/letsencrypt/live/tecmint.com/fullchain.pem
    SSLCertificateKeyFile /etc/letsencrypt/live/tecmint.com/privkey.pem
    Include /etc/letsencrypt/options-ssl-apache.conf
</VirtualHost>
</IfModule>
Open a web browser and navigate to https://tecmint.com and https://tecmint.com. You should see the sample page you created earlier, and the connection should be secure with HTTPS.
Step 8: Automatically Renew SSL Certificate for Apache
Let’s Encrypt certificates are valid for 90 days, so it’s important to set up automatic renewal via cron job.
sudo crontab -e
Add the following line to the crontab.
0 0 * * 0 /usr/bin/certbot renew --quiet
This will automatically renew the SSL certificate every week, ensuring it’s renewed well before the 90-day expiration.
Conclusion
We have come to the end of the tutorial. In this guide, you learned how to install Apache on Debian 12 and also configure virtual hosts to host other domains. Feel welcome to get back to us with your feedback.


Hello,
Thank you for your guide.
But if you want to have an email for your domain f.e.
info@tecmint.com, how are you going to create and configure the email address?Thanks,
jo
Hey Joseph. You first need to purchase a domain name. From the Control Panel, you can create or specify your own custom email addresses e.d
info@joseph.com,admin@joseph.com,support@joseph.com, etc.Hello, Thanks for writing this guide.
Can you help me with opening port 80, while I am using Debian on a laptop with internet access via hotspot running from a smartphone?
command-line look’s like these:
[code]sudo ufw allow 80/tcp
Adding existing rule
Adding existing rule (v6)
sudo ufw status
Status: inactive[/code]
Thanks – very useful step by step guide. I think that’s a typo in Step 4:
should be
@Dougie,
Thanks, corrected the command in the article…
Thank you very much for this guide!
I was able to test this in a VM and now I’m running it on my OMV Home Server :)
You’re welcome @ RedAiluridae. I’m glad the tutorial was of much assistance to you.
Thank you so much, Rick, for the positive feedback. We always strive to give insightful information to our readers.
Thank you for taking the time to write and post the article. It is a great and valuable resource. My respect to you.
Thank you Rick, I’m glad the guide was beneficial to you.