Asterisk is an open-source framework used for building communication applications. You can use it to turn a local computer or server to the communication server. It is used to power IP PBX systems, VoIP gateways, conference servers, and other solutions. It’s used by all kind of organizations worldwide and finally, but not last it is free and open source.
In this tutorial, we are going to show you how to install Asterisk on CentOS 8/7 (instructions also works on RHEL 8/7), but before we start, we will need to make some preparations so Asterisk can run smoothly after the installation.
Step 1: Disable SELinux on CentOS
To do this, SSH to your system and using your favorite command line text editor, open /etc/selinux/config and disable SELINUX.
# vim /etc/selinux/config
SELinux line should look like this:
SELINUX=disabled

Now reboot your system. Once it comes back SSH again to that system.
Step 2: Install Required Packages
Asterisk has quite a few requirements that need to be installed. You can use the following yum command to install the required packages as shown.
# yum install -y epel-release dmidecode gcc-c++ ncurses-devel libxml2-devel make wget openssl-devel newt-devel kernel-devel sqlite-devel libuuid-devel gtk2-devel jansson-devel binutils-devel libedit libedit-devel
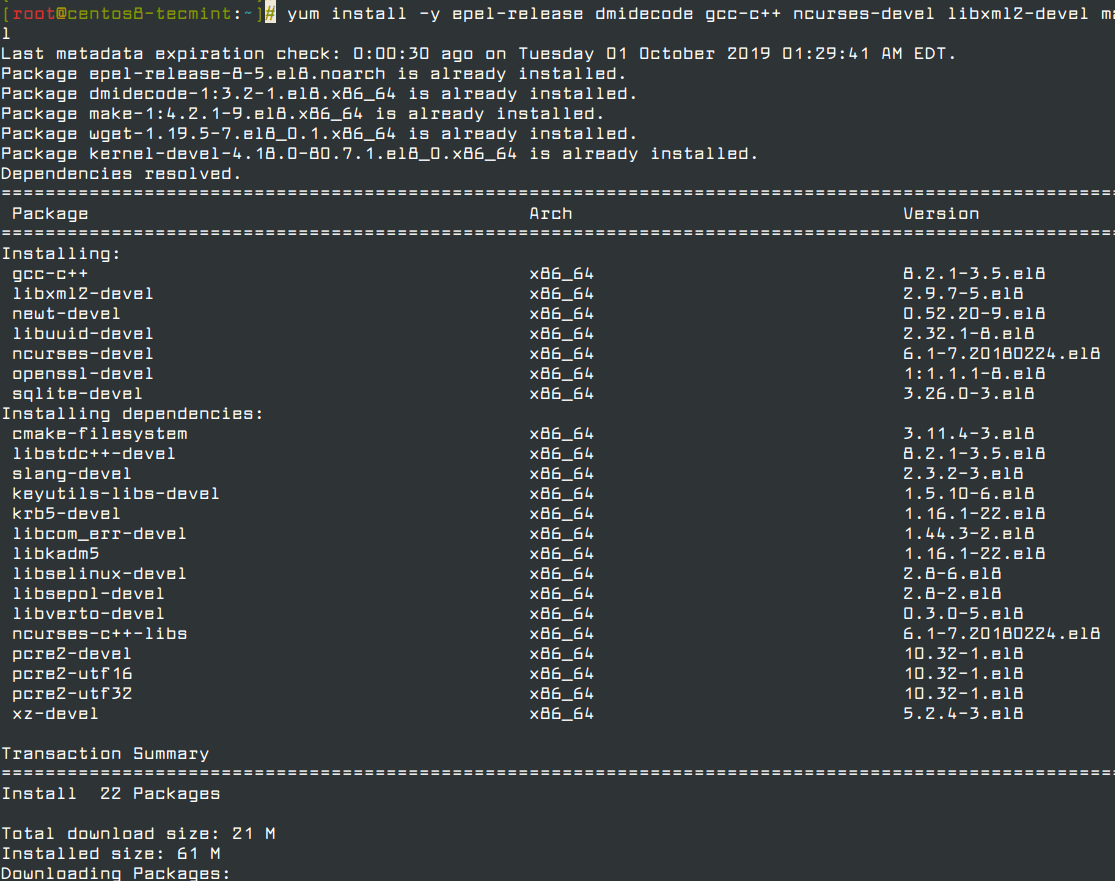
Before we continue further, create a new user with sudo privileges called “asterisk“, we will use this user to setup asterisk on the system.
# adduser asterisk -c "Asterisk User"
# passwd asterisk
# usermod -aG wheel asterisk
# su asterisk
Next, install PJSIP, is a free open source multimedia communication library that implements standard based protocols such as SIP,SDP,RTP,STUN,TURN, and ICE. It is the Asterisk SIP channel driver that should improve the clarity of the calls.
To get the latest version, first let’s create a temporary directory where we will build the package from source.
$ mkdir ~/build && cd ~/build
Now go the PJSIP download page and grab the package or use the following wget command to download the package directly in the terminal.
Note that by the writing of this article the latest version is 2.8, this may change in future, thus make sure to use the latest version:
$ wget https://www.pjsip.org/release/2.9/pjproject-2.9.tar.bz2
Once the download is complete, extract the file and change to that directory.
$ tar xvjf pjproject-2.9.tar.bz2
$ cd pjproject-2.9
The next step is to prepare the package to be compiled. You can use the following command:
$ ./configure CFLAGS="-DNDEBUG -DPJ_HAS_IPV6=1" --prefix=/usr --libdir=/usr/lib64 --enable-shared --disable-video --disable-sound --disable-opencore-amr
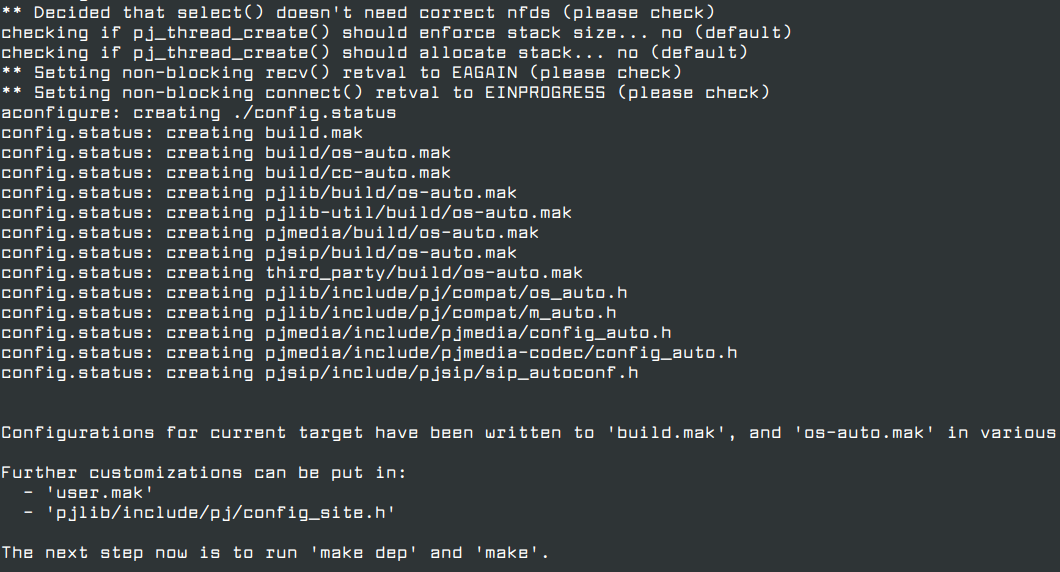
You should not see any errors or warnings. Ensure that all dependencies are met:
$ make dep
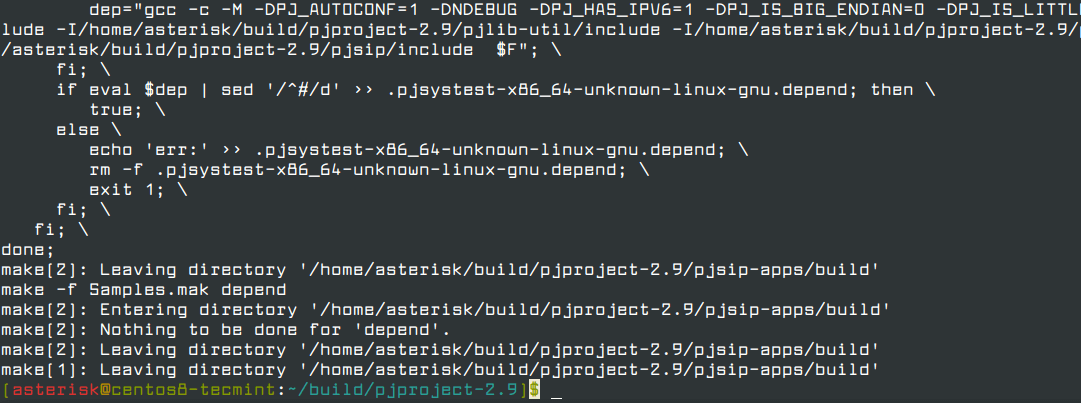
And now we can complete the install and link libraries with:
$ make && sudo make install && sudo ldconfig
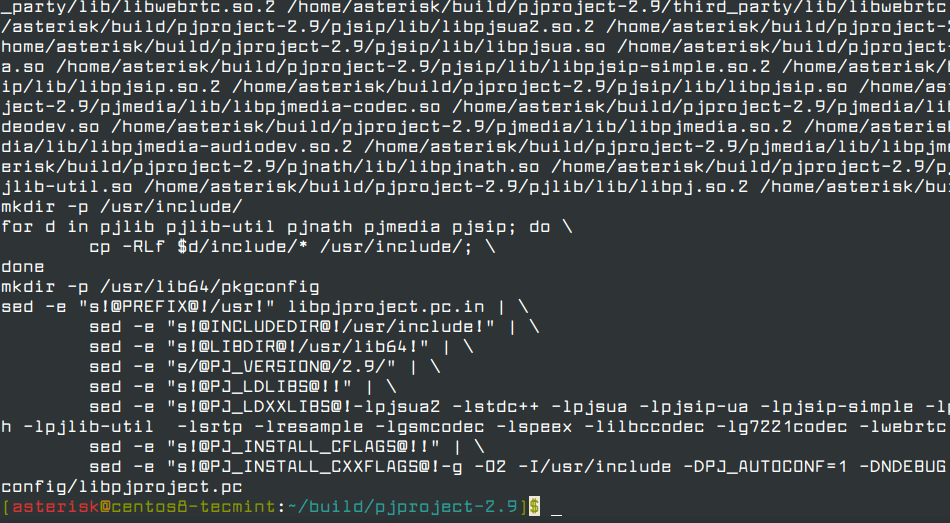
Finally, ensure that all libraries are installed and present:
$ ldconfig -p | grep pj
You should get the following output:
libpjsua2.so.2 (libc6,x86-64) => /lib64/libpjsua2.so.2
	libpjsua2.so (libc6,x86-64) => /lib64/libpjsua2.so
	libpjsua.so.2 (libc6,x86-64) => /lib64/libpjsua.so.2
	libpjsua.so (libc6,x86-64) => /lib64/libpjsua.so
	libpjsip.so.2 (libc6,x86-64) => /lib64/libpjsip.so.2
	libpjsip.so (libc6,x86-64) => /lib64/libpjsip.so
	libpjsip-ua.so.2 (libc6,x86-64) => /lib64/libpjsip-ua.so.2
	libpjsip-ua.so (libc6,x86-64) => /lib64/libpjsip-ua.so
	libpjsip-simple.so.2 (libc6,x86-64) => /lib64/libpjsip-simple.so.2
	libpjsip-simple.so (libc6,x86-64) => /lib64/libpjsip-simple.so
	libpjnath.so.2 (libc6,x86-64) => /lib64/libpjnath.so.2
	libpjnath.so (libc6,x86-64) => /lib64/libpjnath.so
	libpjmedia.so.2 (libc6,x86-64) => /lib64/libpjmedia.so.2
	libpjmedia.so (libc6,x86-64) => /lib64/libpjmedia.so
	libpjmedia-videodev.so.2 (libc6,x86-64) => /lib64/libpjmedia-videodev.so.2
	libpjmedia-videodev.so (libc6,x86-64) => /lib64/libpjmedia-videodev.so
	libpjmedia-codec.so.2 (libc6,x86-64) => /lib64/libpjmedia-codec.so.2
	libpjmedia-codec.so (libc6,x86-64) => /lib64/libpjmedia-codec.so
	libpjmedia-audiodev.so.2 (libc6,x86-64) => /lib64/libpjmedia-audiodev.so.2
	libpjmedia-audiodev.so (libc6,x86-64) => /lib64/libpjmedia-audiodev.so
	libpjlib-util.so.2 (libc6,x86-64) => /lib64/libpjlib-util.so.2
	libpjlib-util.so (libc6,x86-64) => /lib64/libpjlib-util.so
	libpj.so.2 (libc6,x86-64) => /lib64/libpj.so.2
	libpj.so (libc6,x86-64) => /lib64/libpj.so
Step 3: Install Asterisk on CentOS 8/7
We are now ready to initiate the installation of Asterisk. Navigate back to our ~/build directory:
$ cd ~/build
Go to the Asterisk download page and grab the latest version or you can use the following wget command to download the file in terminal.
$ wget http://downloads.asterisk.org/pub/telephony/asterisk/asterisk-16-current.tar.gz
By the writing of this tutorial, the latest Asterisk version is 16. Make sure that you are downloading the latest version of Asterisk, when you are following the steps.
Now extract the archive and navigate to the newly created directory:
$ tar -zxvf asterisk-16-current.tar.gz
$ cd asterisk-16.5.1
This is the time to mention, that if you wish to enable mp3 support to play music while the client is on hold, you will need to install a few more dependencies. These steps are optional:
$ sudo yum install svn
$ sudo ./contrib/scripts/get_mp3_source.sh
After the second step, you should get output similar to these:
A    addons/mp3
A    addons/mp3/Makefile
A    addons/mp3/README
A    addons/mp3/decode_i386.c
A    addons/mp3/dct64_i386.c
A    addons/mp3/MPGLIB_TODO
A    addons/mp3/mpg123.h
A    addons/mp3/layer3.c
A    addons/mp3/mpglib.h
A    addons/mp3/decode_ntom.c
A    addons/mp3/interface.c
A    addons/mp3/MPGLIB_README
A    addons/mp3/common.c
A    addons/mp3/huffman.h
A    addons/mp3/tabinit.c
Exported revision 202.
Start by running the configure script to prepare the package for compiling:
$ sudo contrib/scripts/install_prereq install
$ ./configure --libdir=/usr/lib64 --with-jansson-bundled
If you get any missing dependencies to install them. In my case, I got the following error:
configure: error: patch is required to configure bundled pjproject
To go around this simply run:
# yum install patch
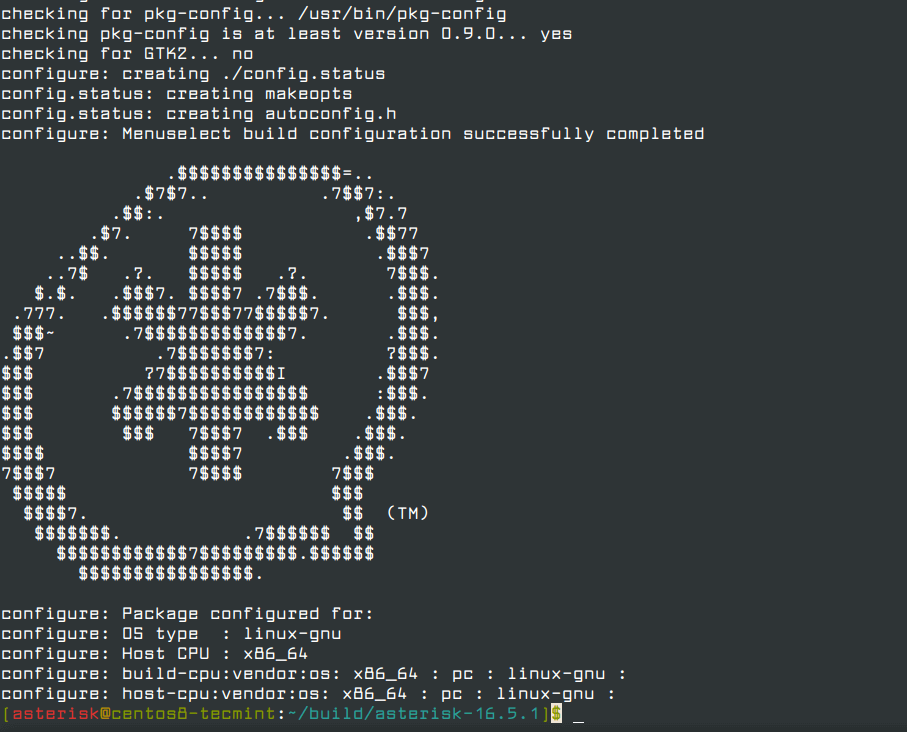
And re-run the configure script. If all went perfectly without errors, you will see the following screenshot.
Now, let’s start the build process:
$ make menuselect
After a few seconds, you should get a list of features to enable:
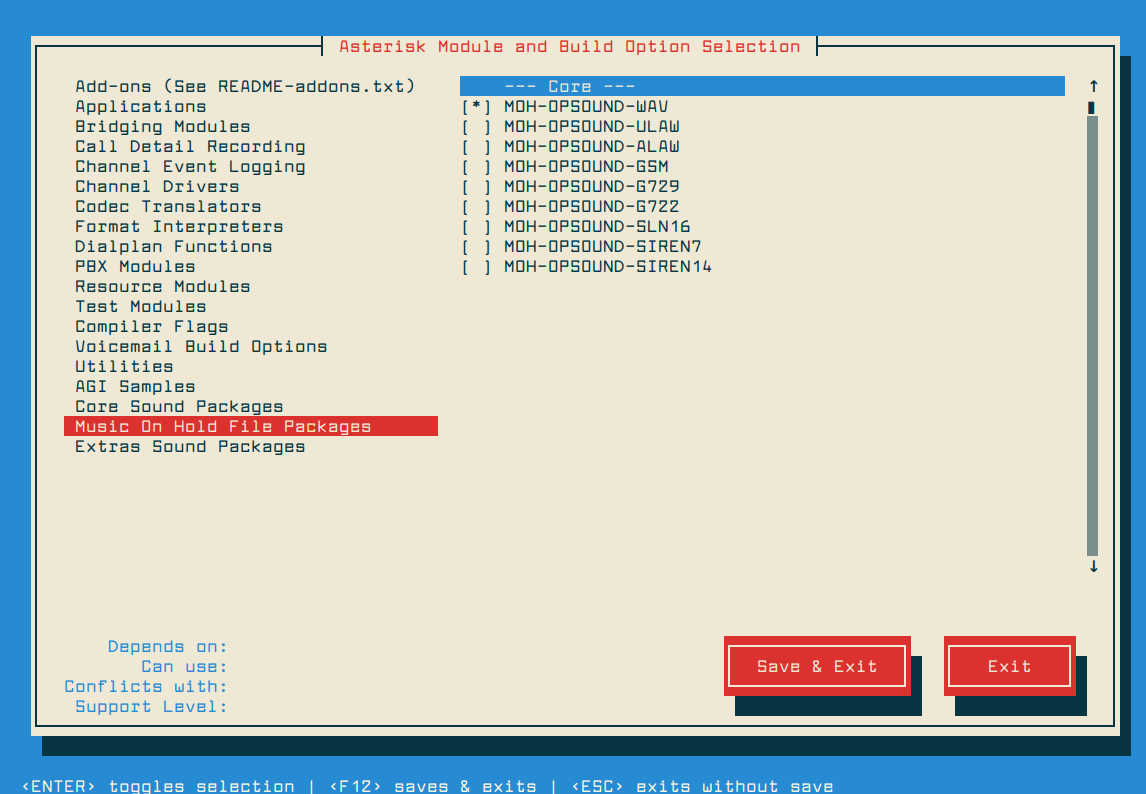
If you attempt to use music on hold feature, you will need to enable the “format_mp3” feature from “Add-ons” section. Save your list and run the following command:
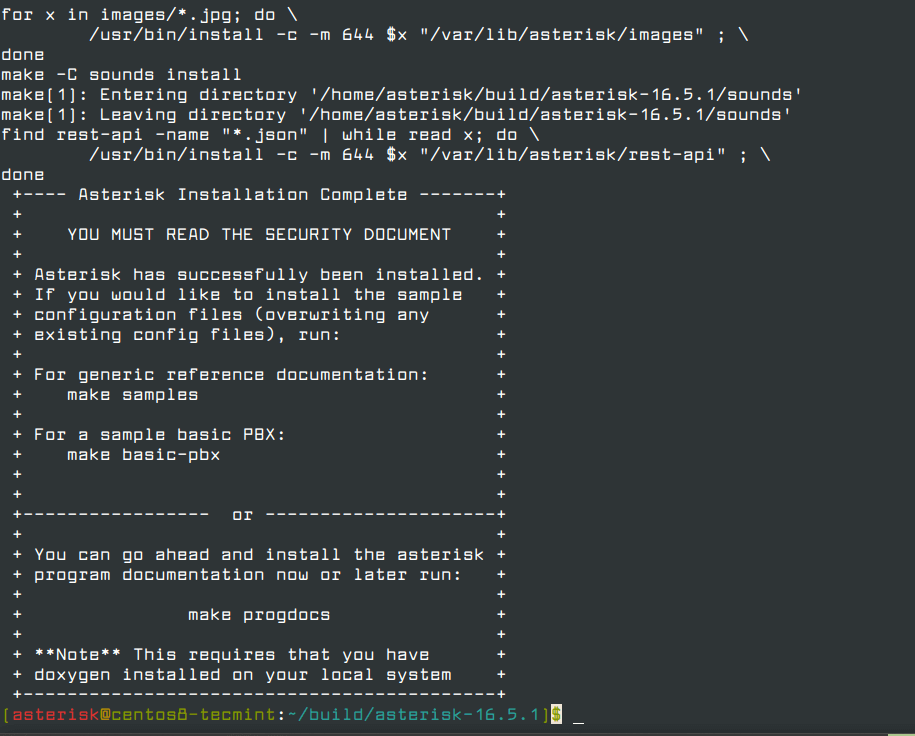
$ make && sudo make install
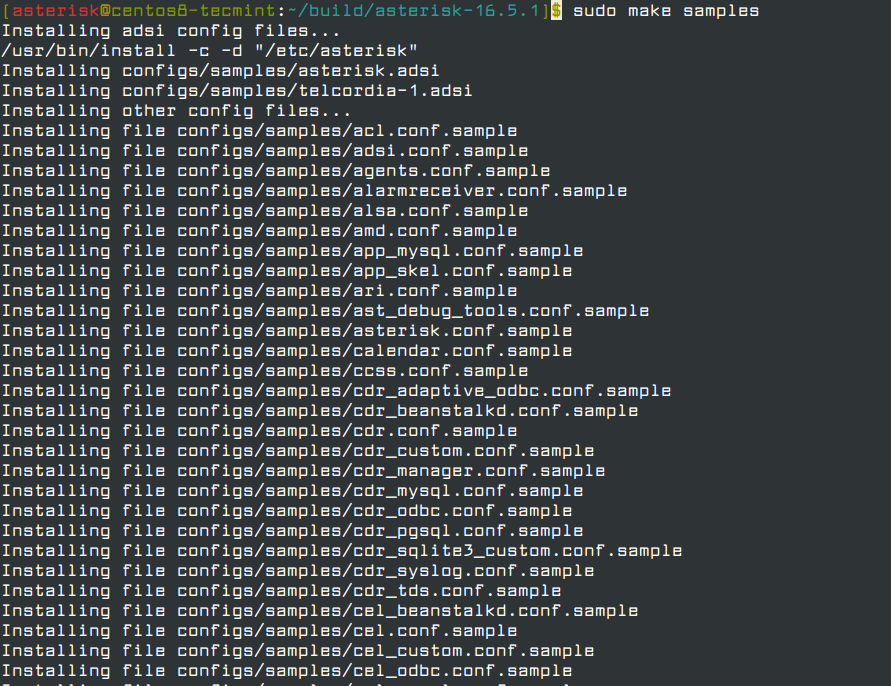
To install the sample configuration files, use the command below:
$ sudo make samples
To start Asterisk on boot, use:
$ sudo make config
Update the ownership of the following directories and files:
$ sudo chown asterisk. /var/run/asterisk
$ sudo chown asterisk. -R /etc/asterisk
$ sudo chown asterisk. -R /var/{lib,log,spool}/asterisk
Finally, let’s test our installation with:
$ sudo service asterisk start
$ sudo asterisk -rvv
You should see output similar to this one:
Asterisk 16.5.1, Copyright (C) 1999 - 2018, Digium, Inc. and others.
Created by Mark Spencer <markster@digium.com>
Asterisk comes with ABSOLUTELY NO WARRANTY; type 'core show warranty' for details.
This is free software, with components licensed under the GNU General Public
License version 2 and other licenses; you are welcome to redistribute it under
certain conditions. Type 'core show license' for details.
=========================================================================
Connected to Asterisk 16.5.1 currently running on centos8-tecmint (pid = 9020)
centos8-tecmint*CLI>
If you want to see a list of available commands type:
asterisk*CLI> core show help
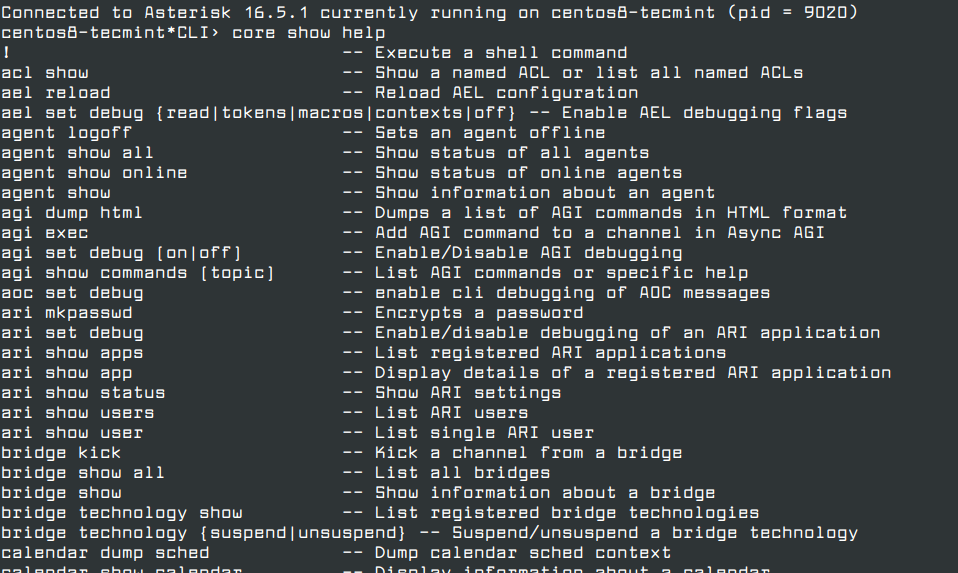
To exit the Asterisk prompt, simply type:
asterisk*CLI> exit
Asterisk will still be running in the background.
Conclusion
Now you have a running Asterisk server and you can start connecting phones and extensions and adjust your configuration per your needs. For more details how to achieve this, it is recommended to use the Asterisk Wiki page. If you have any questions or comments, please let us know in the comment section below.


Hi, Is there a way to install an asterisk without the attending menu select screen from CLI? I am trying here to automate the process but menu select requires to be attended by a human. Is there a way to do this directly in files? as a script can edit a file to select and enable options?
HI – Could you please help me with the below error while I was installing asterisk-16.22.0
[root@v911x-vsp asterisk-16.22.0]# make && make install
CC=”cc” CXX=”g++” LD=”” AR=”” RANLIB=”” CFLAGS=”” LDFLAGS=”” make -C menuselect CONFIGURE_SILENT=”–silent” makeopts
make[1]: Entering directory `/export/home/asterisk/build/asterisk-16.22.0/menuselect’
make[1]: `makeopts’ is up to date.
make[1]: Leaving directory `/export/home/asterisk/build/asterisk-16.22.0/menuselect’
[pjproject] Compiling lib libpj-x86_64-unknown-linux-gnu.a
make[2]: *** [/export/home/asterisk/build/asterisk-16.22.0/third-party/pjproject/source/pjlib/lib/libpj-x86_64-unknown-linux-gnu.a] Error 2
make[1]: *** [pjproject] Error 2
make: *** [third-party] Error 2
Hi – I am following the above guide to install asterisk-16.22.0, however not able to resolve the below error. Appreciate anyone could help me here?
Nice guide. It will be nice to give an example of a realtime asterisk. How to install it, create users, configure dialplan, conference,…
Beautifully written and well detailed.
In the section “will need to enable the “format_mp3” feature from the “Add-ons” section” you say to run using sudo. This results in root owning the mp3 folder and at one point the installation aborted as the asterisk user didn’t have write authority here.
Great tutorial. I am having an issue getting up and running. after the first yum install, I get: No match for argument libedit-devel, unable to find a match. This is what is really holding me up. Can you give me some feedback on this? I would sure appreciate it. Thank you in advance.
Answering my own question, to get it to work, I had to issue the following command:
then when I issued:
yum install libedit-develeverything worked as expected..If you need to disable SELinux to use the app, then don’t use that. or, use another distro that not using SElinux by default.
I am still confused about why many GNU/Linux tutorial asks the reader to disable SElinux. it is bad security practice dude. just don’t use CentOS if you can’t handle SElinux.
I absolutely agree with LinuxSec – SELinux should not be disabled.
It doesn’t help that Asterisk docs and Digium Support apparently suggest _disabling_ SELinux, not even changing it to permissive mode. Jeesh!
Research the contexts you need along with using permissive mode and set the contexts properly. There are situations where audit2allow can create policies with too much access, but there are policies for Asterisk PBX out there (haven’t used them myself).
How to configure file
sip.confandextendion.conffor sample test?Can you help how to test it please, i am done in all steps , only testing & GUI for config
$ ./configure CFLAGS="-DNDEBUG -DPJ_HAS_IPV6=1" --prefix=/usr --libdir=/usr/lib64 --enable-shared --disable-video --disable-sound --disable-opencore-amrI have error no such file or directory and i go with your guide step by step
Try admin/password.It should work just fine
ask me password of the asterisk
Me too did you find the solution
You must set password for asterisk user.
change to root mode and type:
and set your password.. thanks !
Can you please explain more what to do after it ask for the asterisk password?
Thumbs up. Precise instructions. Thanks Martin
Thanks for this!
I had a fresh install of CentOS7 and needed to run “# usermod -aG wheel asterisk” as root before being able to sudo any commands.
Also for new versions of asterisk (16 at time of leaving this comment) PJ sip is included by default so no need to download it prior to Asterisk
I have installed asterisk 11 in centos 6.5 and it worked fine. After a reboot asterisk -rvv it does not start, it needs to type service asterisk start. is there a way to make asterisk start automatically in centos 6.x version please?
@John,
Add the service startup command to /etc/rc.local file.
I have some confusion about Linux server and Linux Desktop Edition which one we have to use to install Asterisk, Is it possible to install asterisk on Linux Desktop edition.
@Umar,
Yes you can install Asterisk on both Linux server and Desktop as well..
After the make all command my server shows:
make -C linux all
make[1]: Entering directory `/root/.local/share/Trash/files/dahdi-linux-complete-2.10.1+2.10.1/linux’
make -C drivers/dahdi/firmware firmware-loaders
make[2]: Entering directory `/root/.local/share/Trash/files/dahdi-linux-complete-2.10.1+2.10.1/linux/drivers/dahdi/firmware’
make[2]: Leaving directory `/root/.local/share/Trash/files/dahdi-linux-complete-2.10.1+2.10.1/linux/drivers/dahdi/firmware’
You do not appear to have the sources for the 2.6.32-131.0.15.el6.i686 kernel installed.
make[1]: *** [modules] Error 1
make[1]: Leaving directory `/root/.local/share/Trash/files/dahdi-linux-complete-2.10.1+2.10.1/linux’
make: *** [all] Error 2.
Can you give me the solution?
@Fitrat,
You must have kenel-devel package installed on the system.
Thank you Mr. Ravi for your nice tutorial. That time, i forgot to install some of the packages which were enlisted on your tutorial. Now i have installed Asterisk successfully. Thanks again.
The directives you show leaves asterisk installed by user “root”. Therefore, when you run asterisk, asterisk is owned by root. I would prefer to run asterisk as UNIX used asterisk, adding, of course, user and group asterisk on beforehand. May you please tell us how to run asterisk as user asterisk? Thank you.
i have 2 cisco ip pone what i should first step b4 configure of asterisk installation
want to know about Asterisk-Polycom
one important thing is missing – PERL, so before reboot step use also this command:
yum install perl
Good luck to all Asterisk people ;-)
Better to use yum on centos/fedora seeing as the repo is available for these distros.