Graylog is an industry-leading opensource log management solution for collecting, storing, indexing, and analyzing real-time data from applications and a myriad of devices in IT infrastructures such as servers, routers, and firewalls.
Graylog helps you gain more insights into the data collected by combining multiple searches for detailed analysis and reporting. It also detects threats and possible nefarious activity by conducting a deep analysis of the logs from remote sources.
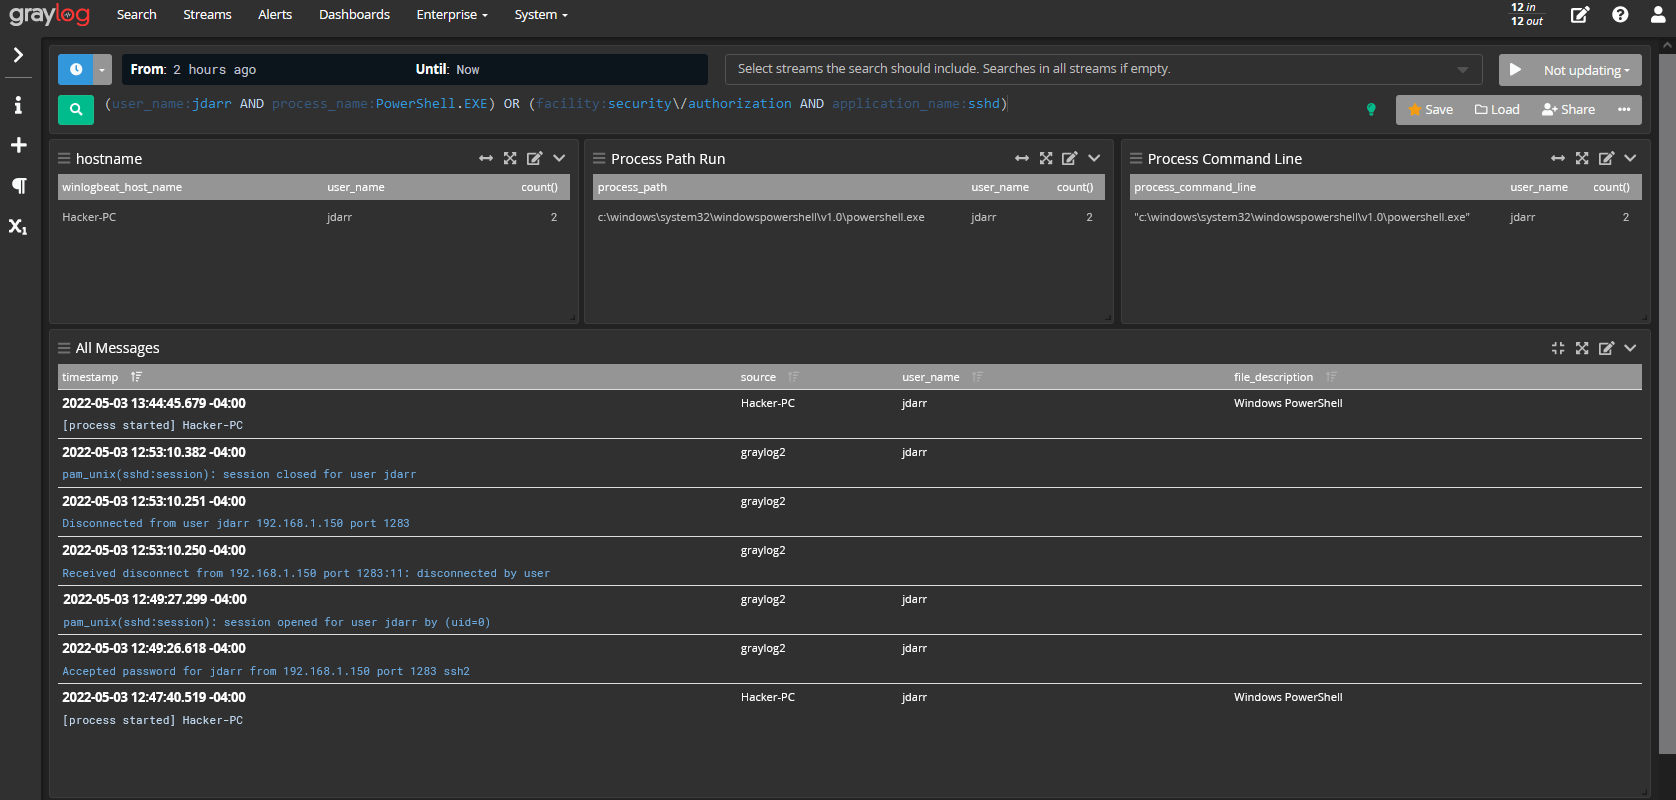
Graylog comprises the following:
- The Graylog Server – This is the main server and is used for processing logs.
- The Graylog web interface – This is a browser application that gives a glance at the data and logs collected from multiple endpoints.
- MongoDB – A NoSQL database server for storing configuration data.
- ElasticSearch – This is a free and open-source search and analytics engine that parses and indexes raw data from various sources.
Graylog’s architecture accepts any type of structured data including network traffic and logs from the following:
- Syslog (TCP, UDP, AMQP, Kafka).
- AWS – AWS logs, CloudTrail, & FlowLogs.
- Netflow (UDP).
- GELF (TCP, UDP, AMQP, Kafka).
- ELK – Beats, and Logstash.
- JSON Path from HTTP API.
Some of the giant tech companies that implement Graylog in their tech stacks include Fiverr, CircleCI, CraftBase, and BitPanda.
In this guide, we will show you how to install the Graylog log management tool on RHEL 8 and RHEL-based distros like AlmaLinux, CentOS Stream, and Rocky Linux.
Step 1: Install EPEL Repo and Prerequisite Packages
To start off, you need some essential packages which will be helpful as you move along with this guide. First, install the EPEL repository which provides a rich set of software packages for RHEL & RHEL distributions.
$ sudo dnf install https://dl.fedoraproject.org/pub/epel/epel-release-latest-8.noarch.rpm
Next, install the following packages which will be required along the way.
$ sudo dnf install -y pwgen wget curl perl-Digest-SHA
Step 2: Install Java (OpenJDK) in RHEL
One of the prerequisites of installing Graylog is Java 8 and later versions. Here, we are going to install the latest LTS release of Java which is Java 11 which will be provided by OpenJDK 11.
Therefore, run the following command to install OpenJDK.
$ sudo dnf install java-11-openjdk java-11-openjdk-devel -y
This installs Java dependencies and a host of other dependencies.
Once the installation is complete, verify the version installed.
$ java -version

Step 3: Install Elasticsearch in RHEL
Elasticsearch is a free and open-source search and analytics engine that handles a wide variety of data including structured, unstructured, numerical, geospatial, and textual data.
It is a key component of the Elastic stack, also known as ELK (Elasticsearch, Logstash, and Kibana), and is widely used for its simple REST APIs, scalability and speed.
Graylog requires Elasticsearch 6.x or 7.x. We will install Elasticsearch 7.x which is the latest release at the time of publishing this guide.
Create the Elasticsearch repository file.
$ sudo vim /etc/yum.repos.d/elasticsearch.repo
Next, paste the following lines of code to the file.
[elasticsearch-7.x]
name=Elasticsearch repository for 7.x packages
baseurl=https://artifacts.elastic.co/packages/oss-7.x/yum
gpgcheck=1
gpgkey=https://artifacts.elastic.co/GPG-KEY-elasticsearch
enabled=1
autorefresh=1
type=rpm-md
Save the changes and exit.
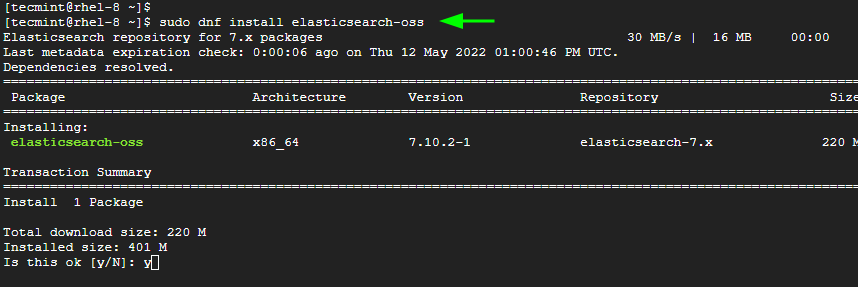
Next, install Elasticsearch using the DNF package manager as shown.
$ sudo dnf install elasticsearch-oss
For Elasticsearch to work with Graylog, a few changes are required. So open the elasticsearch.yml file.
$ sudo vim /etc/elasticsearch/elasticsearch.yml
Update the cluster name to Graylog as shown.
cluster.name: graylog
Save the changes and exit.
Then reload the systemd manager configuration.
$ sudo systemctl daemon-reload
Next, enable and start the Elasticsearch service by running the following commands.
$ sudo systemctl enable elasticsearch.service
$ sudo systemctl start elasticsearch.service

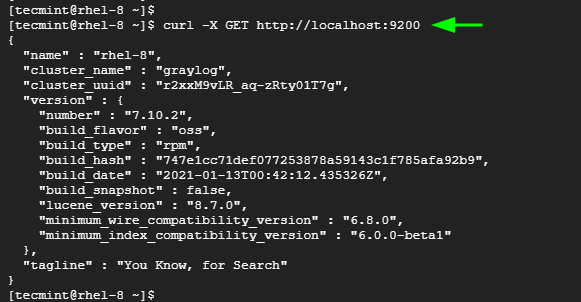
Elasticsearch listens to port 9200 by default in order to process HTTP requests. You can confirm this by sending a CURL request as shown.
$ curl -X GET http://localhost:9200
Step 4: Install MongoDB in RHEL
Graylog uses a MongoDB database server to store configuration data.
We will install MongoDB 4.4, but first, create a configuration file for MongoDB.
$ sudo vim /etc/yum.repos.d/mongodb-org-4.repo
Then paste the following configuration.
[mongodb-org-4]
name=MongoDB Repository
baseurl=https://repo.mongodb.org/yum/redhat/8/mongodb-org/4.4/x86_64/
gpgcheck=1
enabled=1
gpgkey=https://www.mongodb.org/static/pgp/server-4.4.asc
Save the changes and exit.
Next, install MongoDB as follows.
$ sudo dnf install mongodb-org
Once installed, start and enable MongoDB to start on system startup.
$ sudo systemctl start mongod
$ sudo systemctl enable mongod
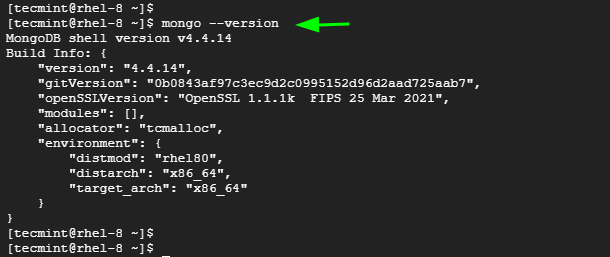
To check the MongoDB version, run the command:
$ mongo --version
Step 5: Install the Graylog Server in RHEL
With all the prerequisites components installed, now install Graylog by running the following commands.
$ sudo rpm -Uvh https://packages.graylog2.org/repo/packages/graylog-4.2-repository_latest.rpm
$ sudo dnf install graylog-server
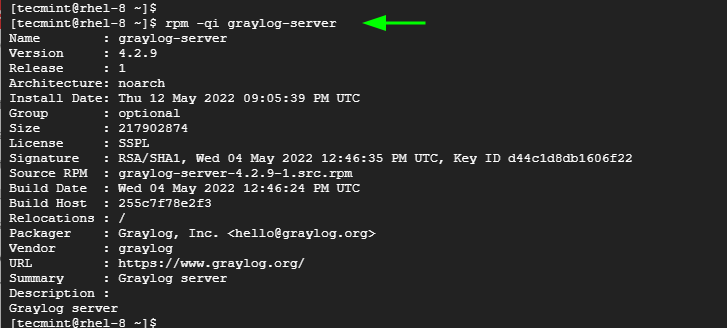
You can verify the installation of Graylog as shown:
$ rpm -qi graylog-server
Now, start and enable the Graylog server to start on boot time.
$ sudo systemctl start graylog-server.service
$ sudo systemctl enable  graylog-server.service
Step 6: Configure the Graylog Server in RHEL
For Graylog to function as expected, some additional steps are required. You need to define the following parameters in the configuration file:
root_password_sha2
password_secret
root_username
http_bind_address
We will define these variables in the /etc/graylog/server/server.conf file which is the default configuration file.
The root_password_sha2 is the hash password for the root user. To generate it run the following command. The P@ssword321 is just a placeholder. Feel free to specify your own password.
$ echo -n P@ssword321 | shasum -a 256
Output
68e865af8ddbeffc494508bb6181167fccf0bb7c0cab421c54ef3067bdd8d85d
Take note of this password and save it somewhere.
Next, generate the password_secret as follows:
$ pwgen -N 1 -s 96
Output
T1EtSsecY0QE4jIG3t6e96A5qLU5WhS9p5SliveX9kybWjC3WKhN4246oqGYPe4BTLXaaiOcM7LyuSd9bGAonQxkTsTjuqBf
Again, take note of this hashed password.
Next, open the Graylog configuration file.
$ sudo vim /etc/graylog/server/server.conf
Paste the values you generated for root_password_sha2 and password_secret as shown.
root_username = admin
root_password_sha2 = 68e865af8ddbeffc494508bb6181167fccf0bb7c0cab421c54ef3067bdd8d85d
password_secret = T1EtSsecY0QE4jIG3t6e96A5qLU5WhS9p5SliveX9kybWjC3WKhN4246oqGYPe4BTLXaaiOcM7LyuSd9bGAonQxkTsTjuqBf
Additionally, make Graylog accessible by external users by setting the http_bind_address parameter as follows.
http_bind_address = 0.0.0.0:9000
Also, configure the timezone for the Graylog server.
root_timezone = UTC
Save and exit the configuration file.
To apply the changes, restart the Graylog server.
$ sudo systemctl restart graylog-server.service
You can confirm from the log files and check if Graylog is running as expected.
$ tail -f /var/log/graylog-server/server.log
The following output at the last line shows that all is okay.

Graylog listens on port 9000 which provides access to the web interface. So, open this port on the firewall.
$ sudo firewall-cmd --add-port=9000/tcp  --permanent
$ sudo firewall-cmd --reload
Step 7: Access Graylog Web UI
To access Graylog, browse the following URL.
http://server-ip:9000
OR
http://domain-name:9000
Log in with your username admin and the password configured for root_password_sha2 in the server.conf file.

Once logged in, you should see the following dashboard.
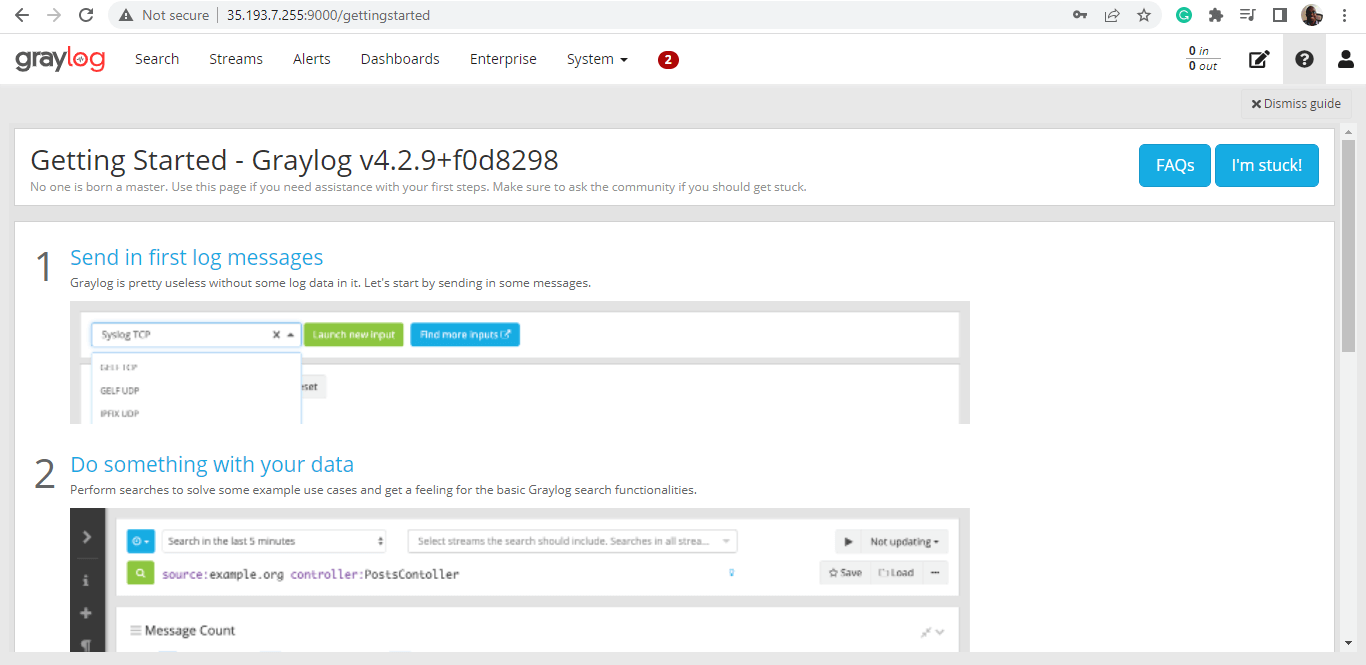
From here, you can proceed with analyzing data and logs collected from various data sources.
Graylog continues to be a popular centralized log management solution for developers and operation teams. Analysis of the collected data provides deep insights into the working state of various applications and devices and helps find errors and optimize IT operations.
That is all for this guide. In this tutorial, we have demonstrated how to install Graylog Server on RHEL-based Linux distributions.


