Java is one of the most popular and widely used programming languages. Currently, a myriad of software applications depend on Java to function as required for instance Android Studio.
Java comes in 3 different implementations: JRE, OpenJDK, and Oracle JDK.
- JRE (Java Runtime Environment) – This is a set of software tools that are needed for the execution of Java applications.
- JDK (Java Development Kit) – is a development environment needed for the development of Java applications & applets. It encompasses an interpreter, a compiler, an archiver, and other software tools.
- OpenJDK – is an open-source implementation of JDK. Oracle JDK is Oracle’s official version of JDK. Additionally, Oracle JDK ships with additional commercial features and also allows non-commercial use of the software such as personal development of Java applications.
With the recent release of Java 21, developers have access to the latest features and improvements. If you’re running Debian 12, you can easily install Java 21 using the following methods.
Installing OpenJDK 21 via APT on Debian 12
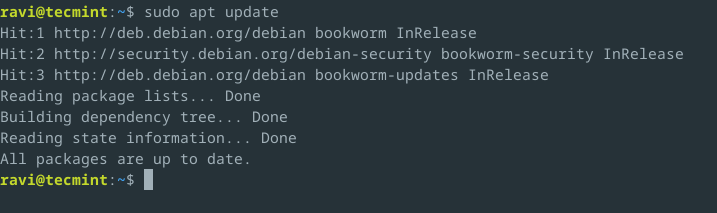
The easiest way to install Java 21 on Debian 12 is by using the apt package manager as a regular user with sudo privileges and updating the system packages as shown.
sudo apt update
If you want to check if Java is installed, run the command.
java -version
If you encounter a “bash: java: command not found” error, it means that Java is not installed in your system.
Next, install the default Java Development Kit using the following command.
sudo apt install default-jdk
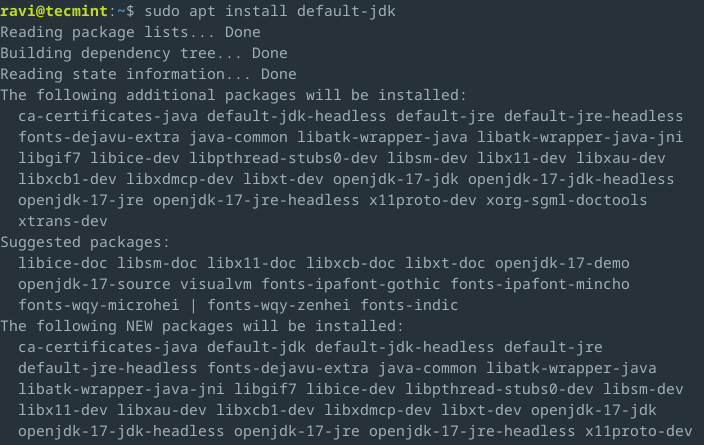
This will install the latest version of OpenJDK available in the repositories, which at the time of writing is Java 17. If you want to install a specific version, you can use the following command.
sudo apt install openjdk-21-jdk
Unfortunately, OpenJDK 21 is a relatively new release, and the Debian 12 repositories may not have been updated to include it yet. The Debian package repositories are usually updated a few months after a new Java version is released.
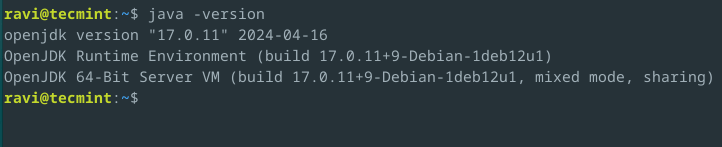
You can now verify the OpenJDK version by running.
java -version
If the installation went well without a hitch, you should get the output below.
Installing Oracle JDK 21 via Debian Package
If you prefer to use the official Oracle JDK, you can download the Debian package from the Oracle website and install it manually.
wget https://download.oracle.com/java/21/latest/jdk-21_linux-x64_bin.deb
sudo dpkg -i jdk-21_linux-x64_bin.deb
java -version

Great! This confirms that we have successfully installed Oracle Java 21.
Setting JAVA_HOME Environment Variables
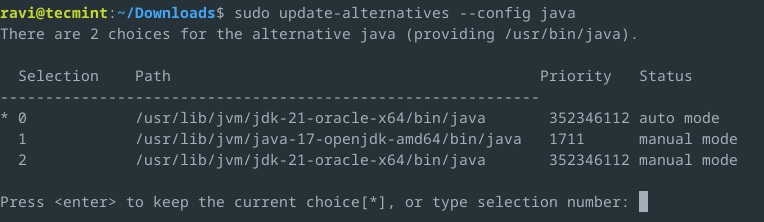
In some scenarios, there may be more than one version of JAVA installed on your system. If you need to set the default version, for instance, in this case, Oracle Java 21, use the command below.
sudo update-alternatives --config java
In the output as seen below, type the number corresponding to the version of Java you’d like to set as default and hit ENTER.
Now we need to set the JAVA_HOME environment variable. To achieve this, open the /etc/environment file.
sudo vim /etc/environment
Add the line below.
JAVA_HOME="/usr/lib/jvm/java-21-oracle-x64"
PATH="$PATH:$JAVA_HOME/bin"
Next, Save and exit the text editor. Finally, issue the source command as follows.
source /etc/environment
To confirm the Java environment variable setting, run the command.
echo $JAVA_HOME

/usr/lib/jvm/java-21-oracle-x64
Uninstalling Java in Debian 12
If you need to remove Java 21 from your system, you can use the following commands:
sudo apt purge openjdk-21-jdk
sudo dpkg -r jdk-21
sudo apt autoremove --purge
Remove the JAVA_HOME variable from /etc/environment file and source it again.
Conclusion
You’ve come to the end of this tutorial. In this guide, you learned how to install Java in Debian 12 and set the JAVA_HOME variable. Feel free to get back to us with your feedback.


Thank you James, this was very helpful!
Nice one, it saved me some time
You forget a
/here, it must be/etc.$ echo “deb http://ppa.launchpad.net/linuxuprising/java/ubuntu bionic main” | sudo tee etc/apt/sources.list.d/linuxuprising-java.list
The correct command is:
and it needs a sudo in front of the echo?
Do you try the commands before publishing?
@Anton,
Corrected the command in the article, as pointed by you.
Yes, no need for
sudoin front of echo…