In this article, we will go through the various steps to install the constituent packages in LAMP stack with PHP 7 and MariaDB 10 on Ubuntu 16.10 Server and Desktop editions.
As you may already know, LAMP (Linux, Apache, MySQL/MariaDB, PHP) stack is the assortment of leading open source web development software packages.
This web platform is made up of a web server, database management system and a server-side scripting language, and is acceptable for building dynamic websites and a wide range of web applications. It can be used in a testing or production environment to support small-scale to very large web-based projects.
One of the common uses of LAMP stack is for running content management systems (CMSs) such as WordPress, Joomla or Drupal and many others.
Requirements
Step 1: Install Apache on Ubuntu 16.10
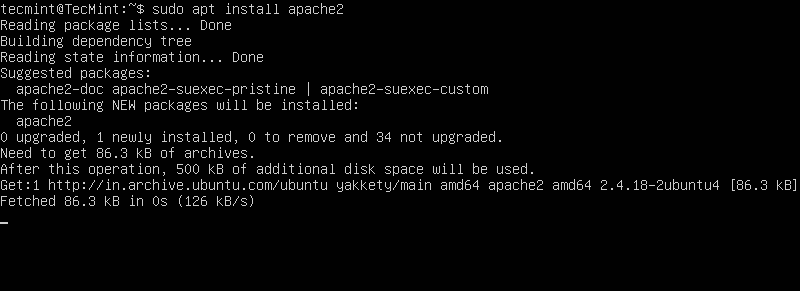
1. The first step is to start by installing Apache web server from the default Ubuntu official repositories by typing the following commands on terminal:
$ sudo apt install apache2
OR
$ sudo apt-get install apache2
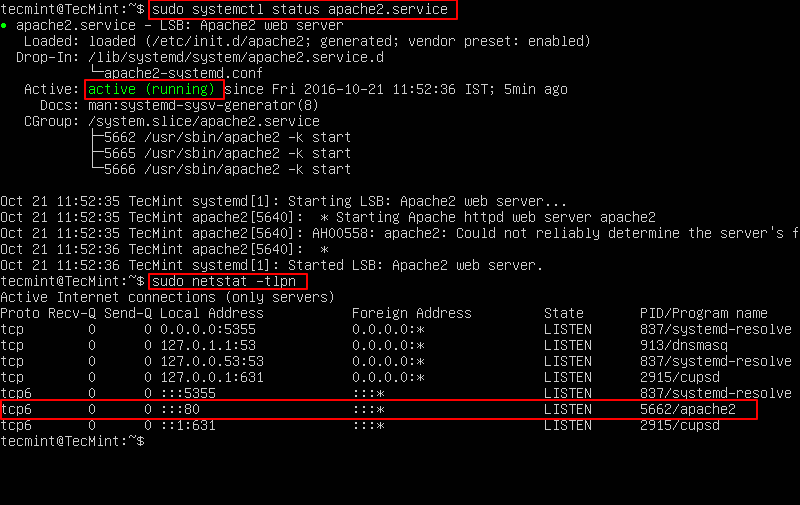
2. After Apache web server successfully installed, confirm if the daemon is running and on what ports it binds (by default apache listens on port 80) by running the commands below:
$ sudo systemctl status apache2.service
$ sudo netstat -tlpn
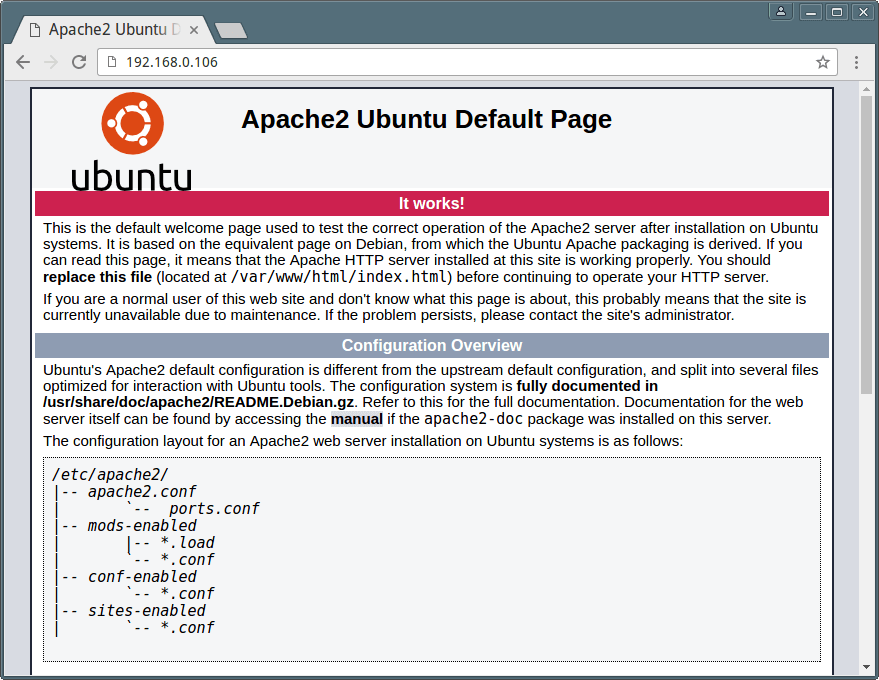
3. You can also confirm apache web server via a web browser by typing server IP address using HTTP protocol. A default apache web page should be appeared on the web browser similar to the below screenshot:
http://your_server_IP_address
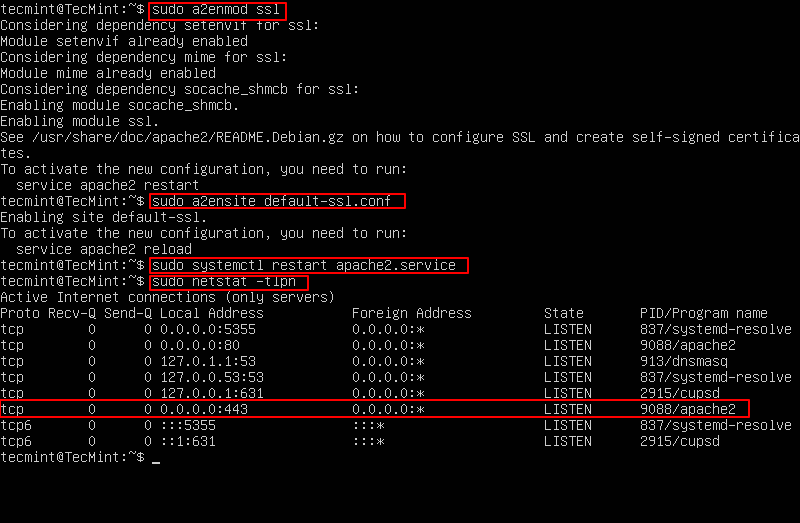
4. If you want to use HTTPS support to secure your web pages, you can enable Apache SSL module and confirm port by issuing the following commands:
$ sudo a2enmod ssl
$ sudo a2ensite default-ssl.conf
$ sudo systemctl restart apache2.service
$ sudo netstat -tlpn
5. Now confirm Apache SSL support using HTTPS Secure Protocol by typing the below address in web browser:
https://your_server_IP_address
You will get the following error page, its because that apache is configured to run with a Self-Signed Certificate. Just accept and proceed further to bypass the certificate error and the web page should be displayed securely.

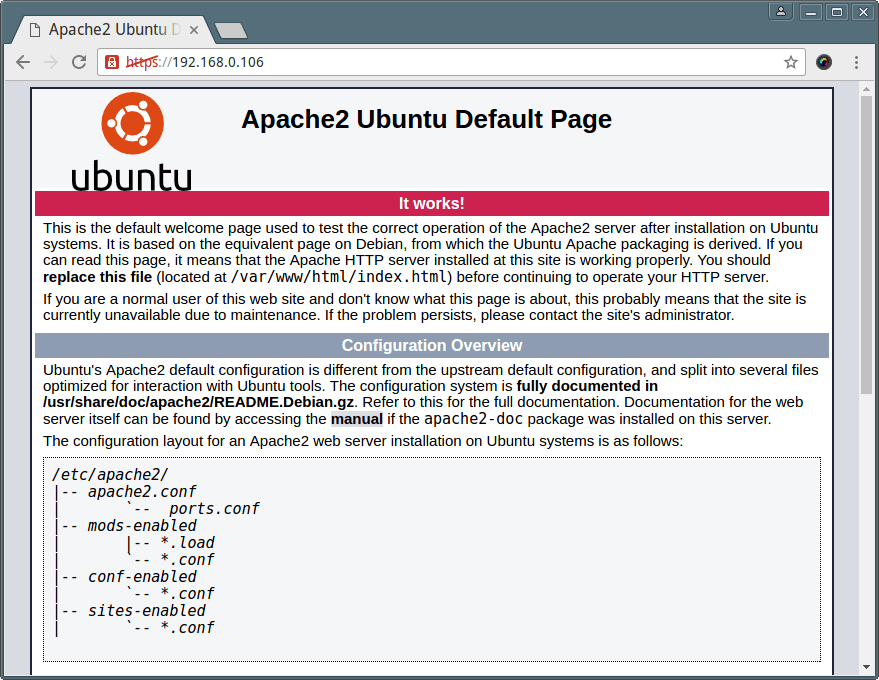
6. Next enable apache web server to start the service at boot time using following command.
$ sudo systemctl enable apache2
Step 2: Install PHP 7 on Ubuntu 16.10
7. To install most recent version of PHP 7, which is developed to run with speed enhancements on Linux machine, first do a search for any existing PHP modules by running the below commands:
$ sudo apt search php7.0
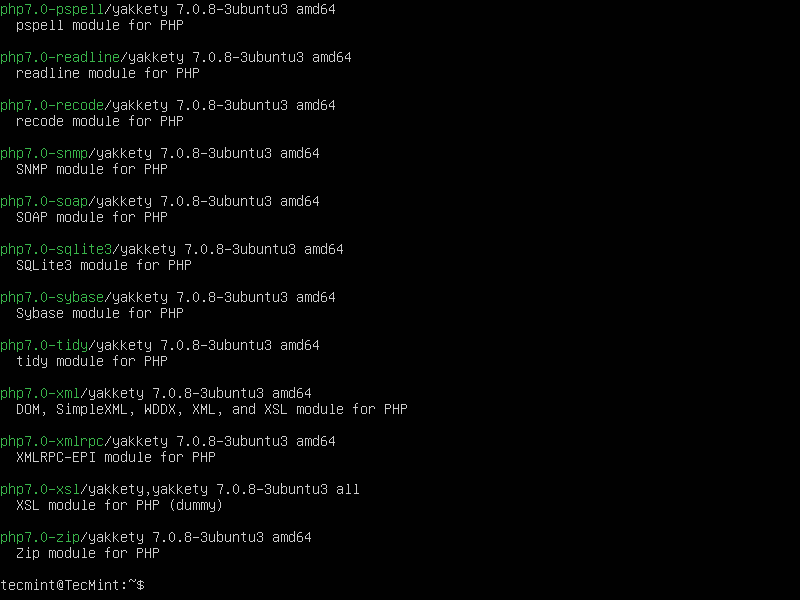
8. Once you came to know that proper PHP 7 modules are needed to setup, use apt command to install the proper modules so that PHP can able to run scripts in conjunction with apache web server.
$ sudo apt install php7.0 libapache2-mod-php7.0 php7.0-mysql php7.0-xml php7.0-gd
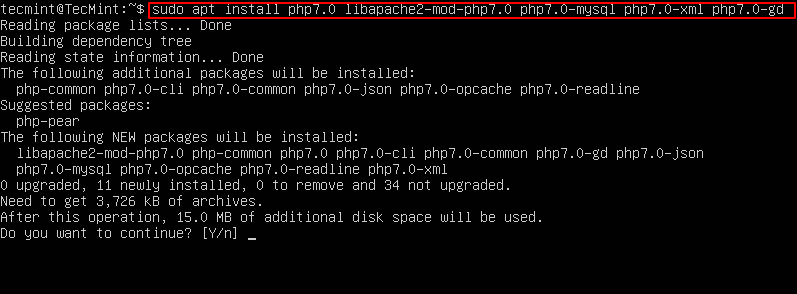
9. After PHP7 and its required modules are installed and configured on your server, run php -v command in order see the current release version of PHP.
$ php -v

10. To further tests PHP7 and its modules configuration, create a info.php file in apache /var/www/html/ webroot directory.
$ sudo nano /var/www/html/info.php
add the below lines of code to info.php file.
<?php
phpinfo();
?>
Restart apache service to apply changes.
$ sudo systemctl restart apache2
Open your web browser and type the following URL to check the PHP configuration.
https://your_server_IP_address/info.php
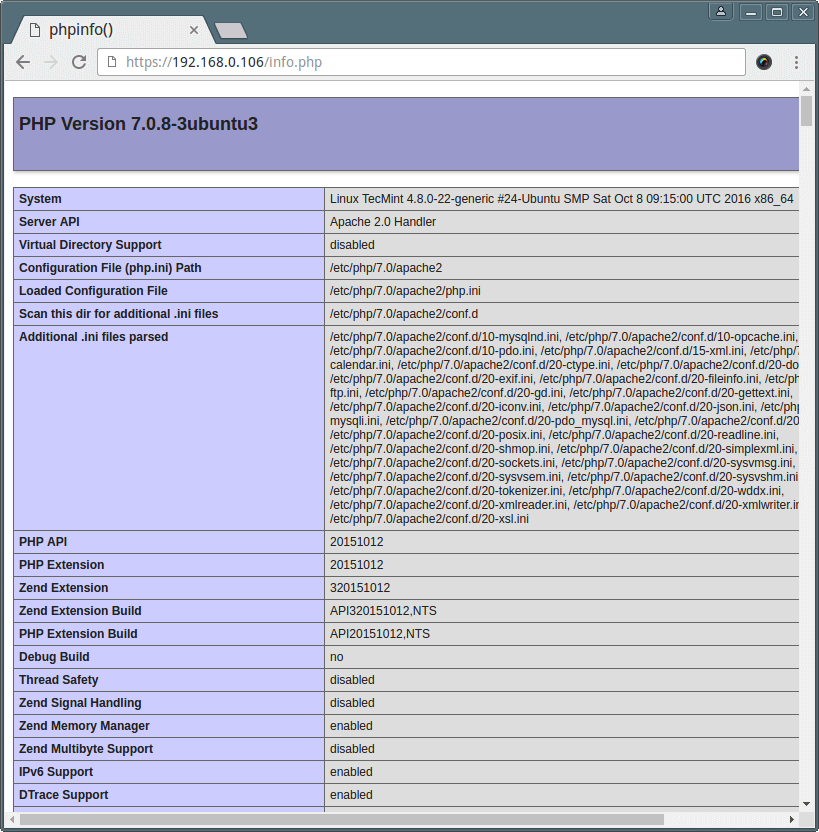
11. If you wanted to install additional PHP modules, use apt command and press [TAB] key after php7.0 string and the bash autocomplete feature will automatically show you all available PHP 7 modules.
$ sudo apt install php7.0[TAB]

Step 3: Install MariaDB 10 in Ubuntu 16.10
12. Now it’s time to install latest version of MariaDB with the needed PHP modules to access the database from Apache-PHP interface.
$ sudo apt install php7.0-mysql mariadb-server mariadb-client
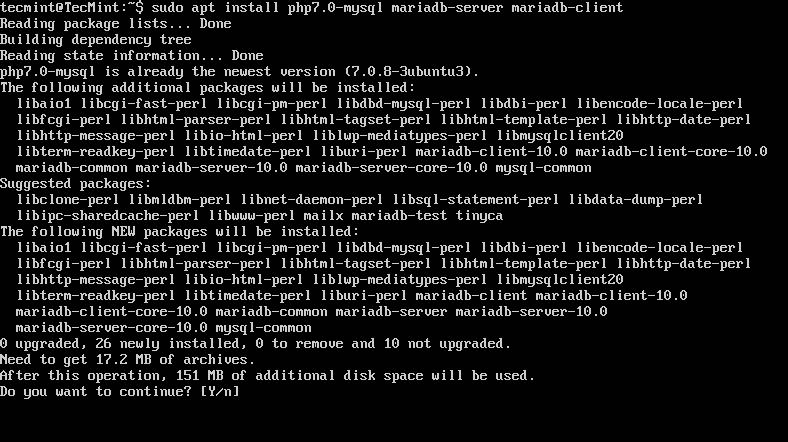
13. Once MariaDB has been installed, you need to secure its installation using the security script, which will set a root password, revoke anonymous access, disable root login remotely and remove the test database.
$ sudo mysql_secure_installation
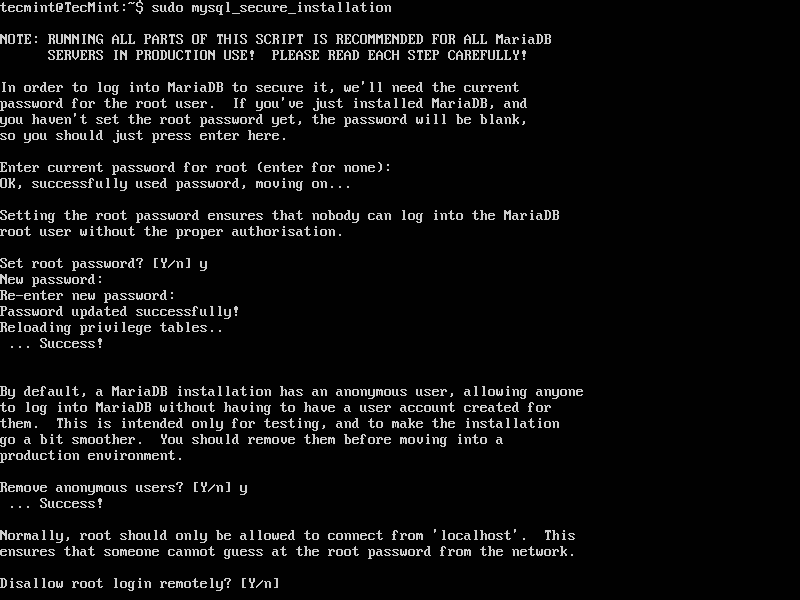
14. In order to give MariaDB database access to system normal users without using sudo privileges, login to MySQL prompt using root and run the below commands:
$ sudo mysql
MariaDB> use mysql;
MariaDB> update user set plugin=’‘ where User=’root’;
MariaDB> flush privileges;
MariaDB> exit
To learn more about MariaDB basic usage, you should read our series: MariaDB for Beginners
15. Then, restart MySQL service and try to login to database without root as shown.
$ sudo systemctl restart mysql.service
$ mysql -u root -p
16. Optionally, if you wanted to administer MariaDB from a web browser, install PhpMyAdmin.
$ sudo apt install php-gettext phpmyadmin
During PhpMyAdmin installation select apache2 web server, choose No for configure phpmyadmin with dbconfig-common and add a strong password for the web interface.
16. After PhpMyAdmin has been installed, you can access the web interface of Phpmyadmin at the below URL.
https://your_server_IP_address/phpmyadmin/
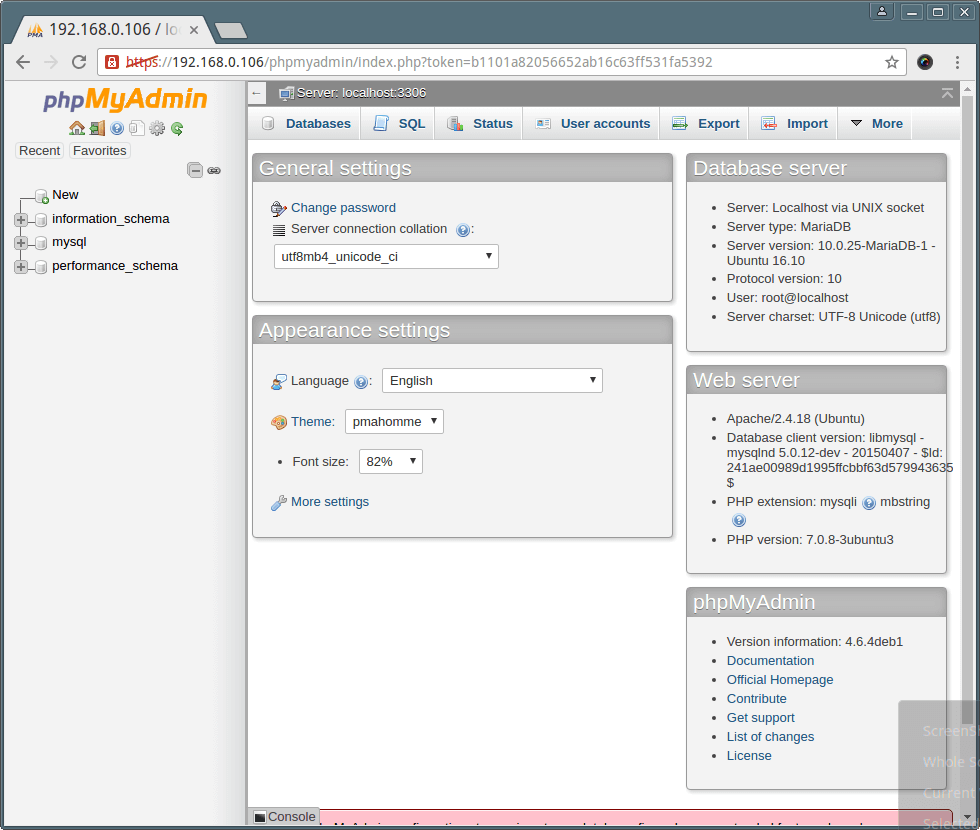
If you wanted to secure your PhpMyAdmin web interface, go through our article: 4 Useful Tips to Secure PhpMyAdmin Web Interface
That’s all! Now you have a complete LAMP stack setup installed and running on Ubuntu 16.10, which enables you to deploy dynamic websites or application on your Ubuntu server.


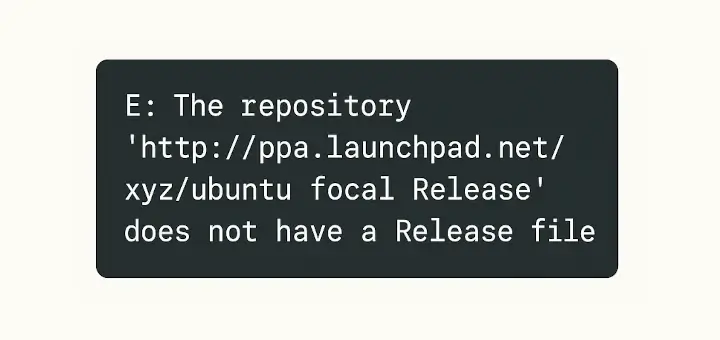


my phpmyadmin not open in web browser after installing phpmyadmin .
@Waqas
Try to reinstall it, follow the instructions carefully. It should work.
Hi Aaron,
I got the same problem. I reinstalled phpmyadmin, but the same result: /phpmyadmin was not found on this server.
What could be the problem.
Thank you in advance,
Gerard
@Gerard
Try to manually enable phpMyAdmin by copying its apache configuration file located in /etc/phpmyadmin/ path to Apache webserver available configurations directory, located in /etc/apache2/conf-available/:
Then try to access it once more.