LEMP is a suit of tools similar to the more popular one LAMP. LEMP includes one of the most famous packages available for building websites. Its acronym is taken from the first letter of each package that it includes – Linux, Nginx (pronounced Engine X, MariaDB and PHP.
This article assumes that you have already completed the installation of Fedora 22. If not, you can have a look at the following guides for installing Fedora 22:
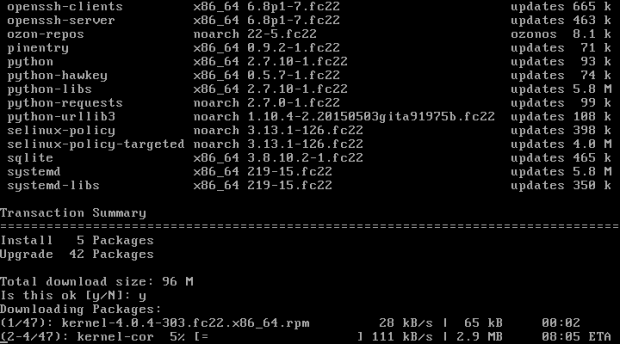
Before starting the installation it is recommended to update your system. Fedora 22 comes with new default package manager called DNF. To issue the update, you will need to run the following command.
# dnf update
Note: For convenience and better understanding of the process, I will separate the LEMP setup in 3 easy steps. One for each of its packages.
Step 1: Install Nginx Web Server
1. Nginx has been around the web for quite some time now, but it is getting more and more popular everyday. It is the preferred web server by many administrators, because of its light weight and fast delivery of static content. It can also be set as reverse-proxy to co-work with another web server such as Apache.
To install Nginx you can use:
# dnf install nginx
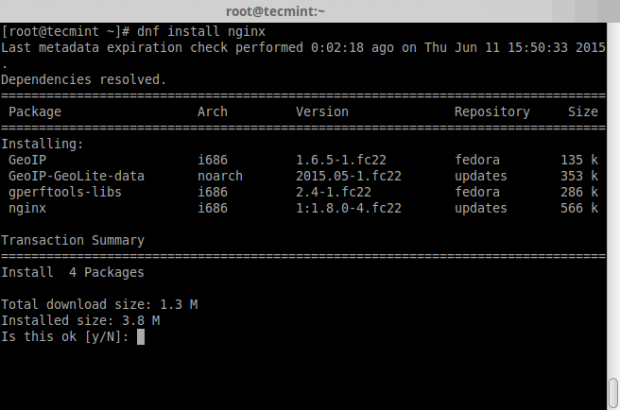
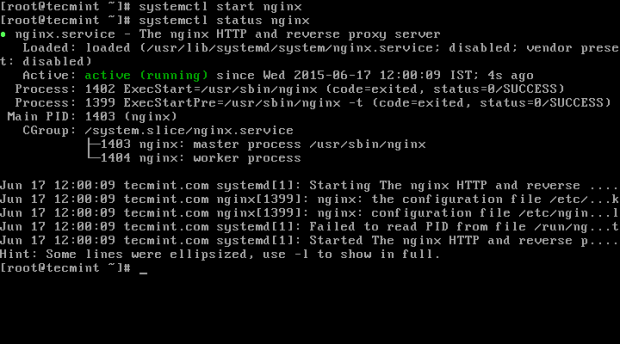
2. Once Nginx has been installed, you can start and check the status of service by issuing the following commands:
# systemctl start nginx
# systemctl status nginx
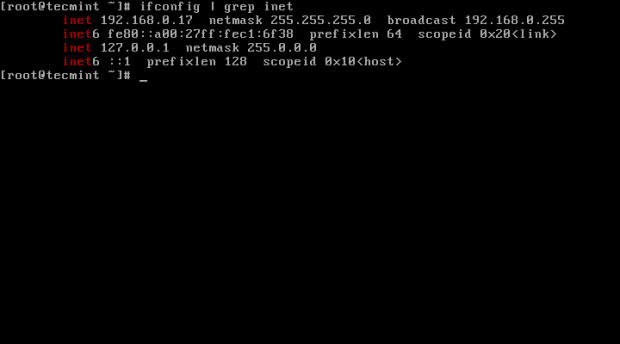
3. To confirm that Nginx is working properly, fire up your favorite web browser and point to your server IP address at http://your-ip-address. If you don’t know server IP, you can find your IP address with command such as:
# ifconfig | grep inet
4. Once you know the IP address, you can enter your IP address in your browser and you should see a page similar to the one below:
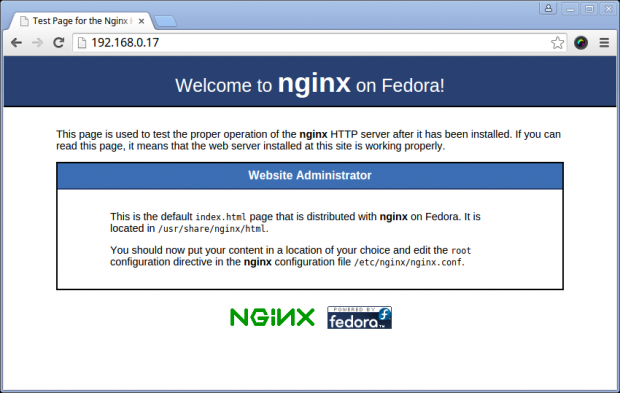
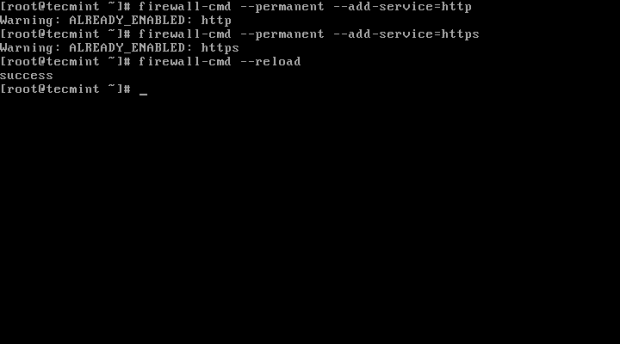
Note: If the page does not load, it is possible that the firewall is blocking access on port 80, which is the default one for HTTP requests. You can allow connections on the default Nginx ports (80 and 443) and reload the firewall setting by using following series of commands:
# firewall-cmd --permanent --add-service=http
# firewall-cmd --permanent --add-service=https
# firewall-cmd –reload
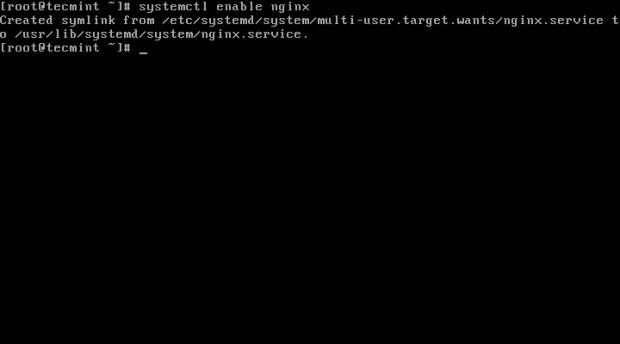
5. To ensure that Nginx will auto start at boot time, run the following command.
# systemctl enable nginx
Note: The default Nginx web root directory for your website files is /usr/share/nginx/html, make sure to place your files here.
Step 2: Install MariaDB
6. MariaDB is a community fork of the famous MySQL relational database engine. The reason for the fork was the Oracle acquisition over MySQL. MariaDB is meant to remain free free under the GNU General Public License. Many of the Linux distributions have already switched to MariaDB as default database engine.
To complete the installation of MariaDB in Fedora 22 run the following command:
# dnf install mariadb-server
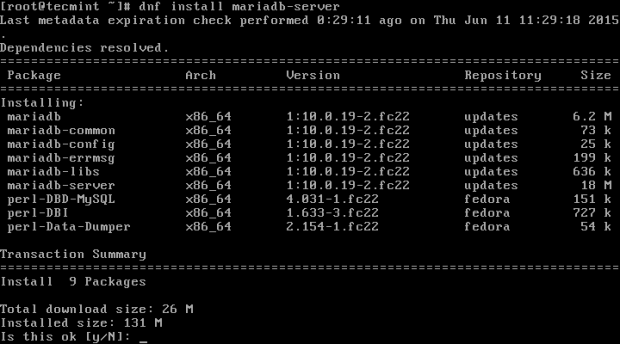
7. Once mariadb has been installed, you can start and enable MariaDB to automatically start at server boot by issuing the following commands:
# systemctl start mariadb
# systemctl enable mariadb
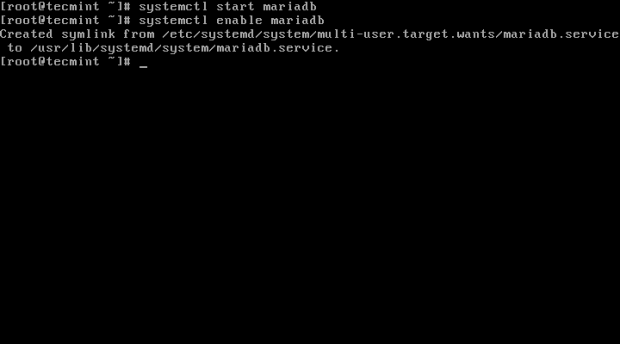
8. During the installation you will not be asked to setup a password for the MariaDB root user. The user will not have a password so you will need to secure it manually as shown below.
# mysql_secure_installation
Once executed, the first option ask you to enter the MySQL root password – simply press Enter to continue. The rest of the options are self explanatory, you can find a sample output and configuration suggestions in below screenshot:
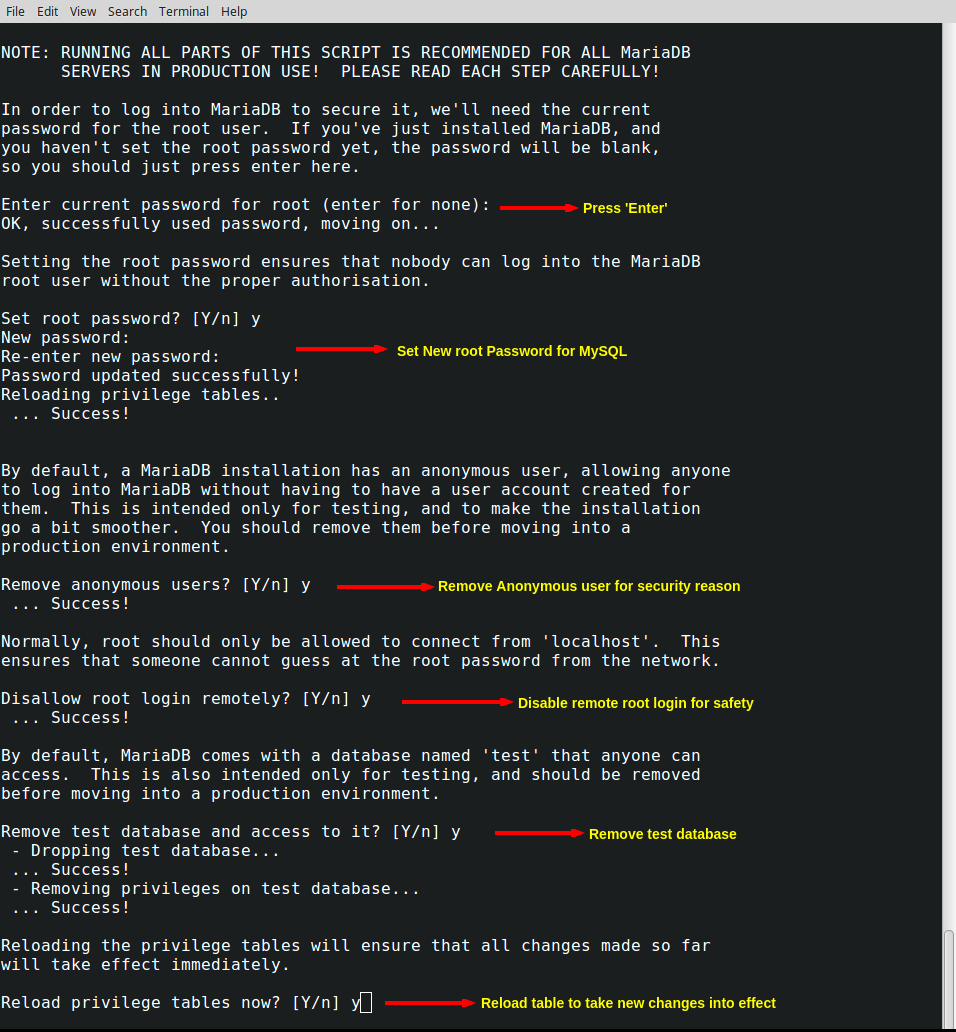
Step 3: Install PHP with Modules
9. PHP is a most powerful programming language can be used for creating dynamic web applications. To install PHP along with it’s libraries on Fedora 22, run the following single command.
# dnf install php php-fpm php-mysql php-gd php-mcrypt php-mbstring
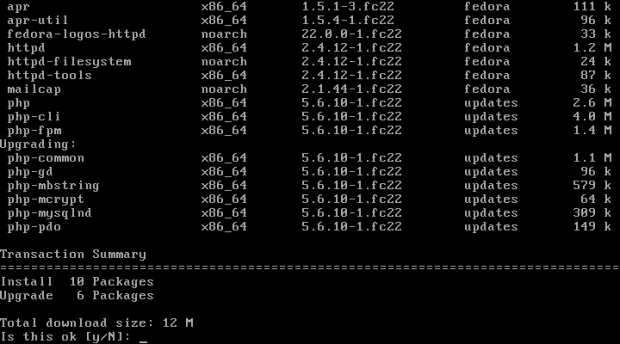
10. After the install is complete, we will need to make some minor changes to PHP installation, so that php files are properly executed. Otherwise the browser will attempt to download your PHP file instead of running it.
First open the www.conf file with this command:
# vim /etc/php-fpm.d/www.conf
Find the following lines:
; RPM: apache Choosed to be able to access some dir as httpd
user = apache
; RPM: Keep a group allowed to write in log dir.
group = apache
And change them to:
; RPM: apache Choosed to be able to access some dir as httpd
user = nginx
; RPM: Keep a group allowed to write in log dir.
group = nginx
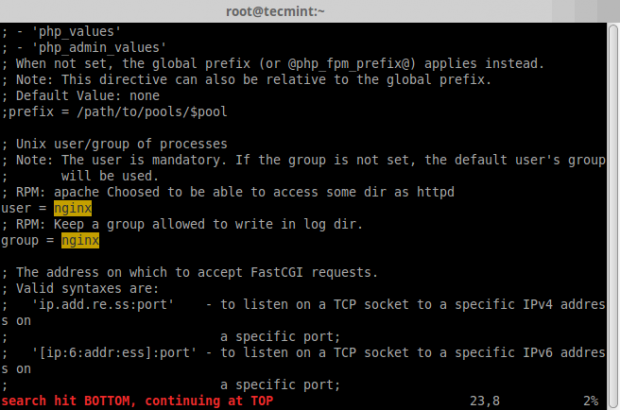
Now save the file and exit.
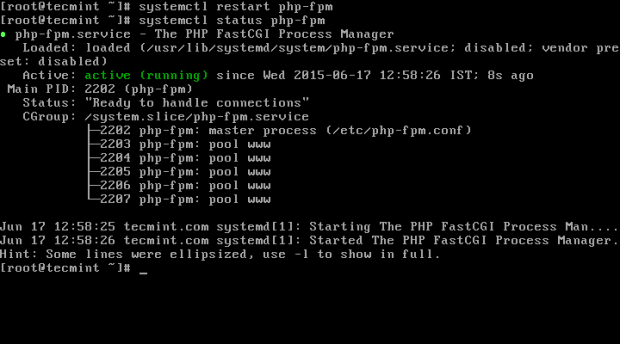
11. Now you will need to restart php-fpm with the following command, so that the new changes can take into effect:
# systemctl restart php-fpm
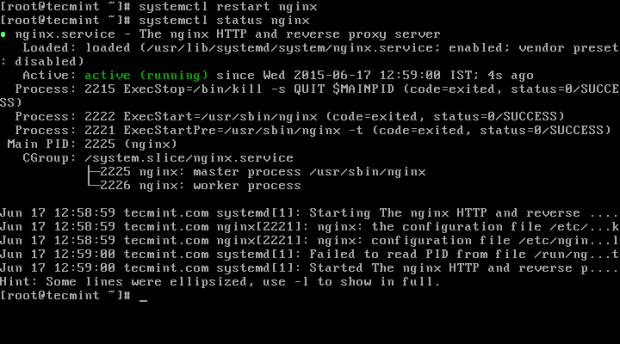
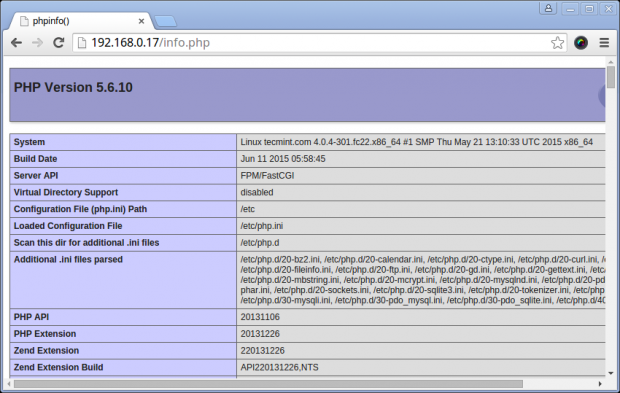
12. Now you can test your configuration by creating a PHP info page ‘info.php‘ under Nginx root directory i.e. /usr/share/nginx/html and then restart Nginx service to confirm the PHP info page at your browser IP address http://your-ip-address/info.php.
# echo "<?php phpinfo(); ?>" > /usr/share/nginx/html/info.php
# systemctl restart nginx
That’s it! your LEMP stack is now complete and ready to deploy your web projects. If you have faced any problems during setup, fell free to submit a comment in the comment section below.


Thanks !!
How to change the default document root ? For example in “/home/username/www/” ?
@Julien Bunel,
You can set the default document root directory under httpd.conf file, open it with vi or nano editor, search and change the value of Document Root directory to /home/username/www/.
you made a mistake # echo “” > /usr/share/nginx/html/info.php
# systemctl restart httpd
it’s not httpd that you should restart but nginx
@cyb,
Corrected in the article…thanks