PHP is a popular programming language used for building dynamic web applications. With the release of PHP 8.4, developers gain access to new features and improvements.
For this guide, we will be operating the system as root, if that is not the case for you, make use of the sudo command to acquire root privileges.
Step 1: Update System Packages
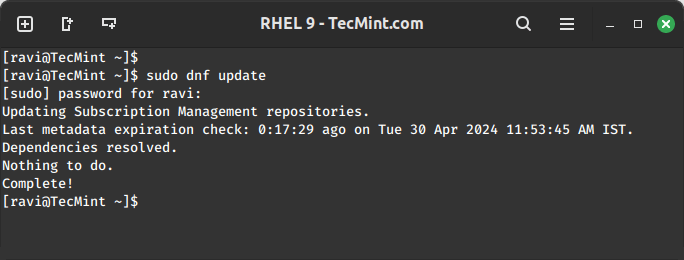
To install the latest version of PHP, first, you need to update your system’s package repository and install newer available packages using the dnf command.
sudo dnf update
Step 2: Enable EPEL Repository in RHEL
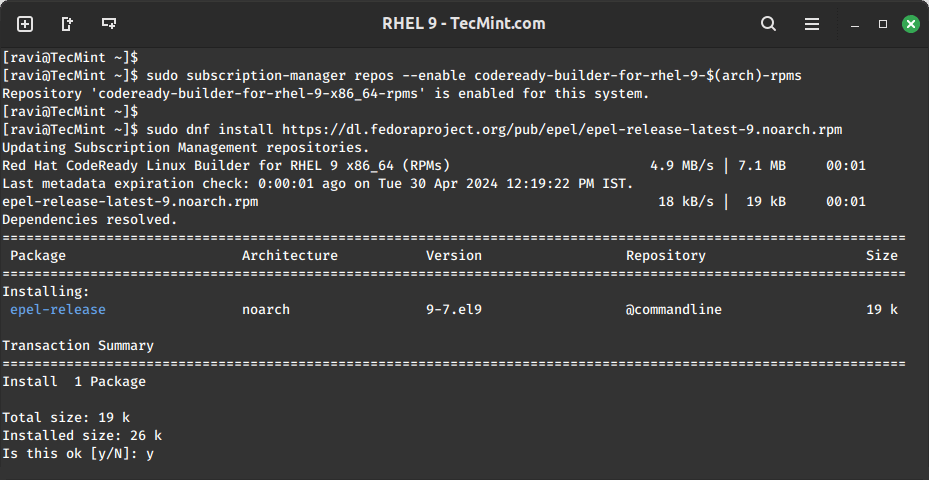
Next, install the epel-release package, which provides additional packages for the RHEL system.
sudo subscription-manager repos --enable codeready-builder-for-rhel-9-$(arch)-rpms
sudo dnf install https://dl.fedoraproject.org/pub/epel/epel-release-latest-9.noarch.rpm
Step 3: Enable Remi Repository in RHEL
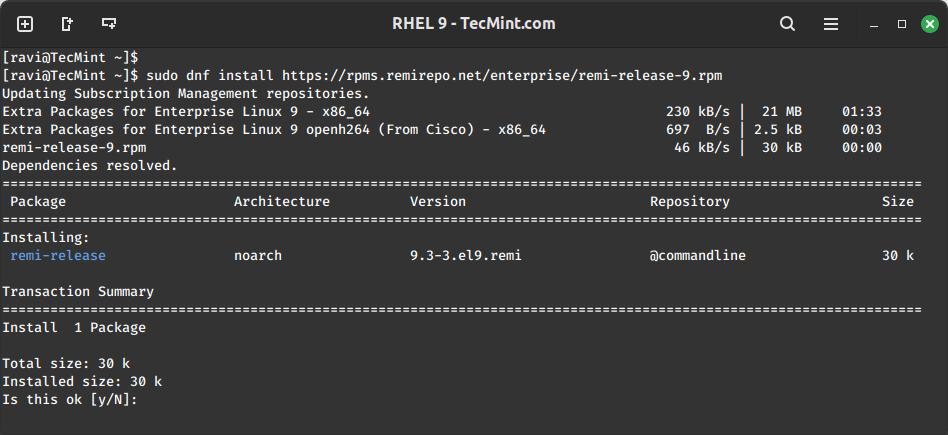
Next, you need to enable the Remi repository which offers the latest PHP versions for RHEL systems.
sudo dnf install https://rpms.remirepo.net/enterprise/remi-release-9.rpm
Step 4: Install PHP 8.4 in RHEL
If you have PHP 8.3 already installed, you need to reset the PHP module to remove it properly before installing PHP 8.4.
sudo dnf module reset php:remi-8.3
This command will disable the PHP 8.3 module and prepare the system to install the next PHP version without conflicts.
Once PHP 8.3 has been reset, you should update your system’s package repository to make sure everything is up-to-date and install PHP 8.4 along with the necessary extensions..
sudo dnf update
sudo dnf module install php:remi-8.4
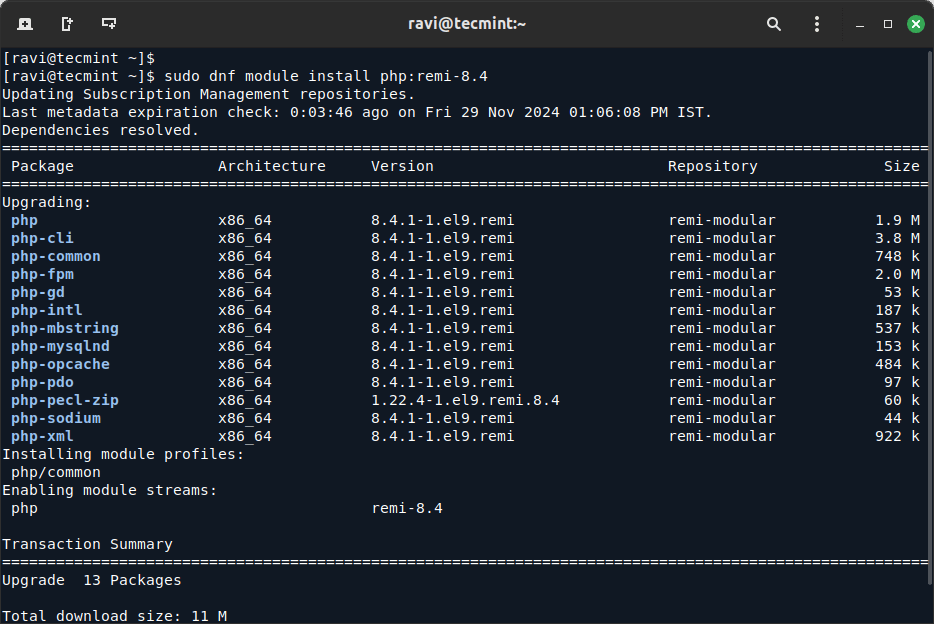
Once installed, you can verify the PHP installation.
php -v

Step 5: Install Additional PHP Extensions (Optional)
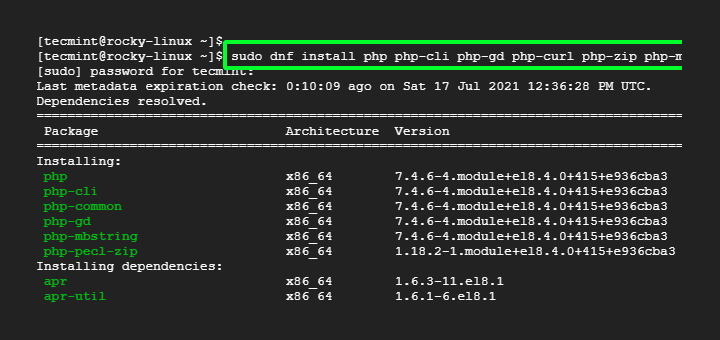
Depending on your project requirements, you may need to install additional PHP extensions.
sudo dnf search php-*
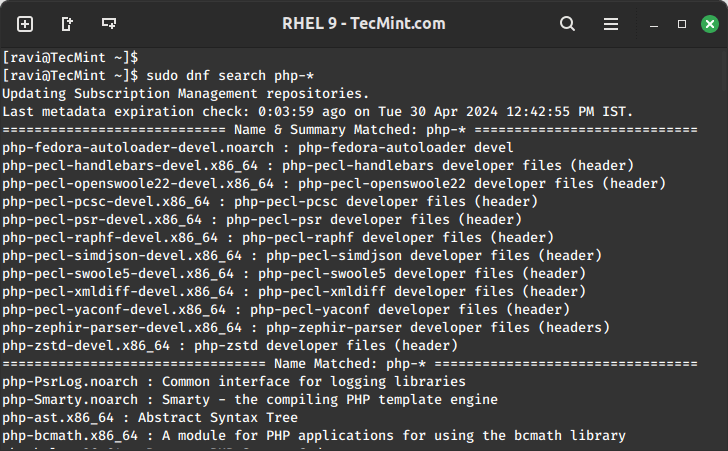
Next, install the desired extensions using:
sudo dnf install php-gd php-xml
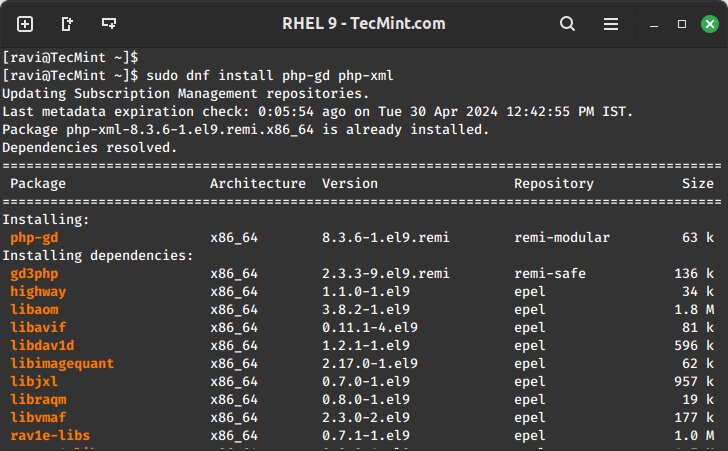
If you’re using Apache or Nginx as your web server, restart it to apply the changes.
sudo systemctl restart httpd
Or
sudo systemctl restart nginx
Lastly, below is a list of useful PHP articles that you can read for additional information:
- How to Use and Execute PHP Codes in Linux Command Line
- How to Find MySQL, PHP, and Apache Configuration Files
- How to Test PHP MySQL Database Connection Using Script
- How to Run PHP Script as Normal User with Cron
You have successfully installed PHP 8.4 on your RHEL 9 system. You can now start developing or hosting web applications using the latest PHP version, taking advantage of its new features and enhancements.



I have a problem in the third step when I entered the code of PHP 7.3 then it shown the message command not found.
@Divesh,
Install yum-utils to package to get yum-config-manager command…
Hey,
Maybe a stupid question. But how can we start and restart PHP without rebooting the server?
When we do [systemctl restart php74] results in Failed to restart php74.service: Unit not found.
When we do [systemctl | grep php] not a single result is returned. Is php74.service not running? Or is it part of something else cause we installed it with the yum manager or something?
Regards Jerome.
@Jerome,
PHP is a just programming language that doesn’t have a service to start, you just need to restart the Apache or Nginx webserver to reflect changes you made to any configuration files of PHP.
When running command :
yum-config-manager --enable remi-php70this results, is this okay?
Hey, how to Remove the PHP installed by this tutorial, I used this tutorial to install PHP 7.2 and now I wanted to remove it, It Not showing in Package On in ->
What is the Solution ?
@Ganesh
If it’s the default PHP version on your system, then simply run:
Hi,
Thank you so much for your great article.
I’m installing two PHP version 5.6 and 7, but when I enter
php -v, it seems it only show 5.6. How can I use both of them?@Vince
You can only view one PHP version on the command line, which is the default version. But you can run different sites using different PHP versions, which requires some configurations.
Thank you so much it works perfectly ~ ^^
@Astarte
Welcome, do not forget to share it.
Thank you very much
@Muhammed
Welcome, thanks for the feedback.
I have a question, I did this on my VPS to work with php 7.1 for laravel. After everything went good, all my wordpress websites got an 502 gateway error. I immediately got the backup restored and got my sites back, but now the PHP version is back to the old 5.6.3 which is to low for my laravel thing.
Is there any solution?
@Roy
Install the latest version of WordPress that supports PHP 7.1 or higher.
How to drop php 5.4?
@sonia
You can run following command to remove PHP completely.
Then install the PHP version you want to use.
Many thanks
@Yanni
Welcome, thanks for the feedback.
thank you so much
@Bao
Your are most welcome, many thanks for the feedback.
Thank you for your guides.
You may want to clarify that this guide is for CentOS 7 without any PHP installed, and not an upgrade from PHP 5.4. Unfortunately, this article didn’t work for me, as I have CentOS 7.4.1708 with PHP 5.4.16 already installed.
@Olin
Many thanks for the heads up, we will cross check and possibly update the article as you have suggested.
Thanks so much..
@Kirill
Welcome, many thanks for the comments.
what about php-fpm ? to configure with nginx ?
@yodle
You can follow this guide: https://www.tecmint.com/run-multiple-websites-with-different-php-versions-in-nginx/