PHP is the most popular scripting language used to create dynamic websites. With the release of PHP 8.4, developers can enjoy a host of new features and improvements that enhance performance and provide additional functionality for web applications.
If you want to use PHP 8.4 with Apache or Nginx on Ubuntu 24.04, follow this guide, which will help you install PHP 8.4 and configure it to work with both web servers.
Step 1: Install Apache or Nginx
When choosing between Apache and Nginx for your web server on Ubuntu 24.04, it’s important to understand their key differences:
- Apache offers flexible configurations with
.htaccessfiles and a broad range of built-in features, making it ideal for complex setups and shared hosting environments. However, it can be less efficient in handling high traffic due to higher memory usage. - Nginx, on the other hand, excels in performance and scalability with its asynchronous, event-driven architecture, making it suitable for high-traffic sites and efficient resource management. It also works well as a reverse proxy or load balancer.
Recommendation: If you need advanced configurations and features, go with Apache. If you prioritize performance and efficiency, Nginx is the better choice. Alternatively, using Nginx as a reverse proxy in front of Apache combines the strengths of both servers.
Installing Apache on Ubuntu
First, it’s important to update your installed software package list to ensure that you have the latest information about available packages.
sudo apt update
sudo apt upgrade -y
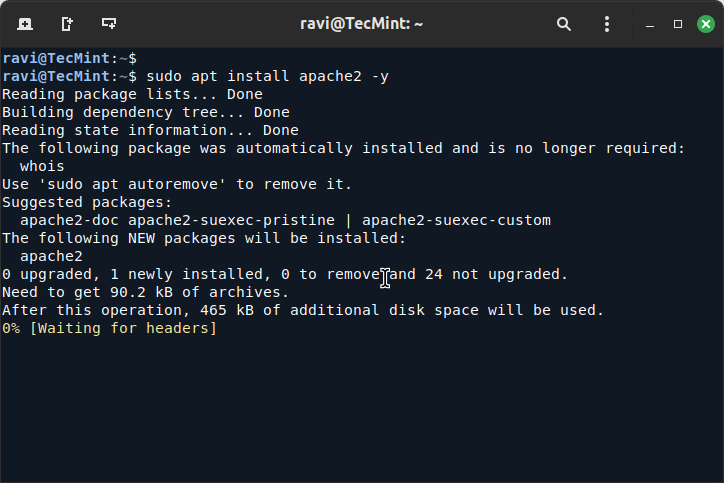
If you prefer to use Apache as your web server, install it using the following command:
sudo apt install apache2 -y
Installing Nginx on Ubuntu
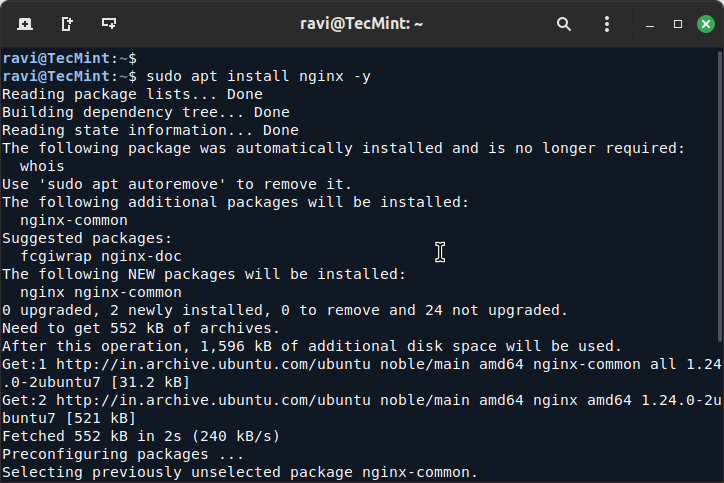
For those who choose Nginx, install it with:
sudo apt install nginx -y
Installing PHP 8.4 on Ubuntu
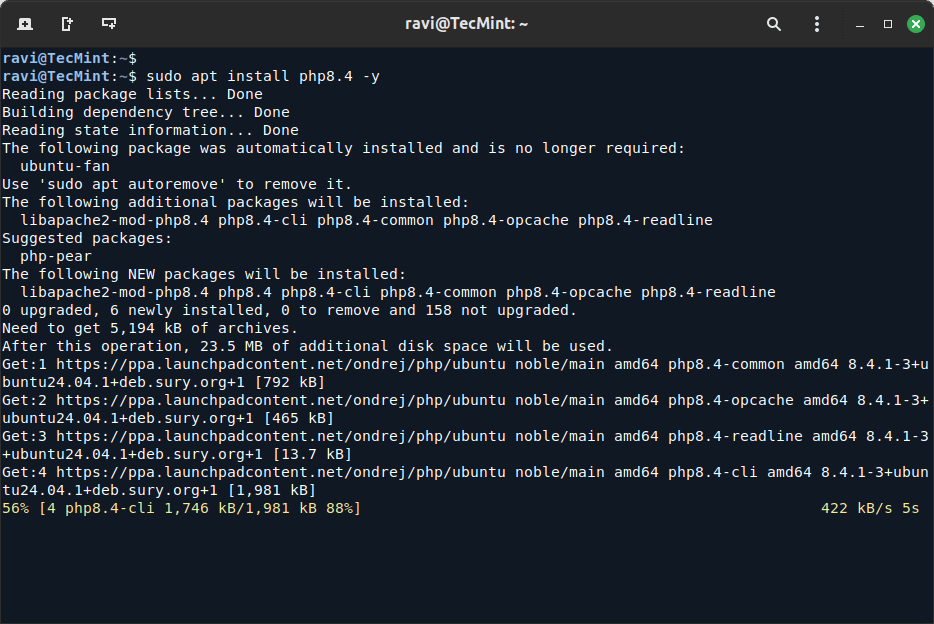
Ubuntu 24.04 does not include PHP 8.4 in its default repositories, so you need to add the necessary repository to get the latest PHP version.
sudo add-apt-repository ppa:ondrej/php
sudo apt update
sudo apt install php8.4 -y
Depending on your project needs, you may require additional PHP extensions. For example, if your project involves handling images, working with databases, or different data formats, you can install the relevant extensions.
sudo apt install php8.4 libapache2-mod-php8.4 php8.4-fpm php8.4-mysql php8.4-xml php8.4-mbstring php8.4-curl -y
Step 3: Switch Between PHP Versions (If Both 8.3 and 8.4 Are Installed)
If you already have PHP 8.3 installed on your system and want to use to PHP 8.4, you need to disable old php (PHP 8.3 module) and enable new php (PHP 8.4 module) using a2dismod and a2enmod commands.
sudo a2dismod php8.3
sudo a2enmod php8.4
Step 4: Configuring Apache to Use PHP 8.4
If you’ve installed Apache as your web server and want to use PHP 8.4, you need to activate the PHP module, which allows Apache to process PHP files and serve them correctly.
sudo systemctl restart apache2
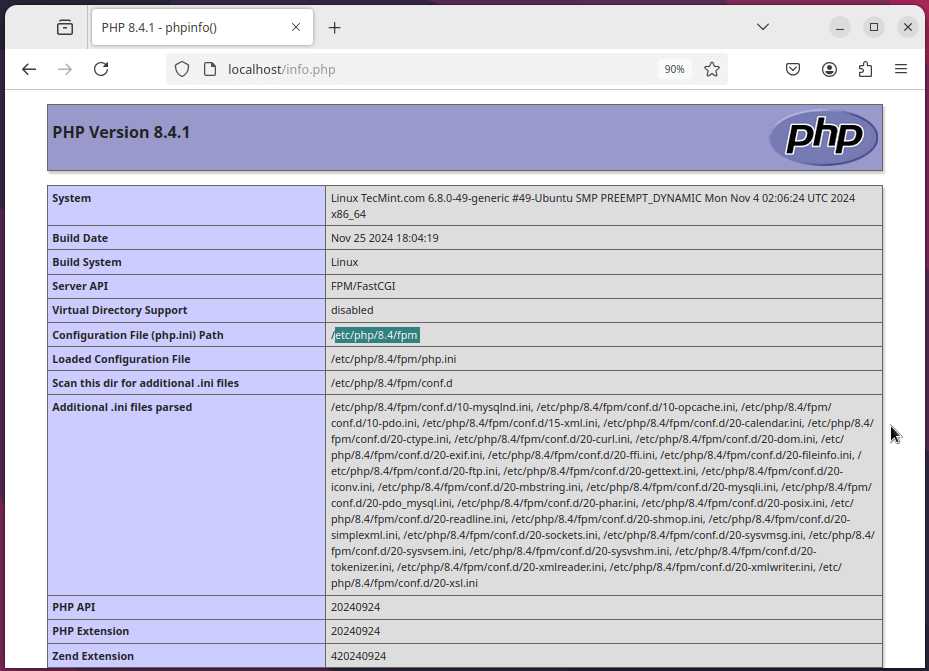
To verify PHP is working with Apache, create a test PHP file:
echo "<?php phpinfo(); ?>" | sudo tee /var/www/html/info.php
Now, open your web browser and navigate to the following URL, here you should see the PHP information page, confirming that PHP is correctly installed and configured.
http://your_server_ip/info.php
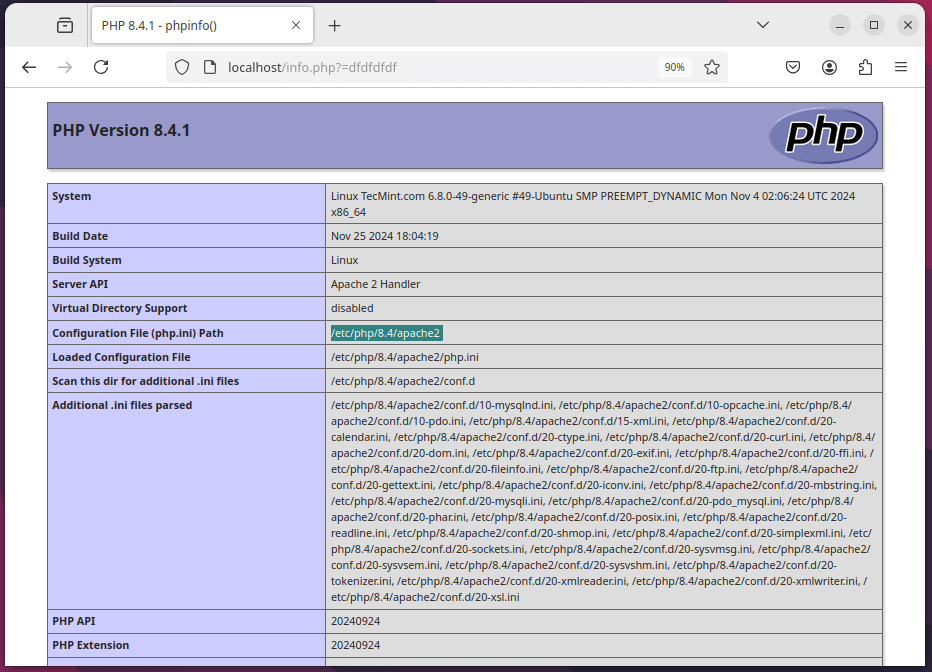
This will display the PHP information page, confirming that PHP 8.4 is correctly installed and configured.
Step 5: Configuring Nginx to Use PHP-FPM
When using Nginx as your web server, PHP is processed through PHP-FPM (FastCGI Process Manager), which is a special service that handles PHP requests and runs them efficiently.
To configure Nginx to use PHP-FPM, you need to edit the default Nginx configuration file.
sudo nano /etc/nginx/sites-available/default
Look for the block that handles PHP files (it should be commented out) and modify it to look like this:
location ~ \.php$ {
    include snippets/fastcgi-php.conf;
    fastcgi_pass unix:/var/run/php/php8.4-fpm.sock;
}
After making these changes, save the file and restart Nginx and PHP-FPM to apply the changes:
sudo systemctl restart nginx
sudo systemctl restart php8.4-fpm
To verify PHP is working with Nginx, create a test PHP file similar to the Apache setup:
echo "<?php phpinfo(); ?>" | sudo tee /var/www/html/info.php
Now, open your web browser and navigate to the following URL, here you should see the PHP information page, confirming that PHP is correctly installed and configured.
http://your_server_ip/info.php
Conclusion
You have successfully installed PHP 8.4 on Ubuntu 24.04 and configured it to work with both Apache and Nginx.
Make sure to remove the info.php file after testing, as it can expose sensitive information about your PHP configuration:
sudo rm /var/www/html/info.php
With PHP 8.4 installed, you can now explore its new features and improvements, enhancing your web development projects.


The Apache2 service failed because the control process exited with an error code.
To get more details, run the following commands:
After attempting to restart Apache2 with:
The error persists, and the message remains:
"Job for apache2.service failed because the control process exited with error code. See systemctl status apache2.service and journalctl -xeu apache2.service for details."@Abraham,
It looks like there’s an issue with Apache2. Check the output of
systemctl status apache2.serviceandjournalctl -xeu apache2.serviceto get more details on the error.Package libapache2-mod-php8.4 is not available, but is referred to by another package.
Can we install php7.2 on ubuntu 14.04?
@Gulab,
Yes, you can install PHP 7 on Ubuntu 14.04 using the following commands.
I want php7.2
@Gulab,
Here are the commands to install PHP 7.2 on Ubuntu 14.04.
if you want PHP 7.3 or 7.4, just replace the php7.2 with php7.3 or php7.4.
not working
Traceback (most recent call last):
File “/usr/lib/python3.4/threading.py”, line 920, in _bootstrap_inner
self.run()
File “/usr/lib/python3.4/threading.py”, line 868, in run
self._target(*self._args, **self._kwargs)
File “/usr/lib/python3/dist-packages/softwareproperties/SoftwareProperties.py”, line 687, in addkey_func
func(**kwargs)
File “/usr/lib/python3/dist-packages/softwareproperties/ppa.py”, line 370, in add_key
return apsk.add_ppa_signing_key()
File “/usr/lib/python3/dist-packages/softwareproperties/ppa.py”, line 261, in add_ppa_signing_key
tmp_export_keyring, signing_key_fingerprint, tmp_keyring_dir):
File “/usr/lib/python3/dist-packages/softwareproperties/ppa.py”, line 210, in _verify_fingerprint
got_fingerprints = self._get_fingerprints(keyring, keyring_dir)
File “/usr/lib/python3/dist-packages/softwareproperties/ppa.py”, line 202, in _get_fingerprints
output = subprocess.check_output(cmd, universal_newlines=True)
File “/usr/lib/python3.4/subprocess.py”, line 609, in check_output
output, unused_err = process.communicate(inputdata, timeout=timeout)
File “/usr/lib/python3.4/subprocess.py”, line 947, in communicate
stdout = _eintr_retry_call(self.stdout.read)
File “/usr/lib/python3.4/subprocess.py”, line 491, in _eintr_retry_call
return func(*args)
File “/usr/lib/python3.4/encodings/ascii.py”, line 26, in decode
return codecs.ascii_decode(input, self.errors)[0]
UnicodeDecodeError: ‘ascii’ codec can’t decode byte 0xc5 in position 92: ordinal not in range(128)
I think the environment does not support php7.2 in ubuntu 14.04
@Gulab,
Then you need to upgrade your Ubuntu.
Thank you very much, this article really helped me a lot in the installation of all these services
@f4b1
Welcome, and good to know this, many thanks for following us and for the useful feedback.
Hi, in my case not render the files .php, downloaded the files ( i don’t know the problem, help me).