Piwigo is an open-source project which allows you to create your own photo gallery on the web and upload photos and create new albums. The platform includes some powerful features built-in, such as albums, tags, watermark, geolocation, calendars, system notifications, access control levels, themes, and statistics.
Piwigo has a huge amount of available plugins (over 500) and a great collection of themes. It is also translated in more than 50 languages. Its core functions are written in PHP programming language and require an RDBMS database backend, such as MySQL database.

This fact makes it easy to deploy Piwigo on top of a LAMP (Linux, Apache, MySQL, and PHP) stack installed on your own server, VPS, or on shared hosted environments.
An online demo is available for you to try before installing Piwigo on the CentOS system.
Demo URL: http://piwigo.org/demo/
Requirements:
- A dedicated VPS with a registered domain name.
- A CentOS 7 Server or CentOS 8 with Minimal install.
- A LAMP stack installed in CentOS 7 or CentOS 8.
Piwigo is an open-source project which can be deployed on a VPS server of your choice.
In this guide, we’ll learn how to install and configure Piwigo image gallery software on top of a LAMP stack in a CentOS 8/7 VPS server.
Setting Up Pre-requirements for Piwigo
1. After you’ve installed the LAMP stack on your VPS by following the guide in the article description, make sure you also install the below PHP extensions required by Piwigo to properly run on your server.
# yum install php php-xml php-mbstring php-gd php-mysqli
2. Next, install the following command-line utilities on your VPS server in order to download and extract Piwigo archive sources in your system.
# yum install unzip zip wget
3. Next, log in to the MySQL database and execute the below command in order to create a Piwigo database and the user which will be used to manage the database. Replace the database name and credentials used in this tutorial with your own settings.
# mysql -u root -p
MariaDB [(none)]> create database piwigo;
MariaDB [(none)]> grant all privileges on piwigo.* to 'piwigouser'@'localhost' identified by 'pass123';
MariaDB [(none)]> flush privileges;
MariaDB [(none)]> exit
4. Next, open and edit the PHP configuration file and set the correct timezone settings for your server. Use PHP docs to get the timezone settings list.
# nano /etc/php.ini
Locate and Insert the below line after [Date] statement.
date.timezone = Europe/Your_city
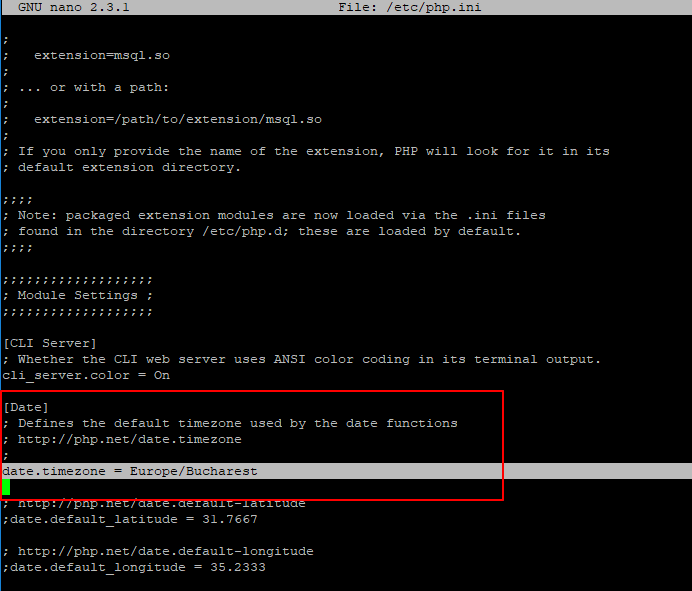
Save and close the file and restart the Apache HTTP server to apply all changes, by issuing the below command.
# systemctl restart httpd
5. Next, we need to apply the SELinux security context to allow apache to write into Piwigo web root directory /var/www/html using the following commands.
# yum install policycoreutils-python-utils
# semanage fcontext -a -t httpd_sys_rw_content_t "/var/www/html(/.*)?"
# restorecon -R -v /var/www/html
Install Piwigo in CentOS 8/7
6. On the next step, visit Piwigo official download page and grab the latest installer zip sources on your system using wget utility by issuing the below command. After the download completes, extract the Piwigo zip archive in your current working directory.
# wget http://piwigo.org/download/dlcounter.php?code=latest -O piwigo.zip
# ls
# unzip piwigo.zip

7. After you’ve extracted the zip archive, copy Piwigo sources files into your domain webroot path by issuing the below command. Afterward, grant Apache user full privileges to webroot files and list the content of your web server document root path.
# cp -rf piwigo/* /var/www/html/
# chown -R apache:apache /var/www/html/
# ls -l /var/www/html/
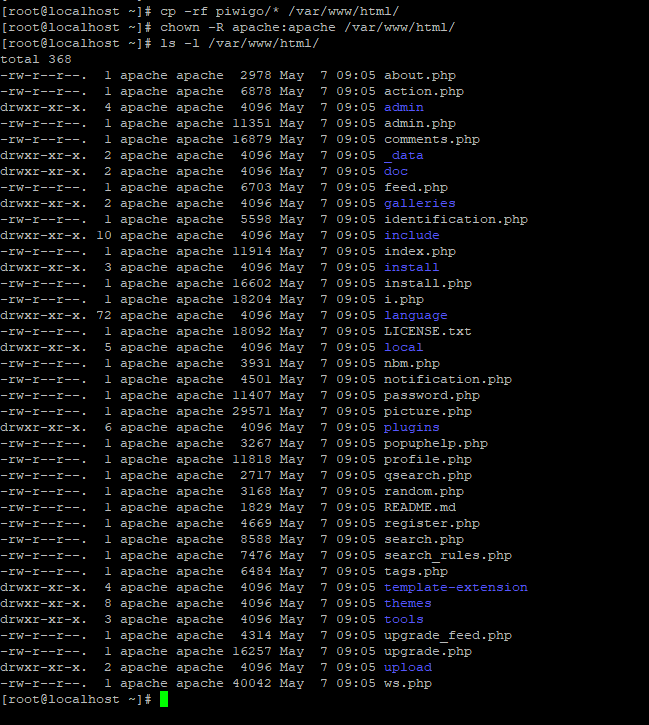
8. Next, change the webroot file permissions for Piwigo installed files and grant _data directory full write permissions for other system users, by issuing the below commands.
# chmod -R 755 /var/www/html/
# chmod -R 777 /var/www/html/_data/
# ls -al /var/www/html/
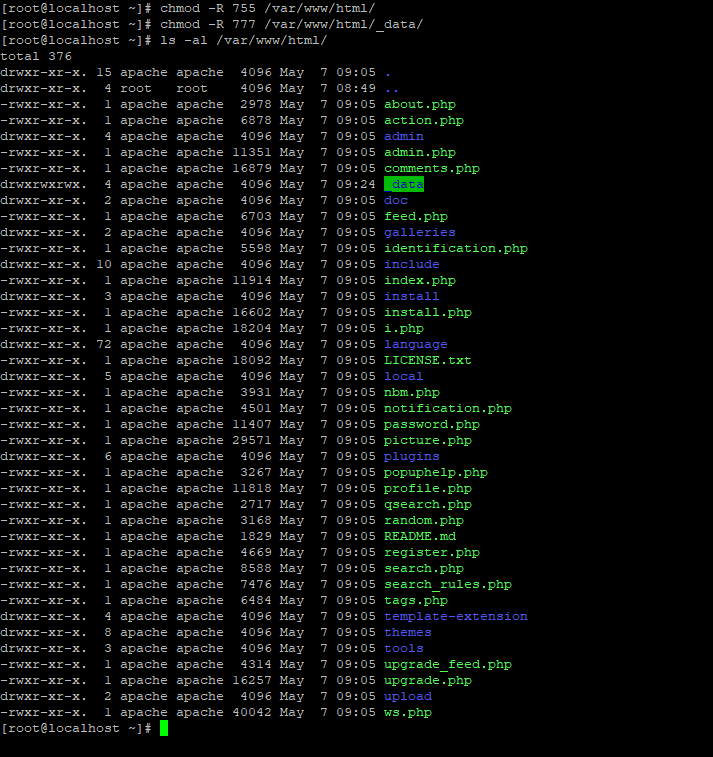
9. Now, start the installation process of Piwigo. Open a browser and navigate to your server IP address or domain name.
http://192.168.1.164
OR
http://your-domain.com
On the first installation screen, select Piwigo language and insert MySQL database settings: host, user, password, and table prefix. Also, add a Piwigo admin account with a strong password and the email address of the admin account. Finally, hit on the Start installation button to install Piwigo.
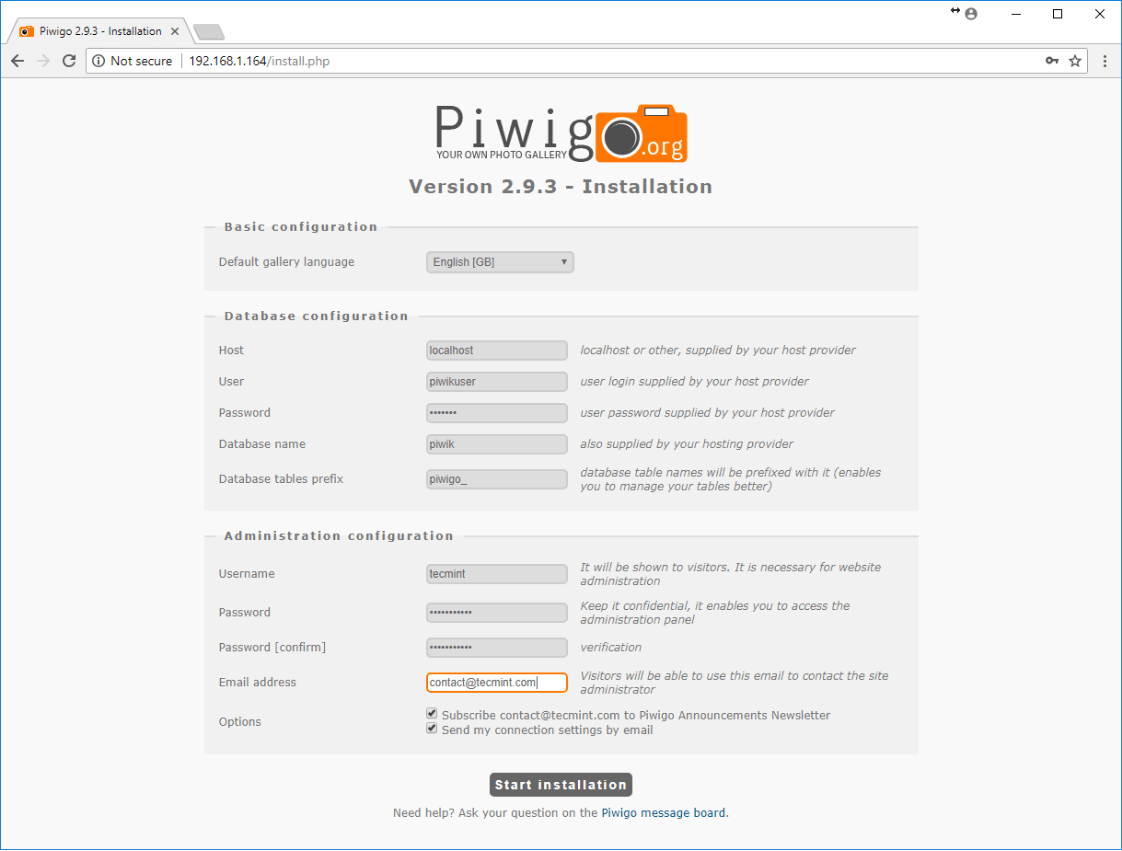
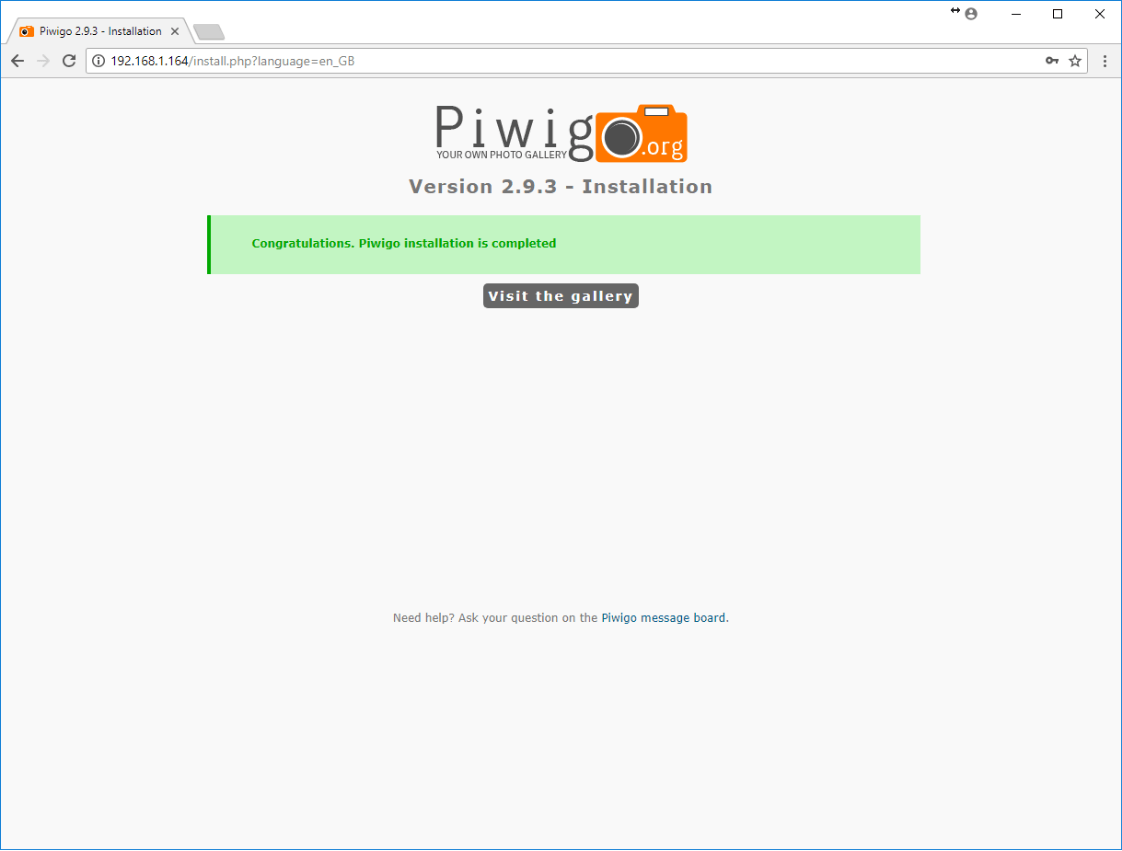
10. After the installation has been completed, hit on Visit the gallery button in order to be redirected to Piwigo admin panel.
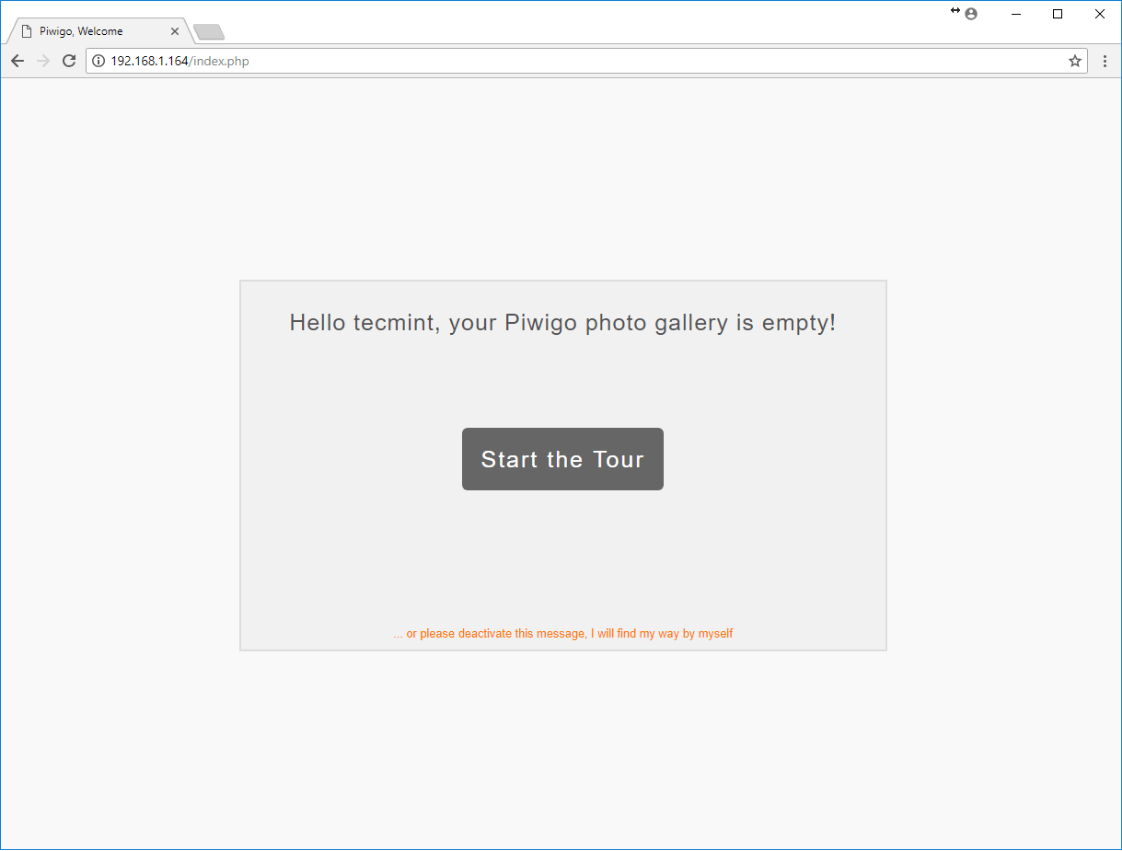
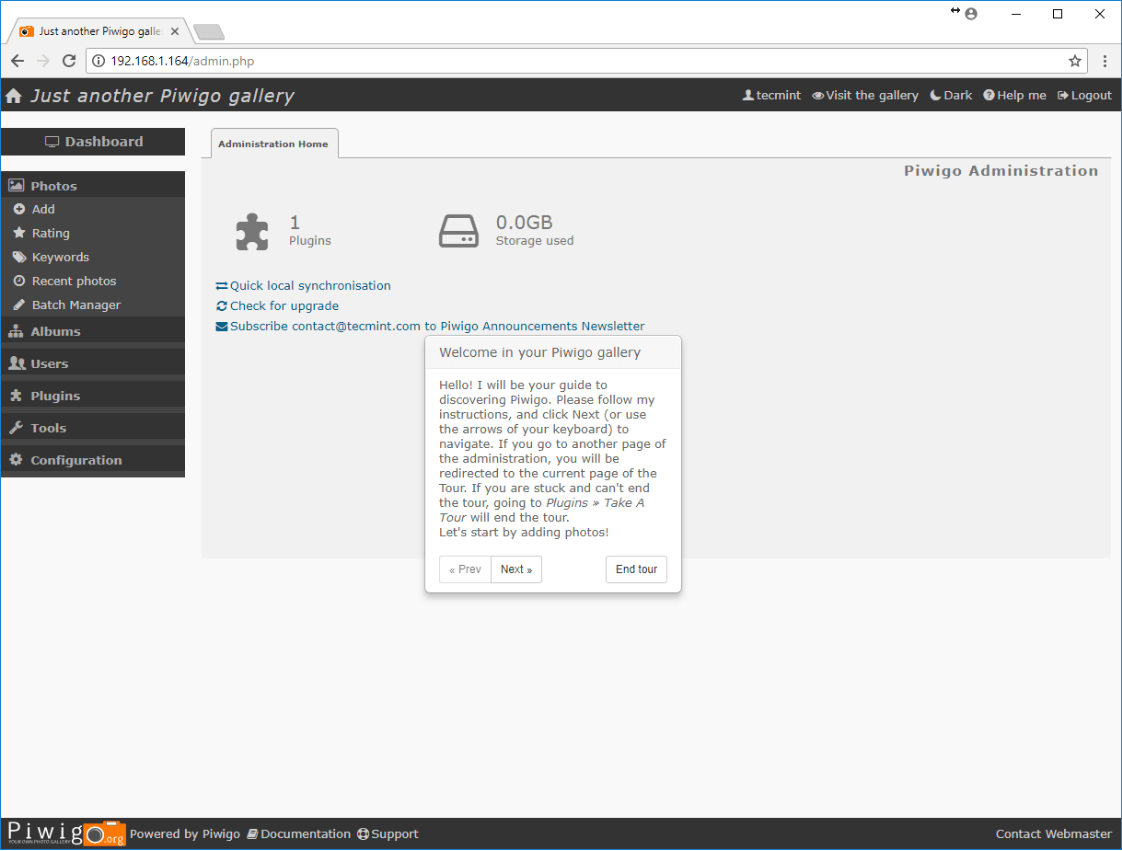
11. On the next screen, because no image has been uploaded to the server yet, hit on Start the Tour button in order to display the software guidance window and review all steps required to upload your photos and use the Piwigo image gallery.
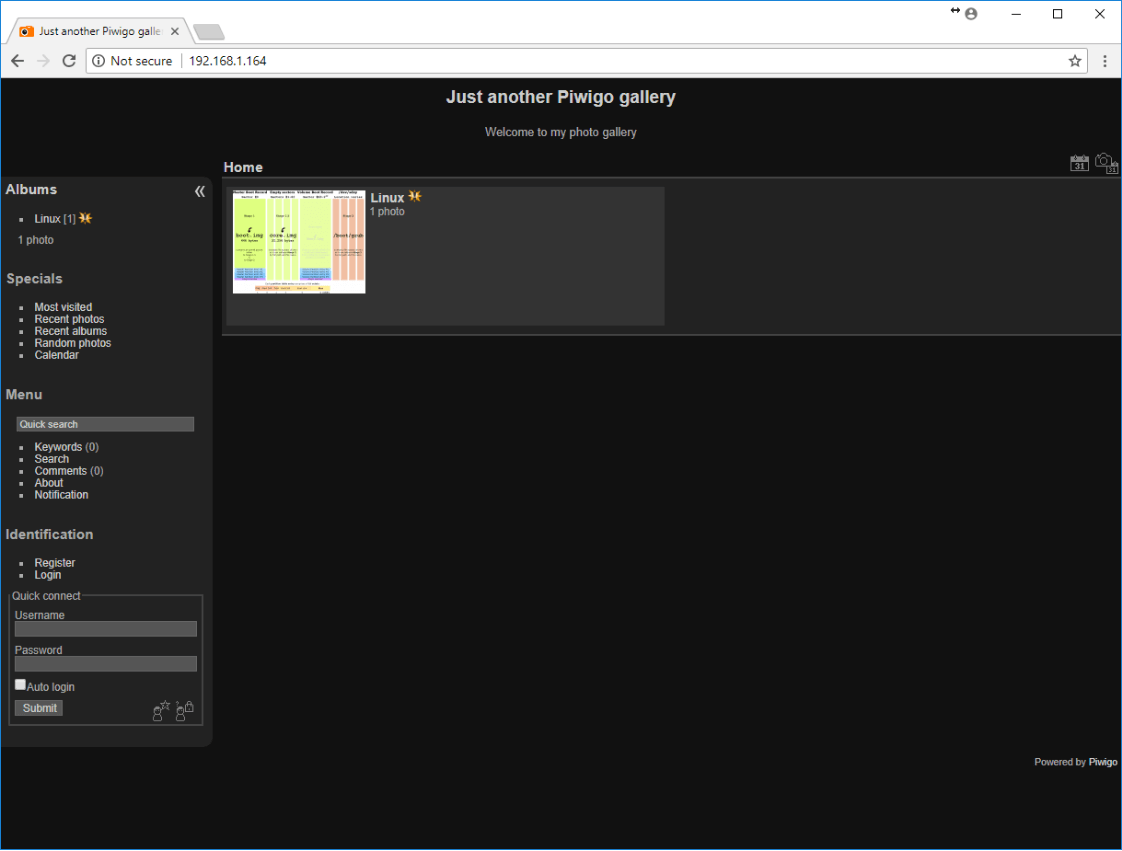
That’s all! Now you can start creating image galleries and upload your image files to the server using one of the most flexible open-source solutions to host your photos.
If you’re looking for someone to install Piwigo image gallery software, consider us, because we offer a wide range of Linux services at fair minimum rates with 14-days free support via email. Request Installation Now.


Sincerest thanks, Matei and team, for crafting this wonderfully comprehensive walkthrough. I’m up and running thanks to the fine job you’ve done. A quick note regarding a challenge encountered with sending emails from within Piwigo; /var/log/php-fpm/www-error.log indicated that SMTP connection attempts were failing. A bit of research took me to the PHPMailer Troubleshooting guide (https://github.com/PHPMailer/PHPMailer/wiki/Troubleshooting) where the author shares that SELinux on CentOS / Fedora / RedHat distributions often, by default, disallow httpd from making connections for sending an email.
Checking the current config with ‘getsebool httpd_can_sendmail‘ as directed, I was answered with “httpd_can_sendmail –> off“. As the author states, executing ‘sudo setsebool -P httpd_can_sendmail 1‘ allows httpd to send mail, and after a quick restart of the httpd service (‘systemctl restart httpd’), emails are flying free.
Thank you again for another opportunity to learn and broaden horizons!
Yepp, I followed the instruction to the point. Also finally found out that one has to use the database root user/passwd at the installation. Not the piwigo account created in the instructions. That made me a bit scared … However it installed.
@Thommy,
That’s great you finally installed Piwigo. If any help, feel free to post your queries here, we love to answer..
Hi,
I’ve followed your instructions on a Fedora 28, MariaDB, Apache and PHP server and I can access a test.php (phpinfo) from remote, but the Piwigo installation gives this error message “Cannot connect to server”.
Any hints on where to start debugging?
@Thommy,
Have you followed the instructions carefully? Do you able to access Piwigo installation wizard at http://your-domain.com?
Why do you disable SELinux? Is it so difficult to configure it?