Pgadmin4 is an opensource web-based management tool for managing PostgreSQL databases. It’s a Python-based web-application developed using the flask framework at the backend and HTML5, CSS3, and Bootstrap on the frontend. Pgadmin4 is a rewrite of Pgadmin 3 which is written in C++ and ships with the following notable features:
Pgadmin4 Features
- Sleek and revamped web interface with polished icons and panels.
- Fully responsive web layout with dashboards for real-time monitoring.
- Live SQL query tool/editor with syntax highlighting.
- Powerful management dialogs and tools for common tasks.
- Useful hints to get you started.
- And so much more.
In this article, you will learn how to install PostgreSQL with pagAdmin4 in server mode running behind the Apache webserver using the WSGI module on RHEL 8.
Install PostgreSQL on RHEL 8
The first step in installing PgAdmin4 is to install the PostgreSQL database server. PostgreSQL is available in the Appstream repository in different versions. You can make your selection by enabling your preferred package using the dnf package manager.
To list the available modules for PostgreSQL, run the command:
# dnf module list postgresql

The output indicates that there are 3 versions available for download from the AppStream repository: version 9.6, 10, and 12. We can also see that the default version is Postgresql 10 as indicated by the [d] tag. This is what you would install by running the command below.
# dnf install postgresql-server
However, we want to install the latest version, which is PostgreSQL 12. Therefore, we will enable that module and override the default module stream. To do so, run the command:
# dnf module enable postgresql:12
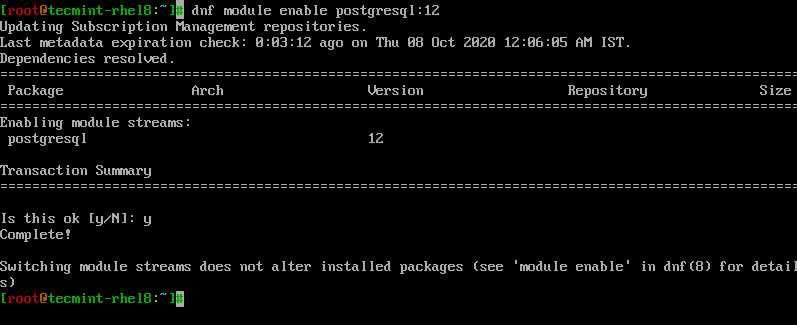
Once you have enabled the module for Postgresql 12, proceed and install Postgresql 12 alongside its dependencies as shown.
# dnf install postgresql-server
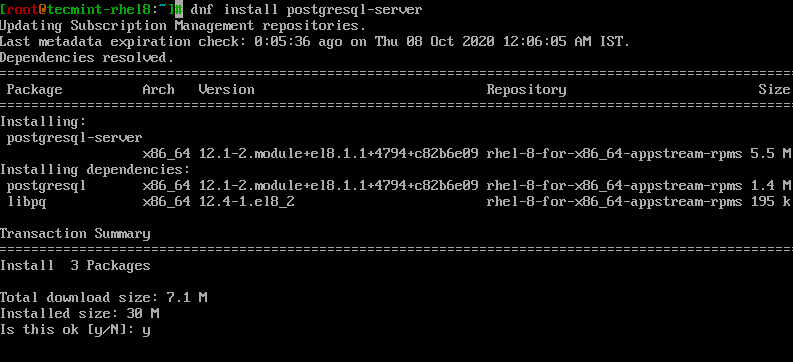
Before anything else, you need to create a database cluster. A cluster comprises a collection of databases that are managed by a server instance. To create a database cluster, invoke the command:
# postgresql-setup --initdb
If everything went well, you should get the output below.

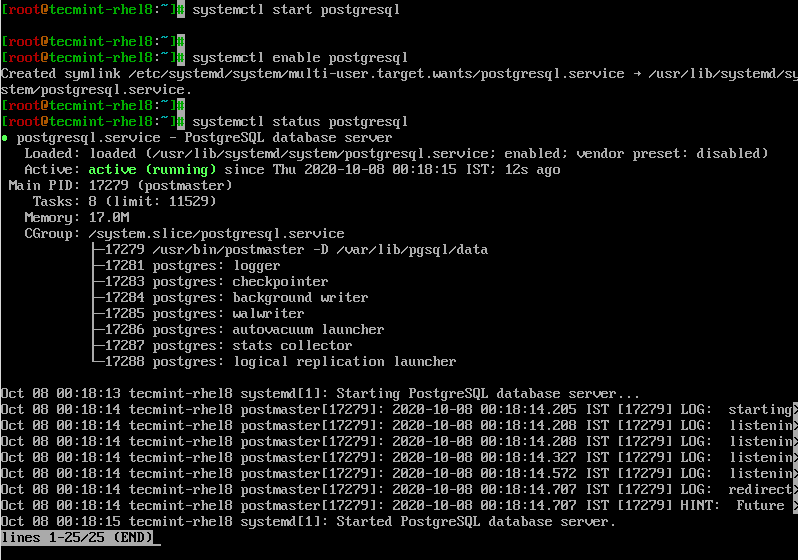
Once the cluster is created, you can now start and enable your PostgreSQL instance as shown:
# systemctl start postgresql
# systemctl enable postgresql
To confirm that Postgresql is up and running, execute:
# systemctl status postgresql
Installing Pgadmin4 in RHEL 8
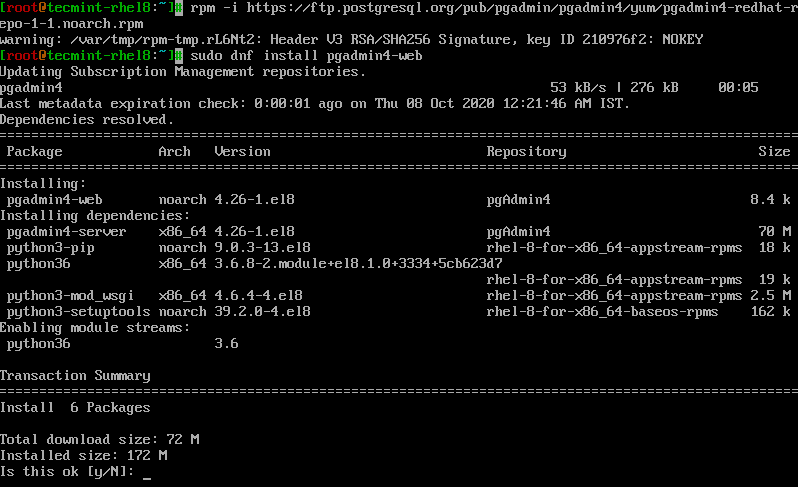
To install Pgadmin4, first, add the external repository shown below.
# rpm -i https://ftp.postgresql.org/pub/pgadmin/pgadmin4/yum/pgadmin4-redhat-repo-2-1.noarch.rpm
Next, run the command below to install pgadmin4 in server mode.
# dnf install pgadmin4-web
Next, install the policycoreutils packages which provide the core utilities needed by SELinux.
$ sudo dnf install policycoreutils-python-utils
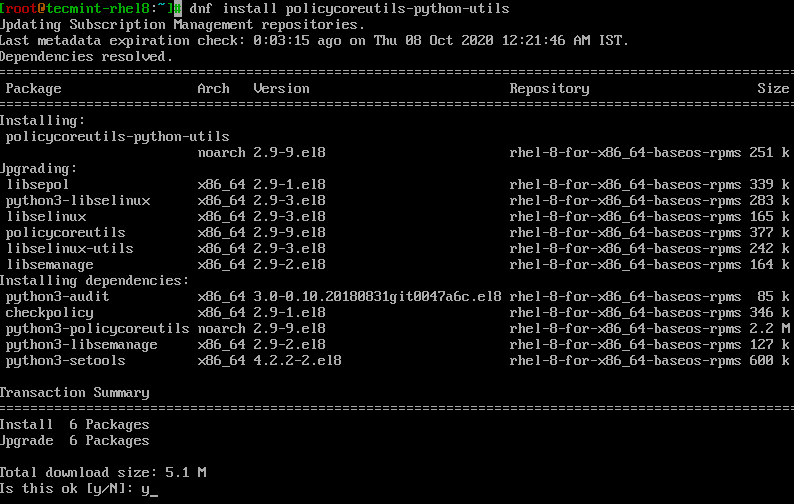
Once installed, run the Pgadmin4 setup script as shown. This is going to create a pgadmin user account, storage and log directories, configure SELinux and spin up the Apache webserver on which pgAdmin4 will run on.
# /usr/pgadmin4/bin/setup-web.sh
When prompted, provide the required information and hit 'Y' to start the Apache webserver.
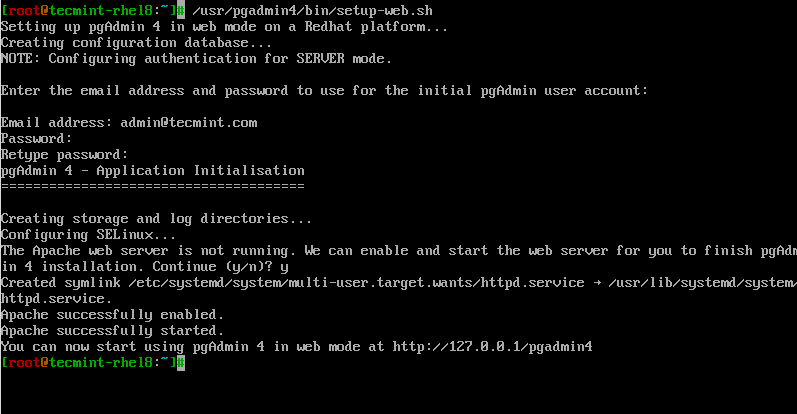
If you have a firewall running, open port 80 to allow web service traffic.
# firewall-cmd --add-port=80/tcp --permanent
# firewall-cmd --reload
Next, configure SELinux as shown:
# setsebool -P httpd_can_network_connect 1
To access pgadmin4, launch your browser and browse the URL shown.
http://server-ip/pgadmin4
Be sure to log in using the email address and the password that you provided when running the setup script.
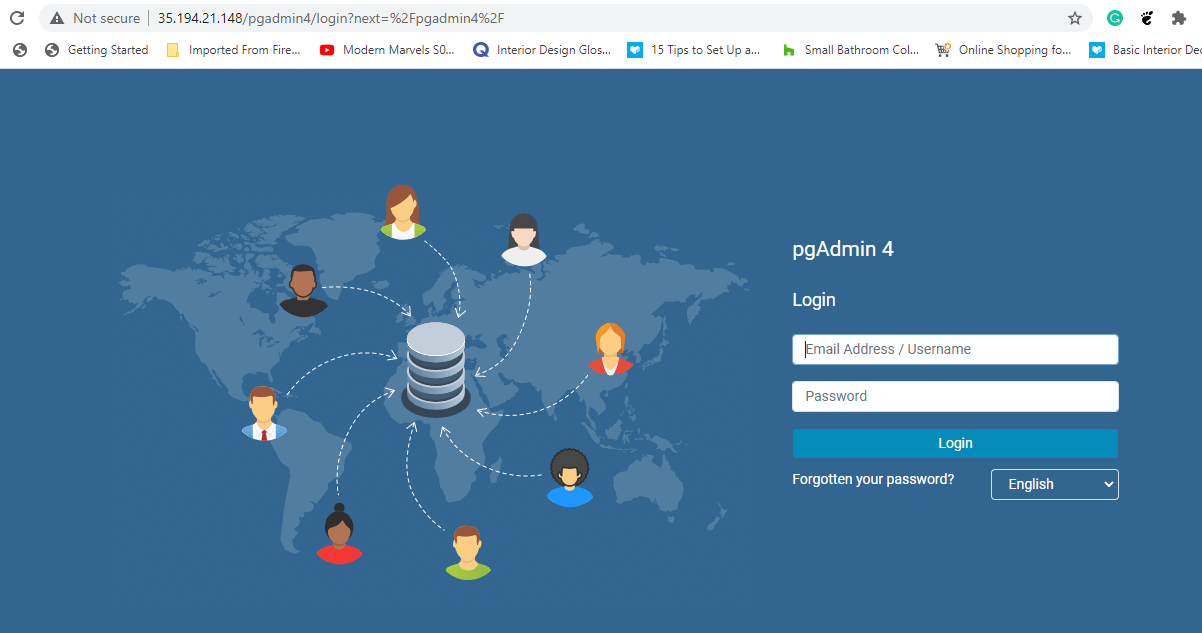
This ushers you to the Pgadmin4 dashboard as shown below.
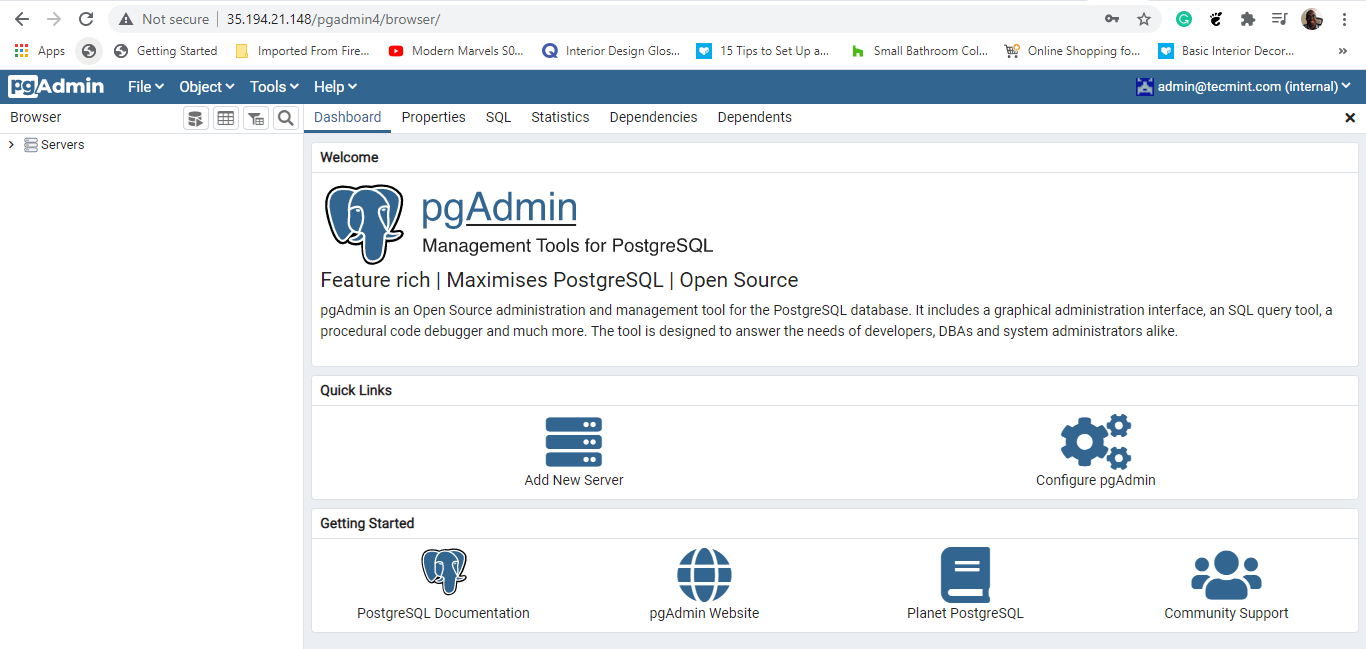
And that’s how you install Pgadmin4 in server mode. You can now create and manage PostgreSQL databases using the SQL editor and monitor their performance using the dashboards provided. This brings us to the end of this guide.





The following information is out of date and produces a 404 error:
It should be updated to: