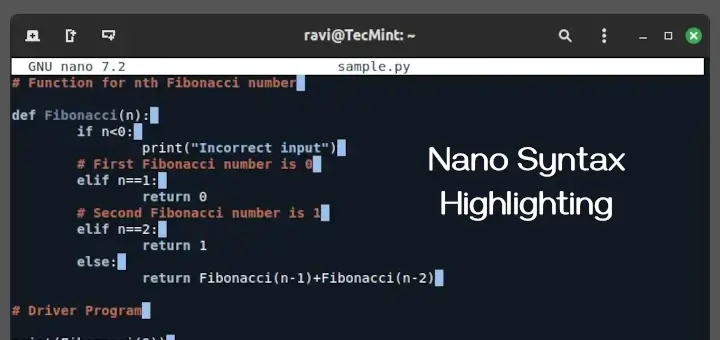
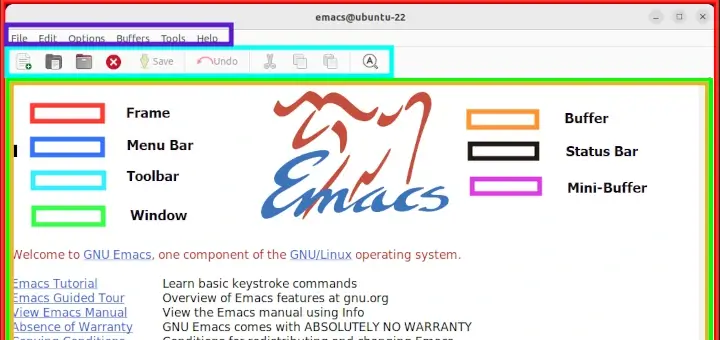
If you’re not a terminal lover, you might not like using the popular command-line text editors Vi or Vim. Speaking of graphical-based, Sublime Text is one of the most preferred cross-platform proprietary-based text and source code editors, that natively supports various programming and markup languages.
Sublime Text 4 is the most recent version that supports important features like GPU rendering for fluid UI, tab multi-select, ARM64 Linux support, and rewritten auto-complete engine for smart completions.
In this article, I’ll show you how to install Sublime Text 4 in a Linux-based operating system using the following various methods:
Table of Contents
Install Sublime Text 4 in Linux via DEB/RPM File
Let’s start with the most preferred and official way of installing Sublime Text on Linux distributions. Sublime Text provides DEB installer files for Debian-based Linux distros like Ubuntu/Linux Mint and RPM files for Red Hat-based distributions like Fedora, CentOS Stream, Rocky & AlmaLinux.
You can visit the official Sublime Text download page and directly get the installer DEB or RPM file.
Now, go to the directory where you downloaded the file, right-click on the file, and choose the “Open with other application” option, which will prompt a dialog to open DEB/RPM file with the respective default Software Installer.
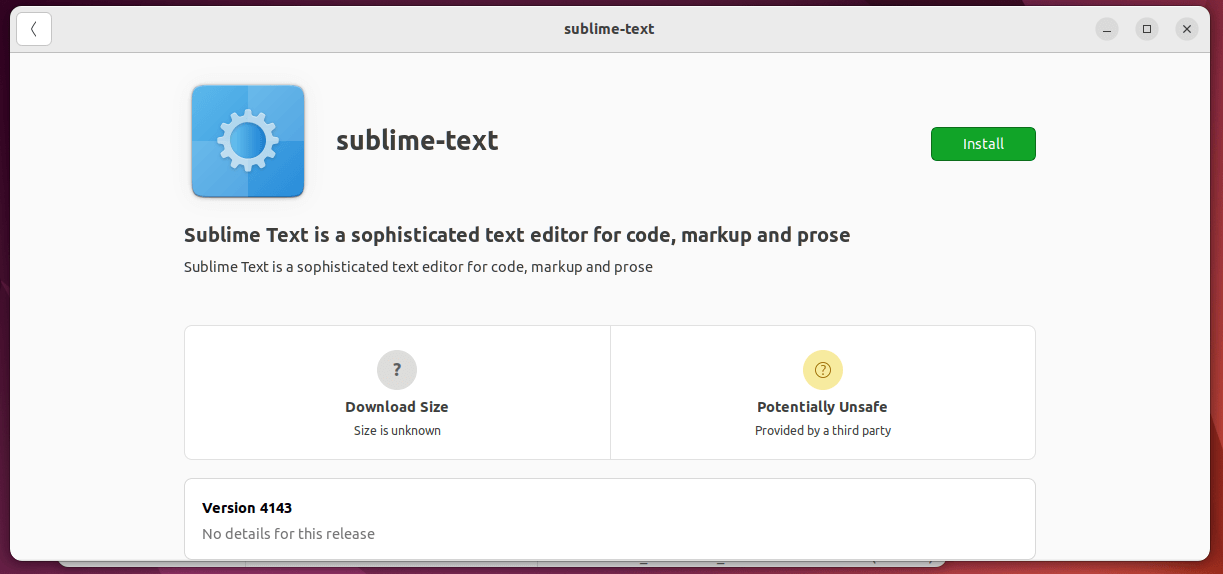
Alternatively, you can also use command line tools like DPKG for DEB and RPM for RPM installer files by executing the below commands:
$ sudo dpkg -i .deb	[Debian-based Ubuntu, Mint]
$ sudo rpm -i .deb	[Red Hat-based Fedora, Rocky Linux]
Install Sublime Text 4 in Linux via Tarball
On the same download page, apart from DEB/RPM, you might have also noticed the tar file also available. So, we can also use the bundled tar file to run Sublime text on Linux.
Download the tar file, decompress it manually and run it by running the commands in the terminal:
$ tar xf sublime_text_build_4143_x64.tar.xz
$ cd sublime_text
$ ./sublime_text
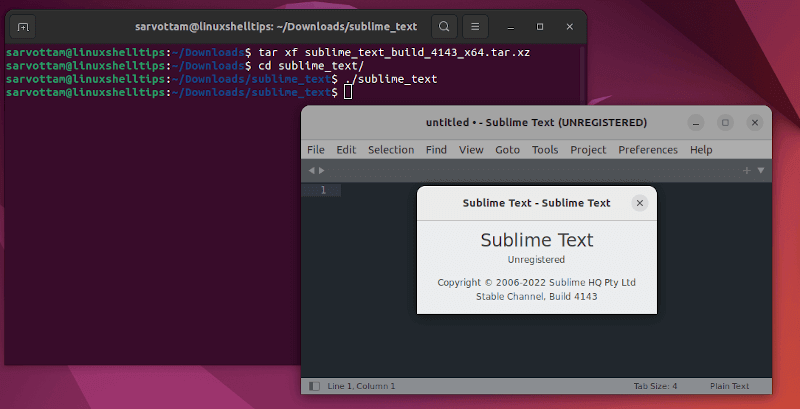
As you can see, the command will launch the Sublime Text 4 application in Linux.
Install Sublime Text 4 In Linux Using Repository
Instead of downloading the official DEB/RPM package or tar file, you can also use the respective package manager like APT for Debian-based and DNF for RHEL-based distros to install the Sublime Text 4 editor.
Install Sublime Text 4 in Debian Distros
$ wget -qO - https://download.sublimetext.com/sublimehq-pub.gpg | gpg --dearmor | sudo tee /etc/apt/trusted.gpg.d/sublimehq-archive.gpg > /dev/null
$ echo "deb https://download.sublimetext.com/ apt/stable/" | sudo tee /etc/apt/sources.list.d/sublime-text.list
$ sudo apt-get update
$ sudo apt-get install apt-transport-https
$ sudo apt-get install sublime-text
Install Sublime Text 4 in RHEL Ditros
$ sudo rpm -v --import https://download.sublimetext.com/sublimehq-rpm-pub.gpg
$ sudo dnf config-manager --add-repo https://download.sublimetext.com/rpm/stable/x86_64/sublime-text.repo
$ sudo dnf install sublime-text
Install Sublime Text 4 in Linux Using Snap
Snap is a universal package manager that can be used on all major Linux distributions, including Ubuntu, Linux Mint, Debian, and Fedora. Surprisingly, Snap is pre-installed on some Linux distributions like Ubuntu, Manjaro, KDE Neon, and Zorin OS.
So, if you already have Snap on your system, run a single command to install Sublime Text 4:
$ sudo snap install sublime-text --classic
In case, you don’t have Snap, you still can install Snap by following the official snap documentation.
Install Sublime Text 4 in Linux Using Flatpak
Similar to Snap, Flatpak is also yet another popular universal package manager available for almost all Linux distributions. But unfortunately, as I’m writing this article, Sublime Text 4 is not available as a Flatpak package on the Flathub repository.
Sublime Text 3 is available as Flatpak, which you can install by running the command:
$ flatpak install flathub com.sublimetext.three
How To Use Sublime Text 4 on Linux
Let’s start with a very important feature of Sublime Text, which helps it to bring additional functionality to your needs using plugins.
Instead of manually installing plugins, package control is a package manager for Sublime Text that lets you find, install, and update packages within the application.
So, let’s first install Package Control by opening the Tools menu and selecting Install Package Control.
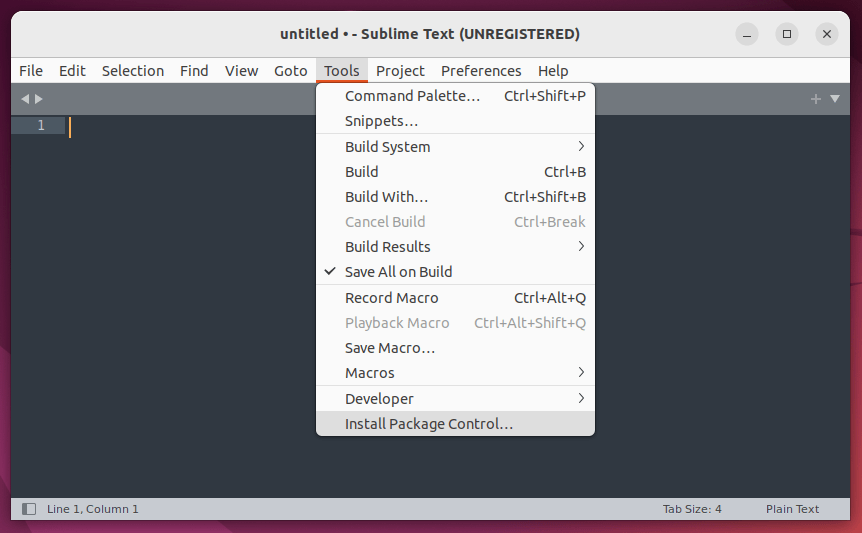
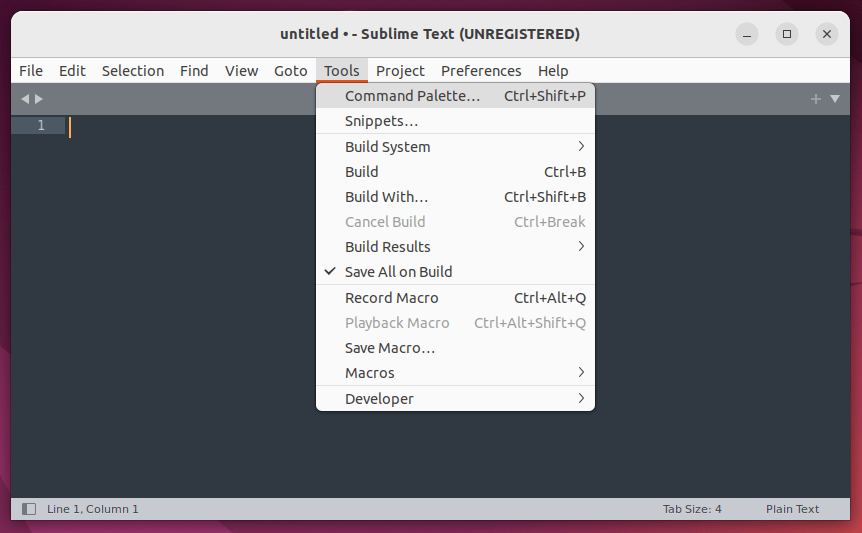
Now, you can install a plugin by first opening Command Palette using the shortcut CTRL + SHIFT + P or going to Tools -> Command Palette menu.
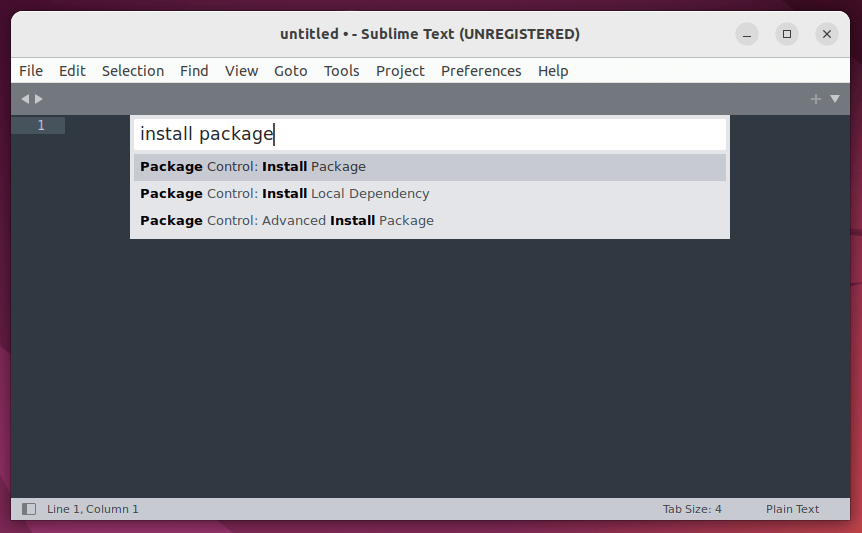
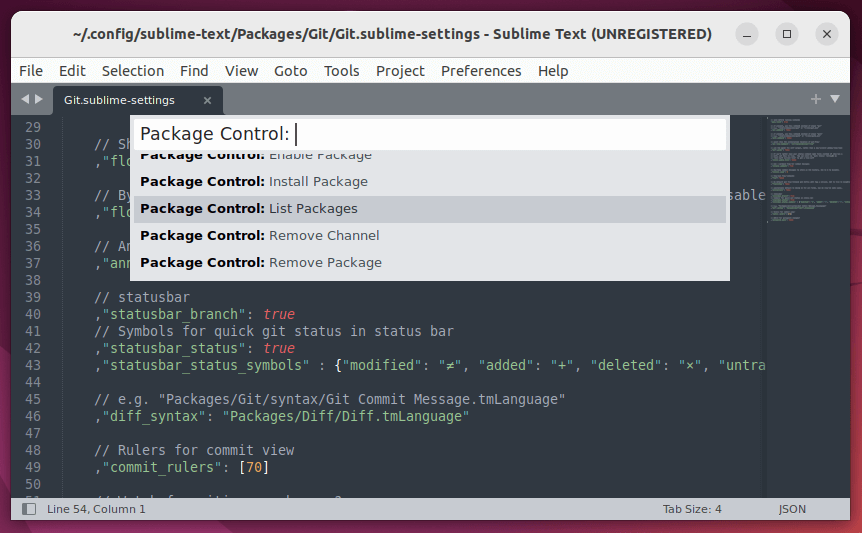
Then, search for “package control” in Command Palette, which will list all available Package Control options to carry operation.
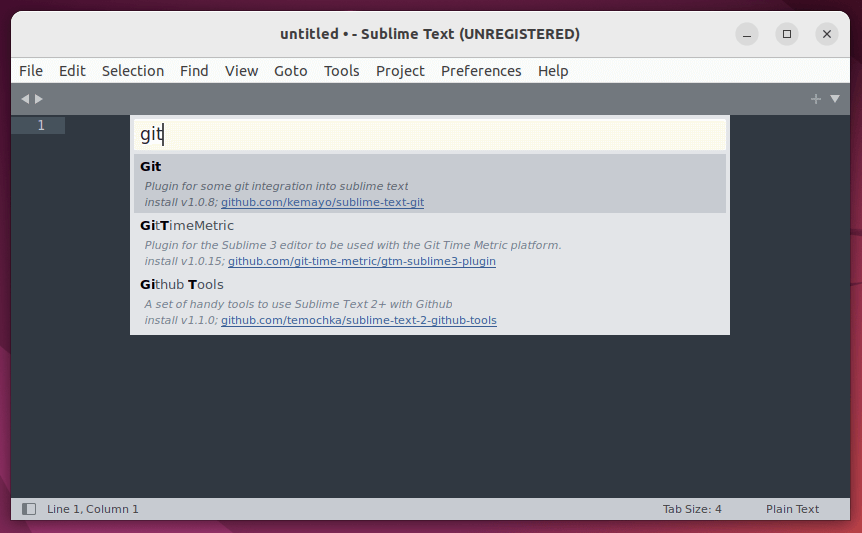
One such option is Install Package, which you can select that will pop up another window containing a list of all available packages. Here you can search for your required package as I did for the “Git” file management tool. Select the result and it will install the plugin in a few seconds in the background.
Once installed, go to Preferences -> Package Settings – which will display all installed packages in Sublime Text.
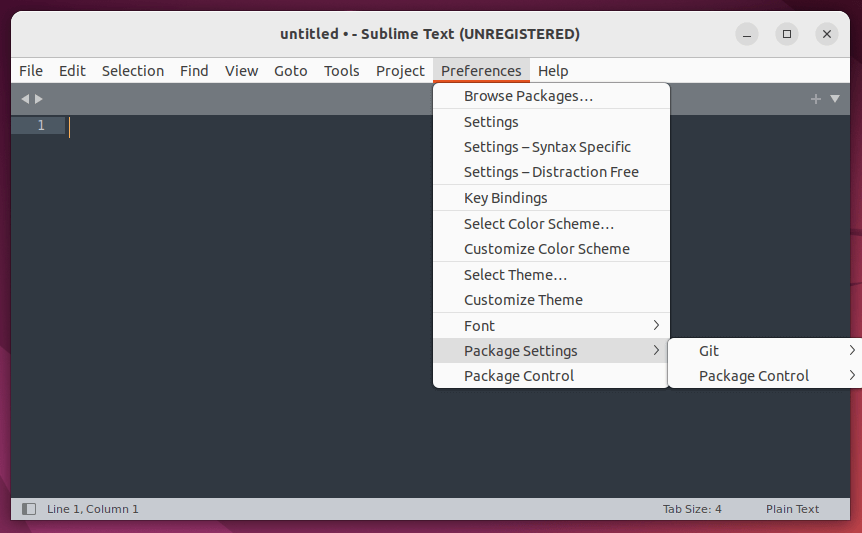
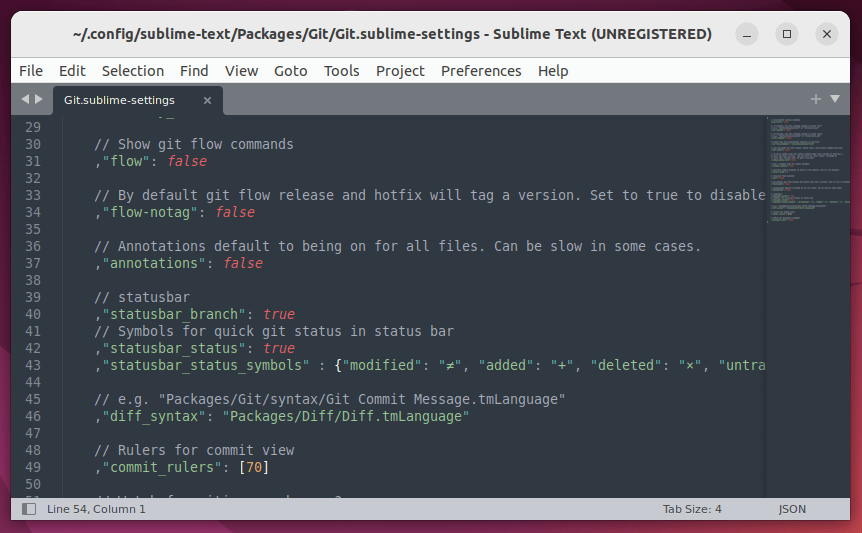
Now, you can open the settings file of the Git package to edit and make it work as per your need.
Alternatively, you can also use the Package Control option “List Package” in Command Palette to display all installed packages.
At last, you’ve learned how to install Sublime Text 4 using not just the installer package file but also using a package manager like Snap. After installing, you also get to know how to use Sublime Text and make the most out of its feature like Package Control.


