This tutorial will show you how to install VMware Workstation 17 Pro on RHEL-based distributions such as CentOS, Fedora, Rocky Linux, and AlmaLinux, as well as on Debian-based distributions such as Ubuntu and Linux Mint.
VMware Workstation 17 Pro is popular software that allows you to run multiple different virtual machines on physical hosts using the concept of Type II hypervisors (Hosted Hypervisors).
What is new in VMware Workstation 17 Pro
- Container and Kubernetes Support – Build, run, pull, and push container images using the vctl command-line tool.
- New Guest operating system support for RHEL 9, Debian 11.x, and Ubuntu 22.04.
- Support for DirectX 11 and OpenGL 4.3 in the Guest.
- Vulkan Render Support for Linux Workstation
- Dark Mode support for optimized user experience.
- vSphere 7.0 Support
- Support for ESXi Host Power Operations such as Shutdown, Restart and Enter/Exit Maintenance Mode.
- With improved OVF/OVA support for testing and experimentation within the Workstation.
- Scan for Virtual Machines in local folders as well as on network shared storage and USB drives.
- Automatically Suspend Shared Virtual Machines Upon Host Shutdown.
- New GTK+ 3-based UI for Linux.
- There are also some other features that you will discover by practicing and doing hands-on labs.
Prerequisites
- Make sure that your system is 64-bit “VMware Doesn’t provide a 32-bit edition” and that its virtualization feature is enabled.
- Unfortunately, the 16th edition doesn’t support 32-bit processors may be due to the feature improvements that need the higher level of processor BUT VMware didn’t talk about specific reasons.
- Make sure you have a license key to activate the product OR you will work in the evaluation mode “the same features but with ONLY 30 day period” After the evaluation mode period ends YOU MUST enter a license key to activate the product.
- Before you begin this guide, you will need the root account OR non-root user with sudo privileges configured on your system (Physical host).
- Make sure your system and its kernel are up to date.
Step 1: Downloading VMware Workstation 17 Pro
1. First login into your server as a root or non-root user with sudo permissions and run the following command to keep your system up-to-date.
sudo yum update     [On RedHat Systems]
sudo dnf update     [On Fedora]
sudo apt update     [On Debian Systems]
2. Next, download the VMWare Workstation Pro installer script bundle from the Broadcom official site.
3. After downloading the VMWare Workstation Pro script file, go to the directory that contains the script file and set the appropriate execute permission as shown.
# chmod a+x VMware-Workstation-Full-17.5.2-23775571.x86_64.bundle
Step 2: Installing VMWare Workstation 17 Pro in Linux
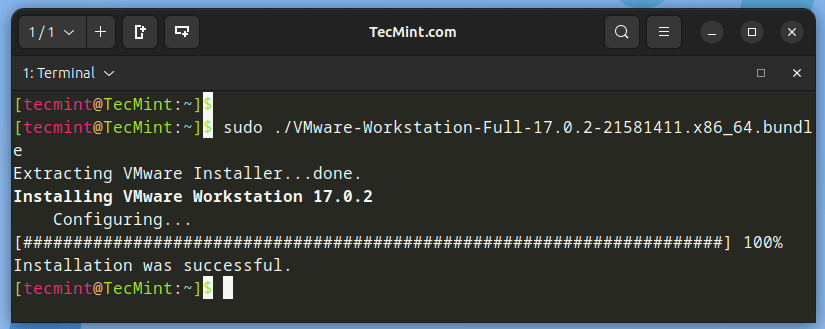
4. Now run the installer script to install VMWare Workstation Pro on a Linux host system, which will be installed silently, and the installation progress is shown in the terminal.
./VMware-Workstation-Full-17.5.2-23775571.x86_64.bundle
OR
sudo ./VMware-Workstation-Full-17.5.2-23775571.x86_64.bundle
Step 3: Running VMWare Workstation 17 Pro
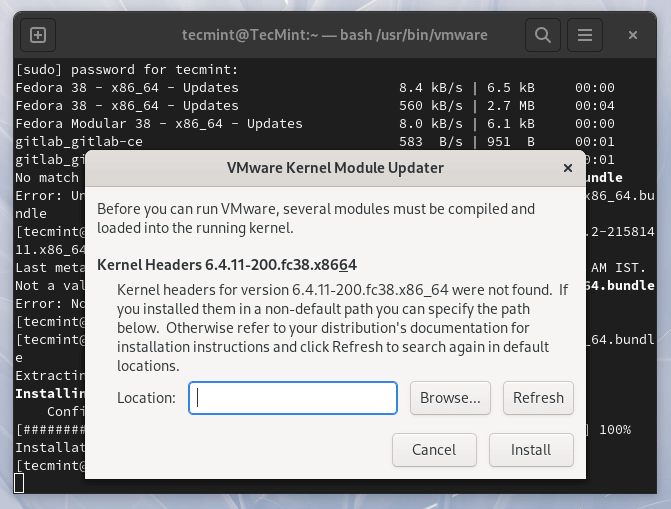
5. To run the VMware installer for the first time, you may encounter the following error, which needs to be fixed by installing certain missing prerequisites, including the GNU Compiler Collection, Development Tools, and Kernel Headers, which are essential components for the installation process.
vmware
Install GNU Compiler Collection and Development Tools.
sudo yum groupinstall "Development tools"   [On RHEL-based Systems]
sudo dnf install gcc build-essential	    [On Debian-based Systems]
Install Kernel Headers.
sudo dnf install kernel-headers		     [On RedHat Systems]
sudo apt install linux-headers-`uname -r`    [On Debian Systems]
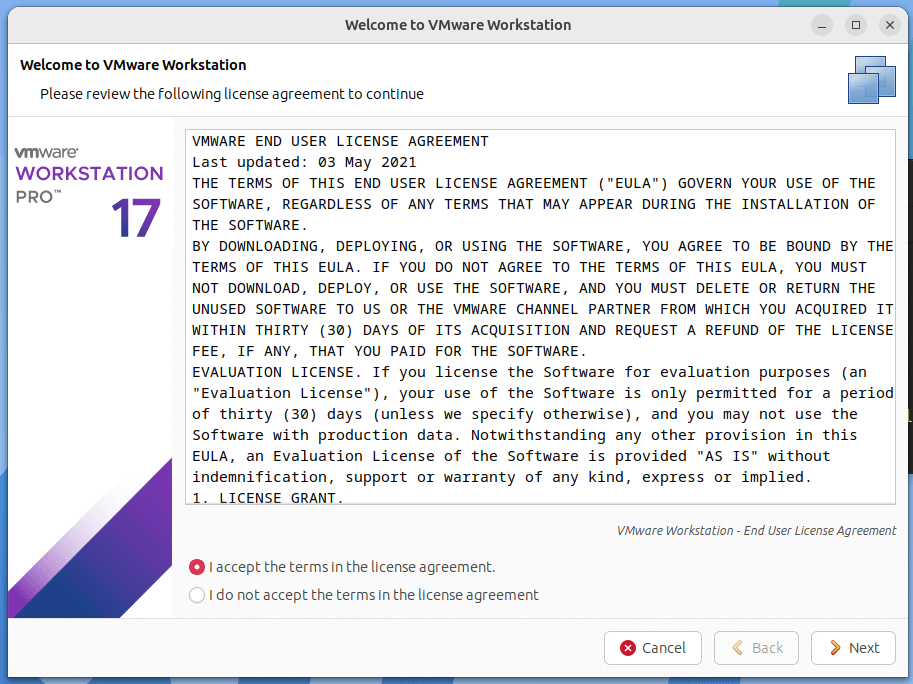
6. After installing the required packages, try running VMware again. You will encounter the following license agreement. Check the option ‘I accept the terms in the license agreement‘ and then click ‘Next‘ to continue.
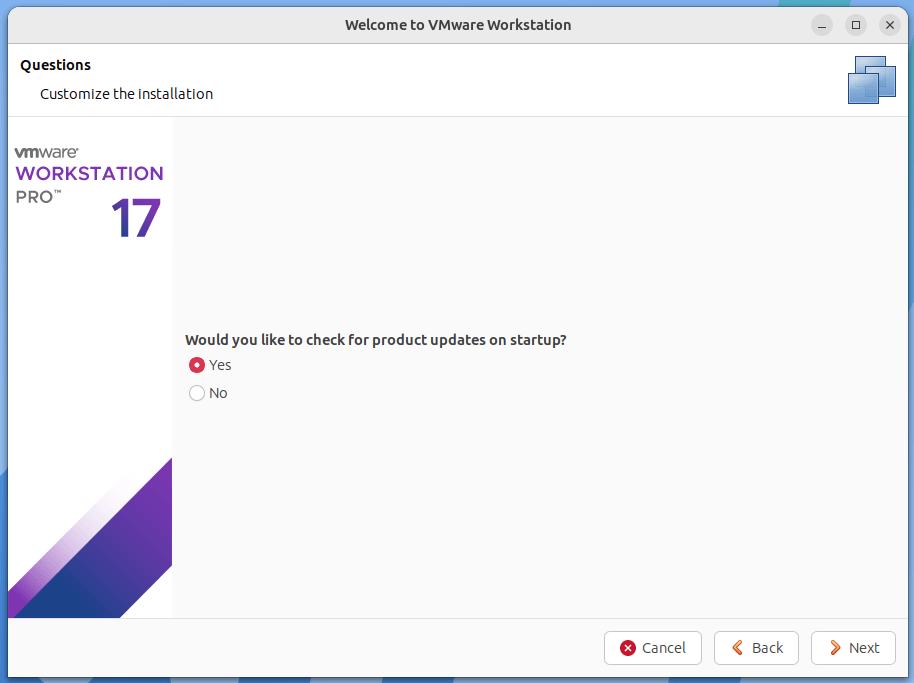
7. Select whether you want the software to perform update checks on startup, then proceed by clicking ‘Next‘.
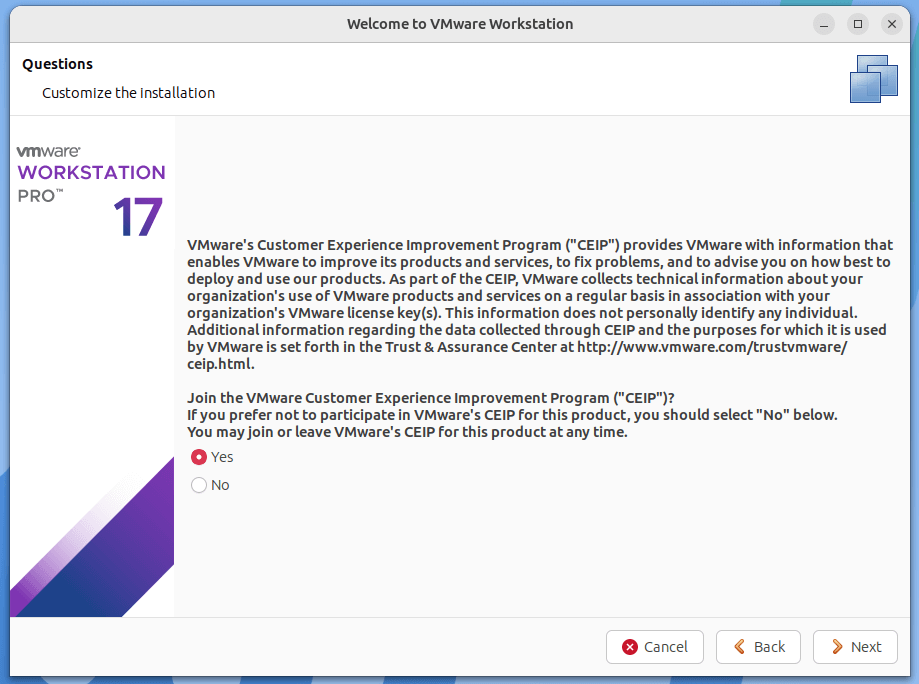
8. Next, the installer prompts you to join the VMware Customer Experience Improvement Program. Select Yes or No to continue.
9. Next, it will ask you to enter the VMware Workstation license key or try the software for free for 30 days.
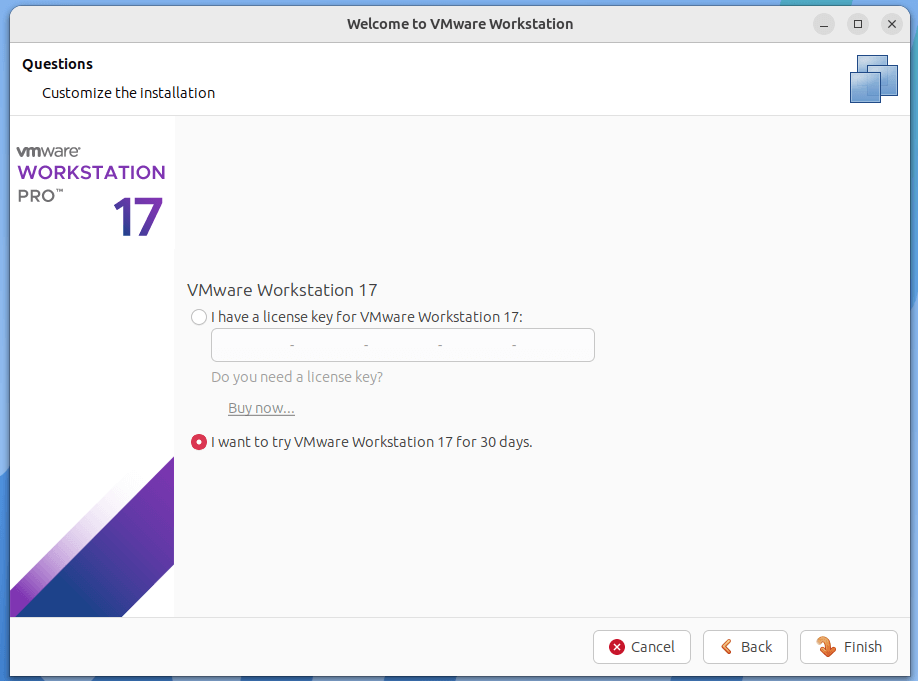
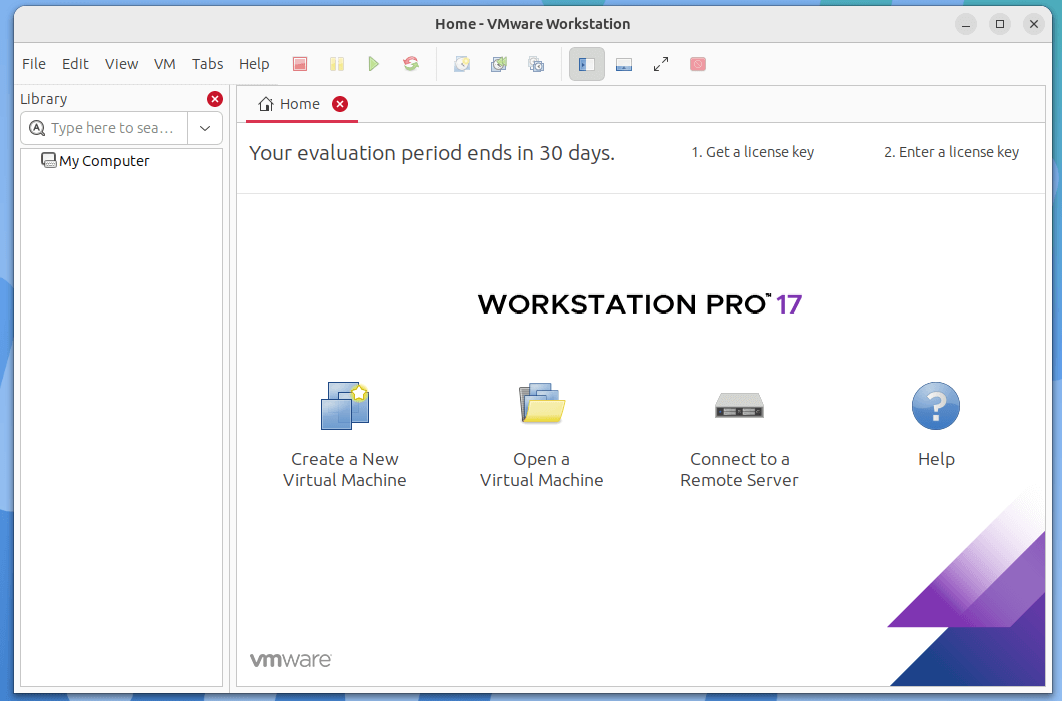
10. Once you make this selection, VMware Workstation will open, allowing you to begin creating and managing virtual machines.
Uninstall VMWare Workstation from a Linux
To uninstall VMware Workstation Pro from a Linux system, run:
vmware-installer -u vmware-workstation
OR
sudo vmware-installer -u vmware-workstation
Sample Output
All configuration information is about to be removed. Do you wish to
keep your configuration files? You can also input 'quit' or 'q' to
cancel uninstallation. [yes]: yes

Uninstalling VMware Installer 3.1.0
    Deconfiguring...
[######################################################################] 100%
Uninstallation was successful.
To remove all VMware Workstation Pro files, configuration settings, and virtual machines, run the following command:
sudo rm -rf /usr/vmware
Once you have uninstalled VMware Workstation Pro, you can reboot your computer.


