In our previous tutorial, we demonstrated step-by-step instructions on how to install Arch Linux. Notably, the installation of Arch takes a complete hands-on approach during installation and you need to configure all components from the command-line from scratch. Indeed it’s a long and tedious procedure.
The base installation only provides a CLI (Command Line Interface) which is not the preferred option for beginners and users not adept at running commands on a terminal. The good news is that you can install a desktop environment to enhance user experience and make the most out of the system.
This guide will demonstrate how to install the XFCE GUI environment to provide a graphical platform for your Arch Linux installation.
If you prefer the Cinnamon desktop, refer to our guide on how to install Cinnamon on Arch Linux.
Step 1: Upgrade Local Packages in Arch Linux
Get started by performing a full system upgrade using the following command.
$ sudo pacman -Syu

Let’s explore what the command does:
- The
-Soption instructs pacman to synchronize the local database with the main one. - The
-yoption downloads a fresh copy of the package list from the Arch repositories. - The
-uoption upgrades all the packages to their latest versions.
Step 2: Install XFCE on Arch Linux
Once your system is up to date, install the XFCE lightweight desktop environment from the Arch repositories using the following command.
$ sudo pacman -S xfce4 xfce4-goodies
Just hit ENTER every time you are prompted to go with the default options which install all the required packages.

Step 3: Install Lightdm Display Manager on Arch Linux
Once the XFCE desktop environment is installed, you must install the lightdm display manager, which is an application that acts as a link between users and the display server. It takes care of session management and user authentication during login.
The lightdm display manager is an open-source, lightweight, and extensible display manager that runs on top of X servers and performs the following roles:
- Provides a graphical login display for authentication.
- Runs graphical session processes once authentication is complete.
- Runs the X display server where needed.
- Allows users to pick their preferred user account and graphical session during login.
- Allows greeters to perform authentication using PAM. A greeter is simply a GUI that prompts for user credentials during login and allows the user to select a session.
To install the lightdm display manager alongside a greeter, run the command.
$ sudo pacman -S lightdm lightdm-gtk-greeter

Once the lightdm display manager is installed, enable the daemon to start on system startup as shown.
$ sudo systemctl enable lightdm
Now reboot the system to log in to your XFCE GUI.
Step 4: Login to Arch Linux (XFCE GUI)
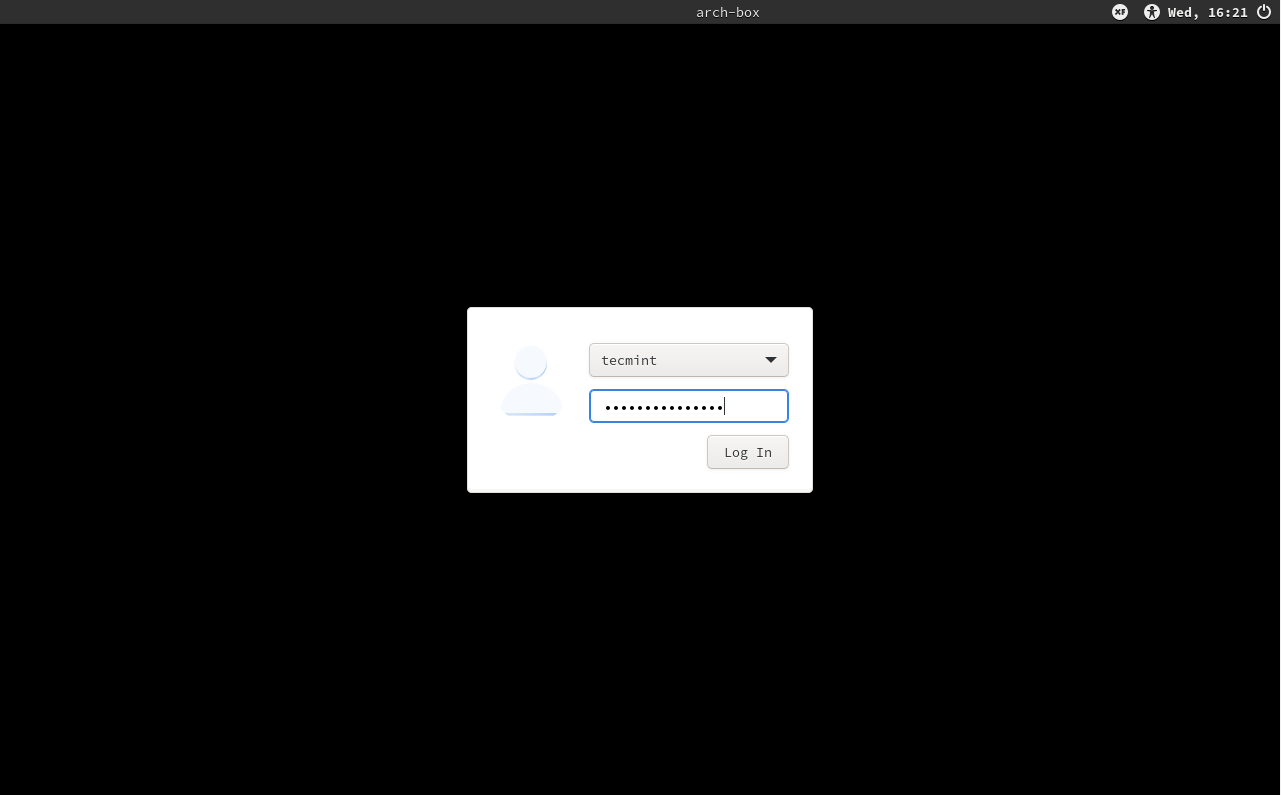
Once the system has rebooted, the following display will be presented. Select your preferred user account, provide the password, and hit the ‘Log In‘ button.

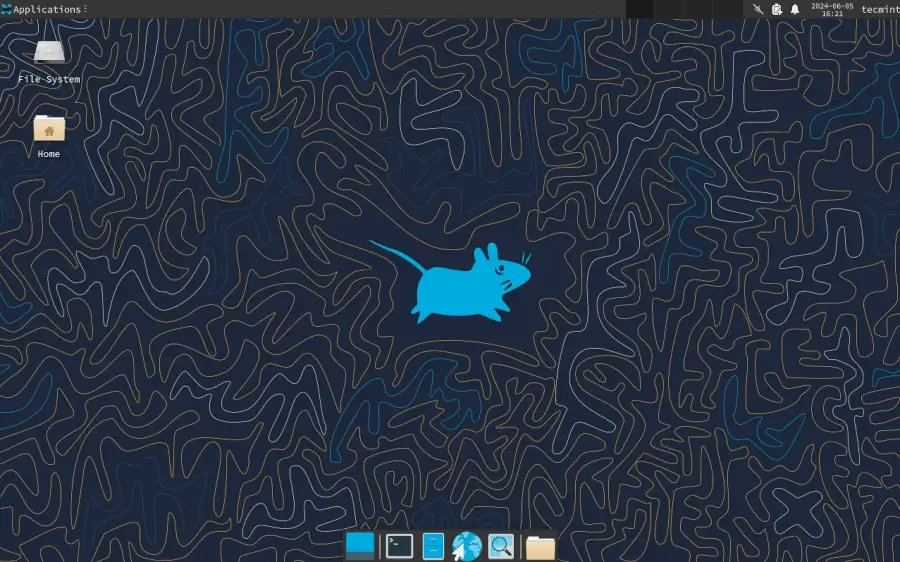
A simple and elegant XFCE desktop environment comes into view. As you can see, it’s quite neat and user-friendly. The `Applications` tab at the top left corner allows you to access installed applications with ease.
At the bottom, you get a dock for quick navigation to your file manager, browser, and terminal.

Conclusion
There you have it! In this guide, we have demonstrated how to install the XFCE desktop environment, a lightweight GUI. It’s light on resources and, therefore, you are guaranteed a smooth desktop experience on your Arch Linux installation.


