Every time you power on your Linux PC, it goes through a series of stages before finally displaying a login screen that prompts for your username or password. There are 4 distinct stages that every Linux distribution goes through in a typical boot-up process.

In this guide, we will highlight the various steps taken by the Linux OS from the time it is powered on to the time you log in. Kindly note that this guide only takes into consideration the GRUB2 bootloader and systemd init as they are currently in use by a vast majority of modern Linux distributions.
The booting process takes the following 4 steps that we will discuss in greater detail:
- BIOS Integrity check (POST)
- Loading of the Boot loader (GRUB2)
- Kernel initialization
- Starting systemd, the parent of all processes
1. The BIOS Integrity Check (POST)
The boot process is usually initialized when a user presses the power-on button – if the PC was already shut down – or reboots the system using either the GUI or on the command line.
When the Linux system powers up, the BIOS (Basic Input Output System) kicks in and performs a Power On Self Test (POST). This is an integrity check that performs a plethora of diagnostic checks.
The POST probes the hardware operability of components such as the HDD or SSD, Keyboard, RAM, USB ports, and any other piece of hardware. If some hardware device is not detected, or if there’s a malfunction in any of the devices such as a corrupt HDD or SSD, an error message is splashed on the screen prompting your intervention.
In some cases, a beeping sound will go off especially in the event of a missing RAM module. However, if the expected hardware is present and functioning as expected, the booting process proceeds to the next stage.
2. The Bootloader (GRUB2)
Once the POST is complete and the coast is clear, the BIOS probes the MBR (Master Boot Record) for the bootloader and disk partitioning information.
The MBR is a 512-byte code that is located on the first sector of the hard drive which is usually /dev/sda or /dev/hda depending on your hard drive architecture. Note, however, that sometimes the MBR can be located on a Live USB or DVD installation of Linux.
There are 3 main types of bootloaders in Linux: LILO, GRUB, and GRUB2. The GRUB2 bootloader is the latest and primary bootloader in modern Linux distributions and informs our decision to leave out the other two which have become antiquated with the passage of time.
GRUB2 stands for GRand Unified Bootloader version 2. Once the BIOS locates the grub2 bootloader, it executes and loads it onto the main memory (RAM).
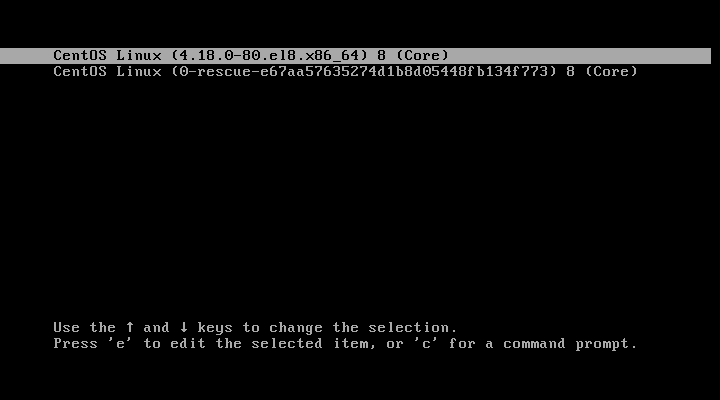
The grub2 menu allows you to do a couple of things. It allows you to select the Linux kernel version that you’d want to use. If you have been upgrading your system a couple of times, you might see different kernel versions listed. Additionally, it gives you the ability to edit some kernel parameters by pressing a combination of keyboard keys.

Also, in a dual-boot setup where you have multiple OS installations, the grub menu allows you to select which OS to boot into. The grub2 configuration file is the /boot/grub2/grub2.cfg file. GRUB’s main objective is to load the Linux kernel onto the main memory.
3. Kernel Initialization
The kernel is the core of any Linux system. It interfaces the PC’s hardware with the underlying processes. The kernel controls all the processes on your Linux system. Once the selected Linux kernel is loaded by the bootloader, it must self extract from its compressed version before undertaking any task. Upon self-extracting, the selected kernel mounts the root file system and initializes the /sbin/init program commonly referred to as init.

Init is always the first program to be executed and is assigned the process ID or PID of 1. It’s the init process that spawns various daemons & mounts all partitions that are specified in the /etc/fstab file.
The kernel then mounts the initial RAM disk (initrd) which is a temporary root filesystem until the real root filesystem is mounted. All kernels are located in the /boot directory together with the initial RAM disk image.
4.Starting Systemd
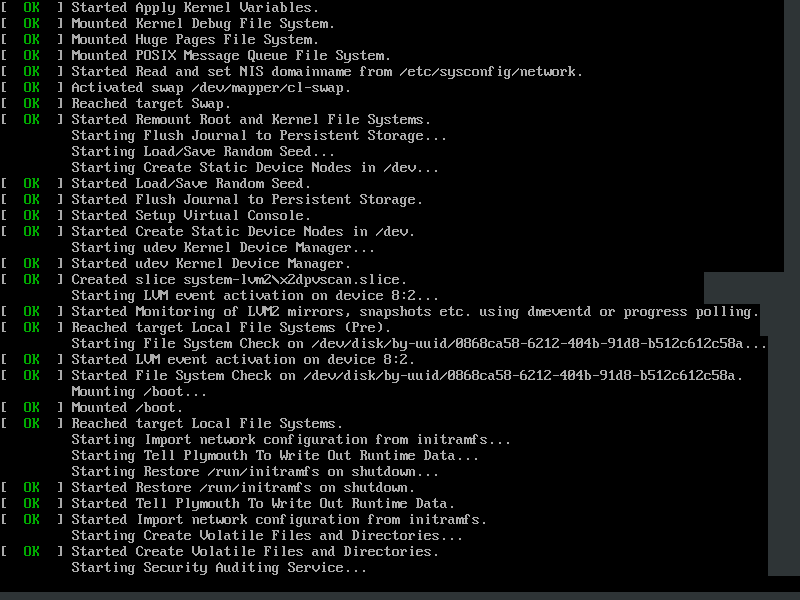
The kernel finally loads Systemd, which is the replacement of the old SysV init. Systemd is the mother of all Linux processes and manages among other things mounting of file systems, starting and stopping services to mention just a few.
Systemd uses the /etc/systemd/system/default.target file to determine the state or target that the Linux system should boot into.
- For a desktop workstation (with a GUI) the default target value is 5 which is the equivalent of run level 5 for the old SystemV init.
- For a server, the default target is multi-user.target which corresponds to run level 3 in SysV init.
Here’s a breakdown of the systemd targets:
- poweroff.target (runlevel 0): Poweroff or Shutdown the system.
- rescue.target (runlevel 1): launches a rescue shell session.
- multi-user.target (runlevel 2,3,4): Configures the system to a non-graphical (console) multi-user system.
- graphical.target (runlevel 5): Set the system to use a graphical multi-user interface with network services.
- reboot.target (runlevel 6): reboots the system.
To check the current target on your system, run the command:
$ systemctl get-default

You can switch from one target to another by running the following command on the terminal:
$ init runlevel-value
For example, init 3 configures the system to a non-graphical state.
The init 6 command reboots your system and init 0 powers off the system. Be sure to invoke sudo command when you want to switch to these two targets.
The booting process ends once systemd loads all the daemons and sets the target or run level value. It’s at this point you are prompted for your username and password upon which you gain entry to your Linux system.


