Rocky Linux 8.5, codenamed Green Obsidian, is finally here! It was released on November 12, 2021, barely six months after the release of Rocky Linux 8.4 which is a fourth stable version of the latest release.
This is the first stable and production-ready release of Rocky Linux after months of intense research and development. It is available for both x86_64 and ARM64 architectures.
As you know by know, Rocky Linux is a community enterprise operating system that is 100% bug-for-bug compatible with Red Hat Enterprise Linux 8.5. This makes it a perfect alternative to CentOS 8 which will turn EOL by the end of December 2021.
With the release of Rocky Linux 8.5, a conversion tool has been made available to help you migrate from CentOS 8 to Rocky Linux. This is convenient for those who want to test out Rocky Linux 8 without performing a fresh installation.
Just to bring you up to speed, you can upgrade the following distributions to Rocky Linux 8.5:
- Red Hat Enterprise Linux 8.4
- CentOS Linux 8.4
- AlmaLinux 8.4
- Oracle Linux 8.4
Download Rocky Linux 8.5
If you want a fresh installation, proceed and Download Rocky Linux 8.5 which is available in minimal, DVD, and Boot ISO images.
Amazingly, Rocky Linux 8.5 is also available on Amazon Web Services (AWS Marketplace) and Google Cloud Platform. Additionally, you can find Rocky Linux in container images from the Docker Hub and Quay.io.
Migration from CentOS 8 to Rocky Linux 8.5
Before migrating to Rocky Linux 8.5, and any other operating system for that matter, It’s always recommended to back up all your files so that you can be on the right side of things should anything break.
To get started out, we’re are going to confirm the version of CentOS 8 that we are using for migration. We are currently running CentOS Linux 8.2 as indicated below.
$ cat /etc/redhat-release

CentOS Linux release 8.2.2004 (Core)
You do not need to upgrade to the latest version of CentOS, as is the case when migrating to AlmaLinux 8.5 or Oracle Linux.
The next step is to download the migrate2rocky.sh migration script, which is hosted on GitHub and you can download it as follows using the wget command-line tool.
$ wget https://raw.githubusercontent.com/rocky-linux/rocky-tools/main/migrate2rocky/migrate2rocky.sh
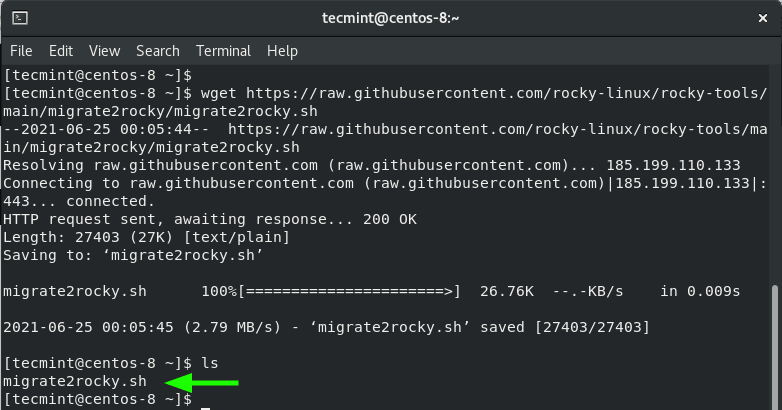
Once the download is complete, assign execute permissions to the migrate2rocky.sh shell script file as shown.
$ chmod +x migrate2rocky.sh
We are now all set to migrate to Rocky Linux.
To start the migration from CentOS 8 to Rocky Linux, execute the script as follows:
$ sudo bash migrate2rocky.sh -r

The script begins by identifying all the repositories that map from CentOS Linux 8 to Rocky Linux 8. It then removes CentOS 8 Linux packages & repositories and replaces them with their Rocky Linux 8.5 equivalents.
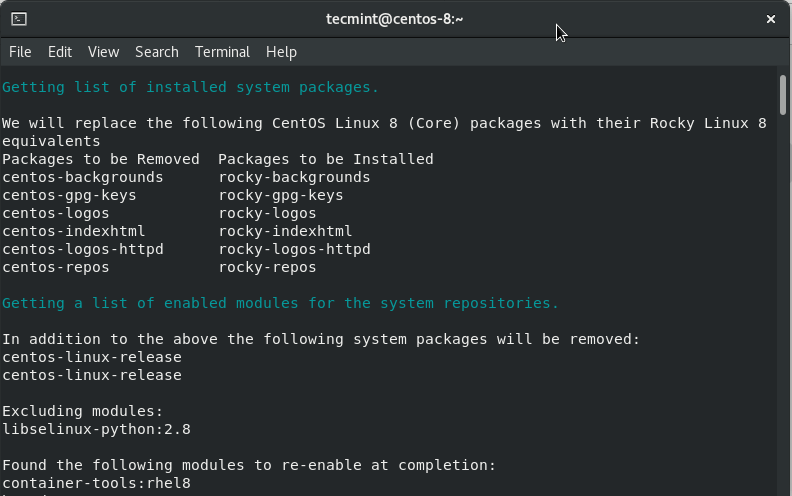
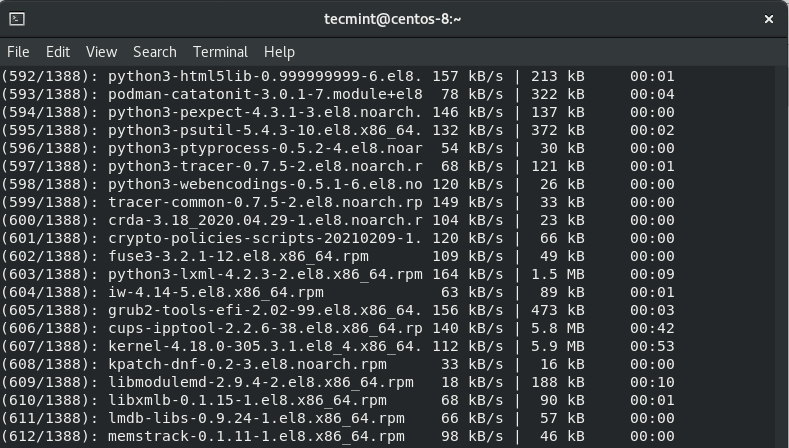
Next, it proceeds to download new packages required by Rocky Linux 8.5.
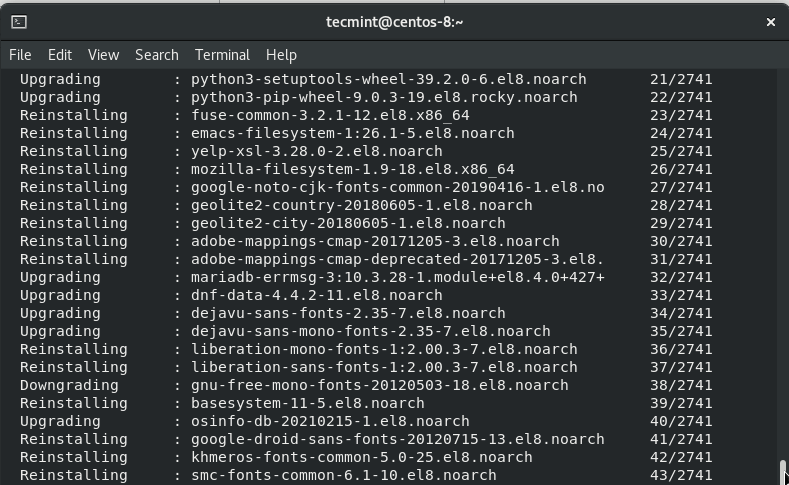
After downloading the packages, it reinstalls them and upgrades some of the existing packages to their latest versions. The entire migration takes quite some time, and in our case, it took roughly 3 hours. However, this is entirely dependent on your internet connection speeds. Also, the migration will take less time if you are running a minimal installation.
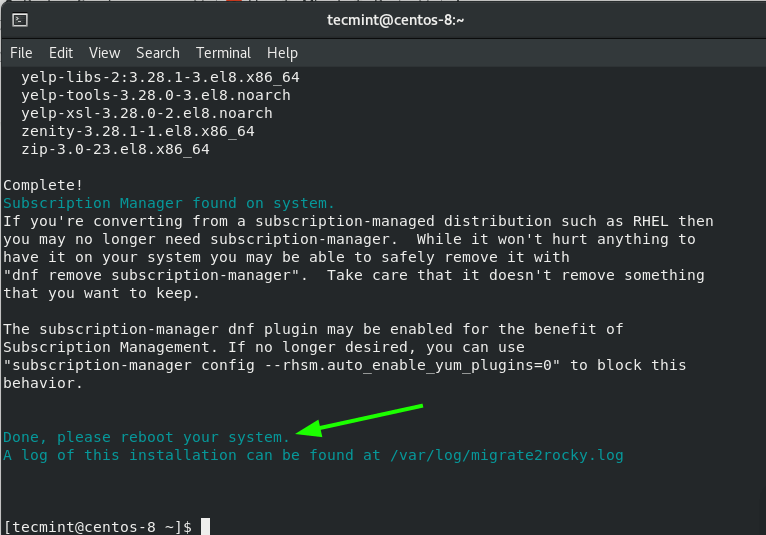
Once the migration is complete, you will be prompted to reboot your system as shown.
To reboot, run the command:
$ sudo reboot
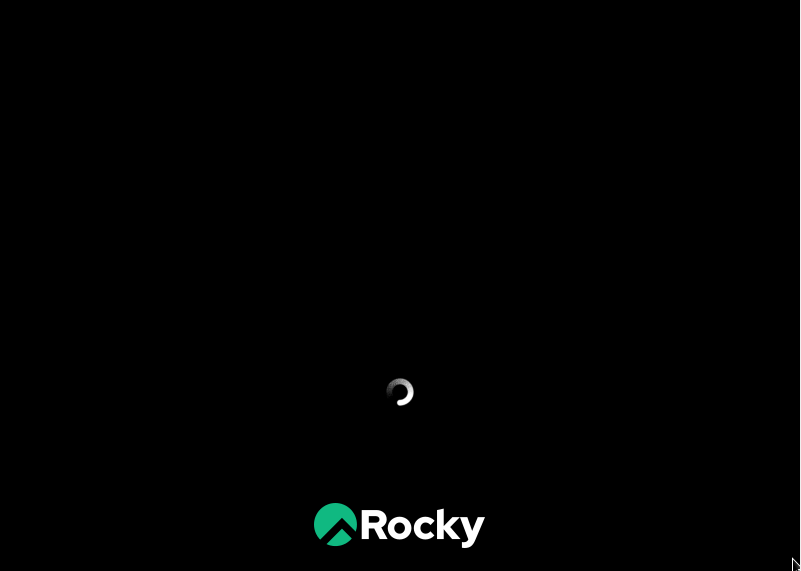
During the reboot process, the Rocky Linux logo will be flashed – for the GUI installation.
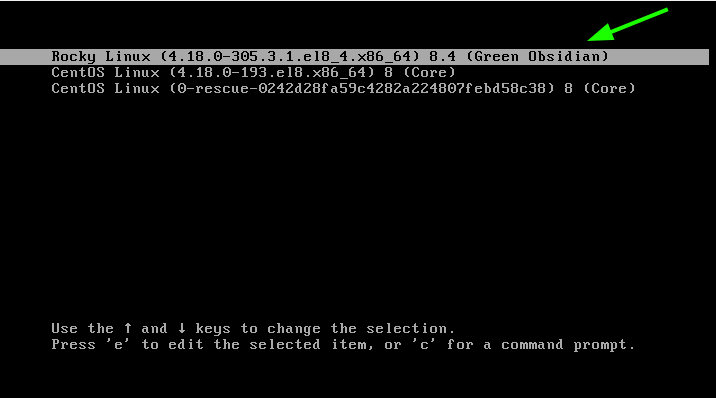
On the Grub menu, be sure to select the ‘Rocky Linux‘ entry which appears as the first option.
Thereafter, log in with your user account credentials.
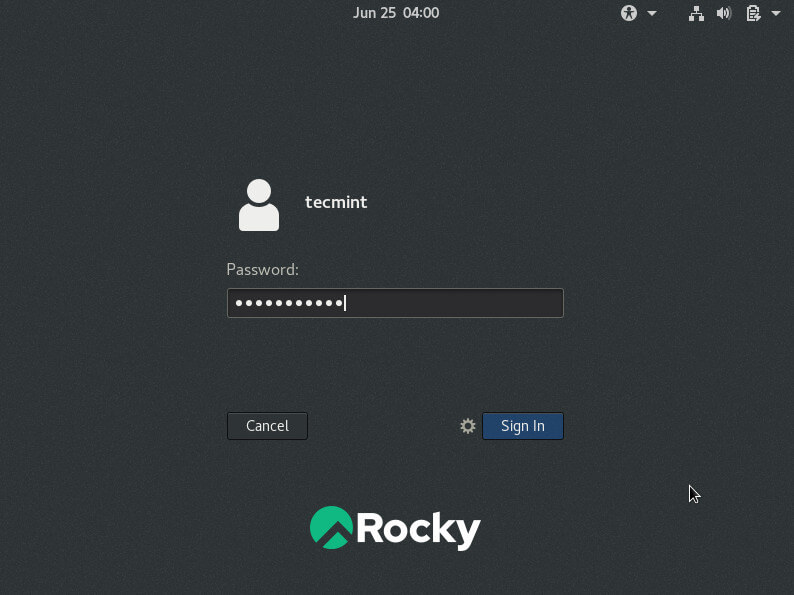
And this ushers to the dark-gray Rocky Linux desktop background.
And that’s it. You can now enjoy the stability and all the other goodies that Rocky Linux provides at absolutely no cost, just like you did with CentOS Linux.


Thank you for pointing out these steps! Until now I did not succeed as my CentOS 8.5 seems to be too new (or what else). ~50 packages lead to problems. Anyway – I will come around these.
One hint though: You need to `chmod u+x` OR `bash` – but not both ;-)
Hi all,
Can the script be run without the
-roption to test the system meets the requirements? Tried to run the script out of hours earlier today and had problems with package dependencies, so it’d be nice to know if what we’ve done has fixed the issues and the migration script will run successfully tonight.The script was fast and worked well. I had to clean up some existing package issues on Centos 8. I found it easier to just run “
dnf update --allow erasing” to make sure all packages were in order.The migration script was speedy.
The only issue I see so far is the grub boot loader still says Centos 8 through rocky 8.4 Green Obsidian loads.
Upgrading a vmware machine running CentOS 8.4 I get this error message:
Removing dnf cache
EFI Secure Boot is enabled but Rocky Linux doesn’t provide a signed shim yet. Disable EFI Secure Boot and reboot.
An error occurred while we were attempting to convert your system to Rocky Linux. Your system may be unstable. The script will now exit to prevent possible damage.
Hey Agustin, sadly, Rocky Linux 8.4 does not support secure boot at the moment. This explains the error you are getting. The solution to your problem is to disable the secure boot setting on your VMware hypervisor.
Thanks.
Dear Team,
Thank you for such a lovely document. I am more concerned about the live/production environment wherein internet access to every Machine is neither recommended nor possible. In this case how to proceed with the migration plan? Any inputs will be appreciated.
thanks in advance.
@Mahesh,
Internet connection to the server is must all migration repositories and packages are pulled from Rocky Linux servers…