When making backups, and copying/moving large files on your Linux system, you may want to monitor the progress of an ongoing operation. Many terminal tools do not have the functionality to allow you to view progress information when a command is running in a pipe.
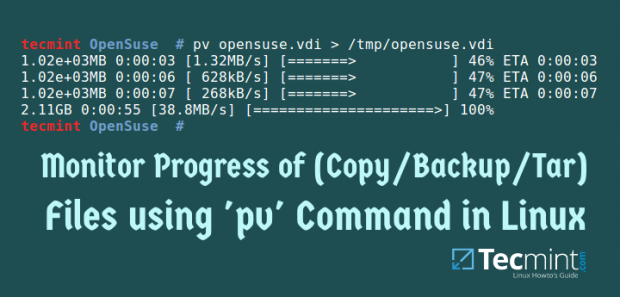
In this article, we shall look at an important Linux/Unix command called pv – Pipe Viewer.
Pv is a terminal-based tool that allows you to monitor the progress of data that is being sent through a pipe. When using the pv command, it gives you a visual display of the following information:
- The time that has elapsed.
- The percentage completed includes a progress bar.
- Shows current throughput rate.
- The total data transferred.
- and the ETA (estimated Time).
Table of Contents
How to Install pv Command in Linux?
The pv command is not installed by default on most Linux distributions, therefore you can install it by following the steps below.
Install pv on RHEL-based Linux
First, you need to turn on the EPEL repository and then run the following yum or dnf command to install it.
# yum install pv
OR
# dnf install pv
Install pv on Debian-based Linux
$ sudo apt-get install pv
Install pv on Other Linux Distributions
$ sudo emerge -a pv        [On Gentoo Linux]
$ sudo apk add pv          [On Alpine Linux]
$ sudo pacman -S pv        [On Arch Linux]
$ sudo zypper install pv   [On OpenSUSE]
How Do I Use pv Command in Linux?
pv is mostly used with other programs which lack the ability to monitor the progress of an ongoing operation. You can use it, by placing it in a pipeline between two processes, with the appropriate options available.
The standard input of pv will be passed through to its standard output and progress (output) will be printed on standard error. It has a similar behavior to the cat command in Linux.
The syntax of the pv command is as follows:
$ pv file
$ pv options file
$ pv file > filename.out
$ pv options | command > filename.out
$ comand1 | pv | command2
The options used with pv are divided into three categories, display switches, output modifiers and general options.
Pv Display Modifiers Options
Some options are under display modifiers.
- To turn on the display bar, use the
-poption. - To view the elapsed time, use the
--timeroption. - To turn on the ETA timer which tries to guess how long it will take before the completion of an operation, use the
--etaoption. The guess is based on previous transfer rates and the total data size. - To turn on a rate counter use the
--rateoption. - To display the total amount of data transferred so far, use the
--bytesoption. - To display progress information of integer percentage instead of visual indication, use the
-noption. This can be good when using pv with the dialog command to show progress in a dialog box.
Pv Display Modifiers Options
Some options are under output modifiers.
- To wait until the first byte is transferred before displaying progress information, use the
--waitoption. - To assume the total amount of data to be transferred is SIZE bytes when computing percentage and ETA, use
--size SIZEoption. - To specify seconds between updates, use the
--interval SECONDSoption. - Use
--forceoption to force an operation. This option forces pv to display visuals when standard error is not a terminal. - The general options are
--helpto display usage information and –version to display version information.
Pv Command with Examples in Linux
1. When no option is included, pv commands run with the default -p, -t, -e, -r and -b options.
For example, to copy the opensuse.vdi file to /tmp/opensuse.vdi, run this command and watch the progress bar in the screencast.
# pv opensuse.vdi > /tmp/opensuse.vdi

2. To make a zip file from your /var/log/syslog file, run the following command.
# pv /var/log/syslog | zip > syslog.zip

3. To count the number of lines, words, and bytes in the /etc/hosts file while showing the progress bar only, run this command below.
# pv -p /etc/hosts | wc

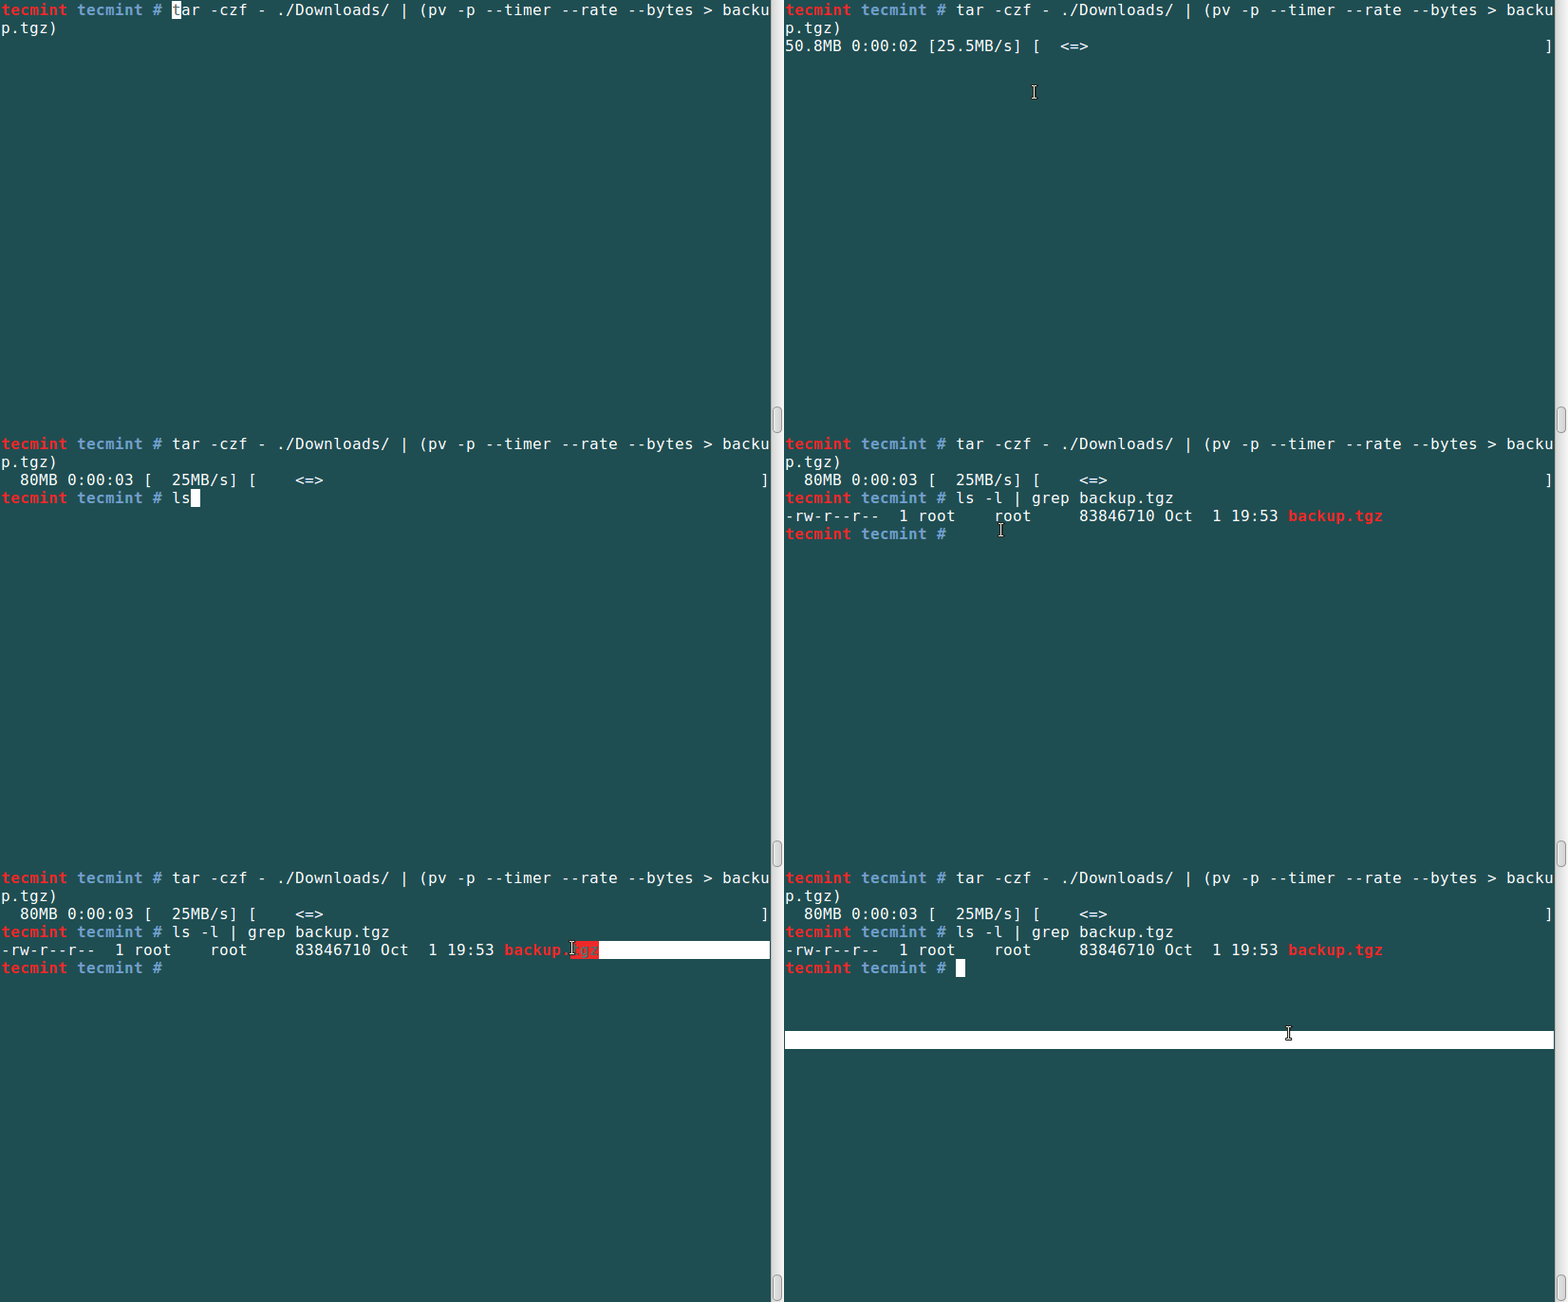
4. Monitor the progress of creating a backup file using the tar utility.
# tar -czf - ./Downloads/ | (pv -p --timer --rate --bytes > backup.tgz)
5. In the example, we use the dd command to write the ISO file to the USB flash drive:
# dd if=debian-10.11.0-amd64-DVD-1.iso | pv | dd of=/dev/sda bs=4M
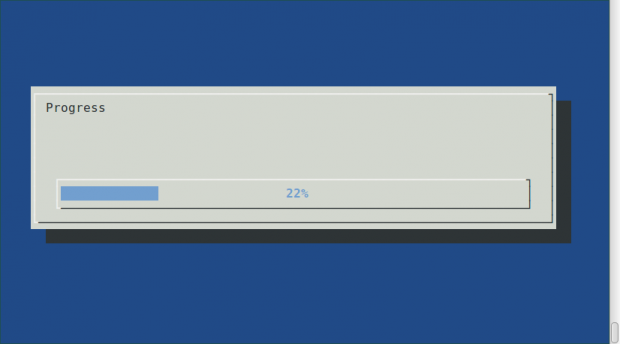
6. Using pv and dialog terminal-based tool together to create a dialog progress bar as follows.
# tar -czf - ./Documents/ | (pv -n > backup.tgz) 2>&1 | dialog --gauge "Progress" 10 70
Summary
This is a good terminal-based tool that you can use with tools that do not have the ability, to monitor the progress of operations such as coping/moving/backing up files, for more options check man pv.
I hope you find this article helpful and you can post a comment if you have any ideas to add about using the pv command. And if you get any errors while using it, you can as well leave a comment.




I actually cannot understand why tracking progress is not a default crucial feature of every tool made for Linux. You always need workarounds like `pv` (pipe viewer) and other existing solutions.
By the way, I dislike that many basic features in Linux require writing your own code or searching for one on the internet. The problem is, I have to analyze that code first because I don’t want to run any code without knowing what it does. It’s a total waste of user time.
@Tom,
It can be frustrating when basic features like progress tracking aren’t built into Linux tools by default. Using tools like `pv` helps, but I agree, having more built-in functionalities would be more convenient.
The need to write or analyze code for basic tasks can indeed feel like a waste of time.
Can you explain pv with cp command? I can’t seem to get it working.
Is there any reason why pv might slow things down? See example below:
time pigz -dk MYSQL_BACKUP_2018-06-08-17\:26\:15.sql.gz | mysql -pmetatest
Warning: Using a password on the command line interface can be insecure.
real 0m29.868s
user 0m5.108s
sys 0m2.020s
time pv MYSQL_BACKUP_2018-06-08-17\:26\:15.sql.gz | pigz -d | mysql -pmetatest
Warning: Using a password on the command line interface can be insecure.
215MiB 0:01:16 [2.81MiB/s] [========================================================================>] 100%
real 1m16.837s
user 0m13.868s
sys 0m2.392s
@kk
This is quite interesting! We have to investigate this further, to come up with a solid conclusion. Many thanks for sharing this concern.
Hello Aaron/Kk,
Was there any conclusion? We observed a similar lag while using pv command to transfer the files over the p2p network. The pv command didn’t return to the command prompt quickly while over the LAN it was quick.
>> On FreeBSD Linux
Nice joke.
@Ronald
Oops, nice catch, we will correct it as soon as possible.
Formating hard disk with dd command using pv:
note: 120033041920 bytes is exact size of the disk, get your with fdisk -l
sdX is the disk you want to dd, change X with your letter- a, b, c…
@Gosho,
Thanks for the useful tip about dd command with pv, sounds great, will create a short article on same. Else, you can also create a short 300 words article on same, if you want we will publish the article under you name in Tecmint..
please could you tell us what is the meaning of: -t, -e, -r and -b options?
@Yoander,
To know about those options, I suggest you to ream man pages of pv command as shown:
I am getting the below error while copying 4 Gb files from workstation to pendrive
[root@crack home]# ls
Alagiri CentOS-7-x86_64-DVD-1602-01.iso Dvois lost+found
[root@crack home]# pv CentOS-7-x86_64-DVD-1602-01.iso > /media/ammu/CentOS-7-x86_64-DVD-1602-01.iso
pv: write failed: File too large=================================================================================> ] 97% ETA 0:00:26
You have new mail in /var/spool/mail/root
@Alagirisamy,
I think pv not able to read if files are larger while copying, let me report to the author of pv command, it seems to me a bug…
Are you sure that your pendrive is not formated on fat32 and the error is caused by limitations of it?
@geko
If that is not the case, as you have pointed out, then, it is probably a bug.
New version of coreutils (8.24) adding a status progress to dd tool:
Usage on Xubuntu 15.10:
Open terminal shell and type these commands:
wget ftp://ftp.gnu.org/pub/gnu/coreutils/coreutils-8.24.tar.xz
tar -xf coreutils-8.24.tar.xz
cd coreutils-8.24
./configure && make -j $(nproc)
Run dd as root:
sudo ./dd if=/dev/sdc of=/dev/sda conv=noerror status=progress
You will see: Bytes, Seconds and Velocity (Bytes/seconds)
To check versions of dd:
Native:
dd –version
New (cd coreutils-8.24/src):
./dd –version
@Robson,
Thanks for sharing the tip with us, hope it will help other fellow readers..
Thanks for the tip
Check the network speed between two computers with ‘netcat’ and without utilizing a harddisk:
At the first computer do a:
netcat -l -p 1234 | pv > /dev/null
Then go to the second computer and type:
cat /dev/zero | pv | netcat ip_of_first_computer 1234
Helped me to identify slow network switches.
@Tobi,
Thanks for the tip, hope we will include this tip in our upcoming Linux Tricks and Tips series…:)
Another GREAT use of “pv” is using it with “dd”.
works great for me.
dd if=/dev/sda1 | pv |dd of=/home/user/backup.iso
Definitely it’s a “must” for “dd”. This process always take a long time to finish.
Great article.
@Emiliano,
Thanks for the tip on pv with dd, hope it useful to other readers…:)
Excellent as always, great and easy explanation for every newbie and advanced linux user.
Keep it up!
@Josmell Jimenez thanks for appreciating.
excellent tutorial on pv. I loved the video examples. It just doesn’t any more clear than that! thanks.
@Jon Loveless thank you, you will always get such on Tecmint.