In the growing face of cyberattacks and breaches, securing your website is a top priority in protecting yourself and your site visitors from hackers. In this tutorial, we explore how you can set up a Free SSL Certificate using Let’s Encrypt SSL for Apache on Debian 10.
Let’s Encrypt is a free SSL certificate written by Let’s Encrypt authority which is valid for only 90 days but can be renewed at any given time.
What is an SSL Certificate?
Before we proceed further, What is an SSL certificate? An SSL certificate is a digital certificate that encrypts communication between a browser and a web server. This encrypts guarantees that any information sent to the web-server is private and confidential. SSL certificates are commonly used on e-commerce websites, banking websites and money sending / remittance platforms such as PayPal, Payoneer, and Skrill.
How Do I Know that My Site is Protected?
Websites which are SSL secured have a padlock symbol in the URL bar followed by the acronym https (HyperText Transfer Protocol Secure) as shown in the following screenshot.
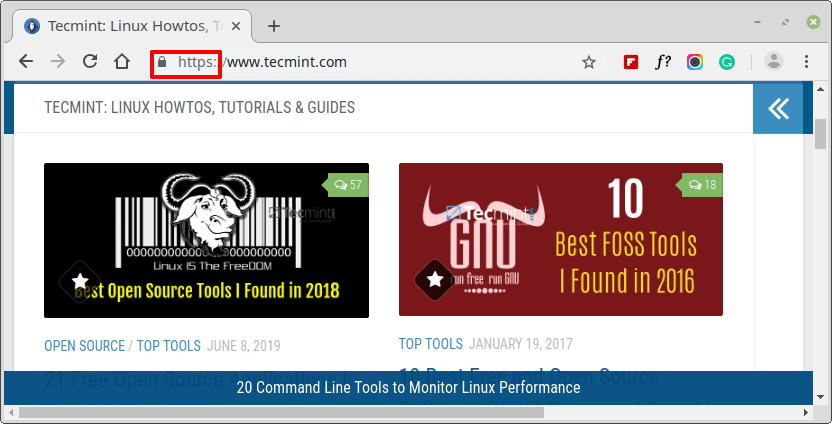
If a site is not protected with an SSL certificate, Google will display a “Not Secure” warning before the website address in the URL.
Prerequisites
Before we begin, ensure the following requirements have been satisfied:
- A running instance of Debian 10 Minimal Server.
- A running instance of Apache Web Server with Domain Setup on Debian 10.
- A registered Fully Qualified Domain Name (FQDN) with the
Arecord pointing to the IP address of the Debian 10 Linux system on your Domain Provider.
For this tutorial, we have tecmint.com pointed to the IP address 192.168.0.104.
Step 1: Install Certbot in Debian 10
To start off, we need to install Certbot on our Debian 10 instance. Certbot is a client software by EFF (Electronic Frontier Foundation) that fetches Let’s Encrypt SSL & sets it up on a web server.
To achieve this, first update system repositories.
$ sudo apt update
Next, add the repository on your Debian system using the command below.
$ sudo apt install python-certbot-apache -t buster-backports
Step 2: Obtain an SSL Certificate for Domain
After successfully installing certbot client, let’s proceed and install Let’s Encrypt certificate using the command below.
$ sudo certbot --apache -d your_domain -d www.your_domain
This will immediately request for your email address as shown below.

Next, you will be prompted to agree with the Terms of Service. Type A and hit Enter.

In addition, you will be asked if you would be willing to share your email address with the EFF foundation and receive periodic updates about their work. Type Y and hit Enter.

Afterwards, certbot will contact Let’s encrypt servers and verify of the domain you are requesting for is a registered and valid domain.

You will then be asked whether you would like to redirect all requests to HTTPS. Because we are seeking to encrypt HTTP access, type 2 for redirection and hit ENTER.

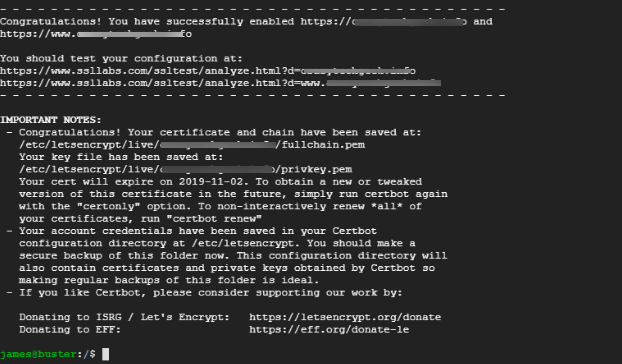
And finally, if all went well, you will get the notification below that you have successfully enabled the HTTPS protocol on your web server and the expiry date of your SSL certificate.
Step 3: Allow HTTPS Protocol On Firewall
If UFW firewall is enabled, as is always recommended for security reasons, you need to allow HTTPS traffic through it, otherwise, we will not be able to access our site on a web browser.
Since HTTPS runs on port 443, open the port by running.
$ sudo ufw allow 443/tcp
Next, reload the firewall to effect the changes.
$ sudo ufw reload
To verify if the changes have taken effect, run the command below to check the firewall status.
$ sudo ufw status

As you can see from the output above, port 443 has been opened.
Step 4: Verify HTTPS on Website
With all the configurations done and dusted, it’s time to check and see if our web server uses the https protocol. Head out to your web browser and type your website domain name in the URL bar followed by the acronym https.

If you are a little curious and want to check more information about the SSL certificate, click on the padlock symbol as shown.
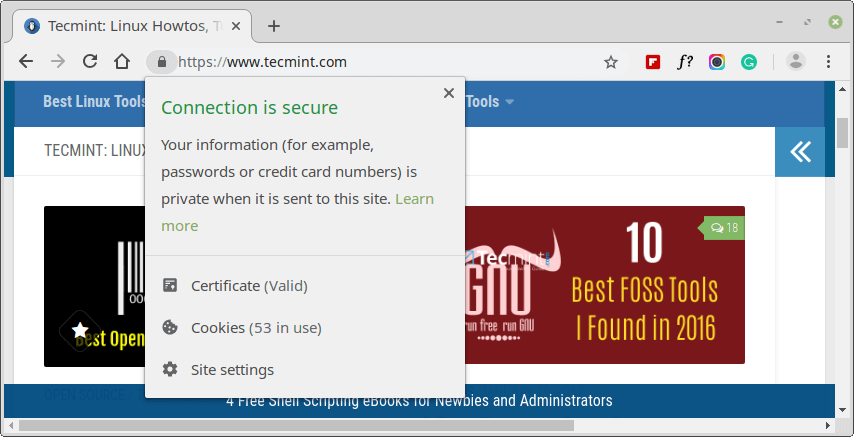
On the pull-down menu, the ‘Certificate‘ option is indicated ‘Valid‘.
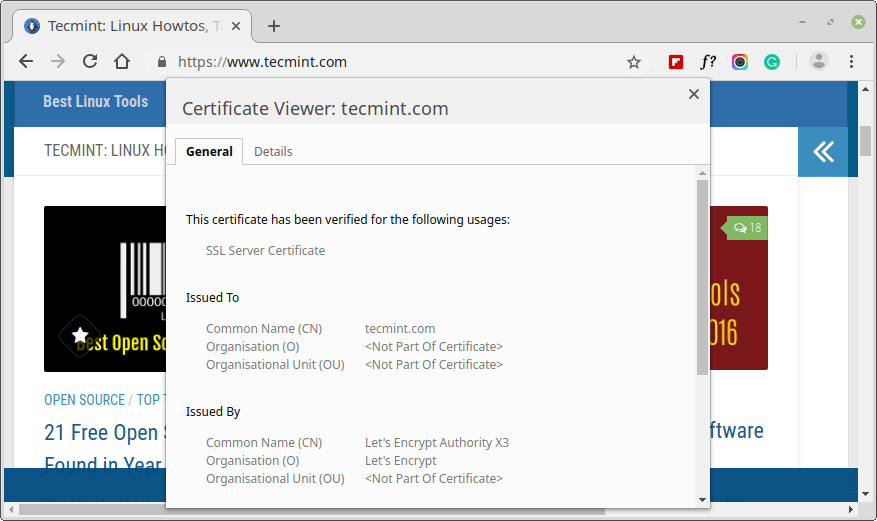
To explore more information, click on that option. A pop-up appears with all the details including the Certificate Issuer (Let’s Encrypt Authority), date issued and expiry date.
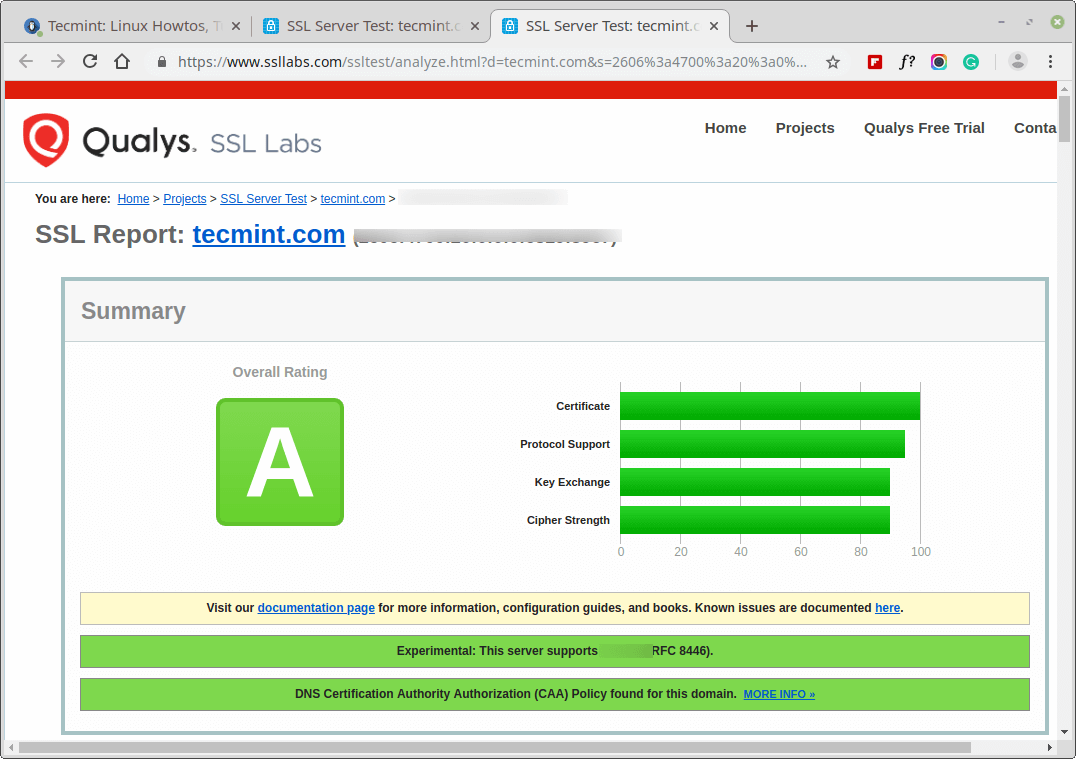
You can also test your site’s SSL certificate on https://www.ssllabs.com/ssltest/.
Step 5: Checking Auto Renew Certbot SSL Certificate
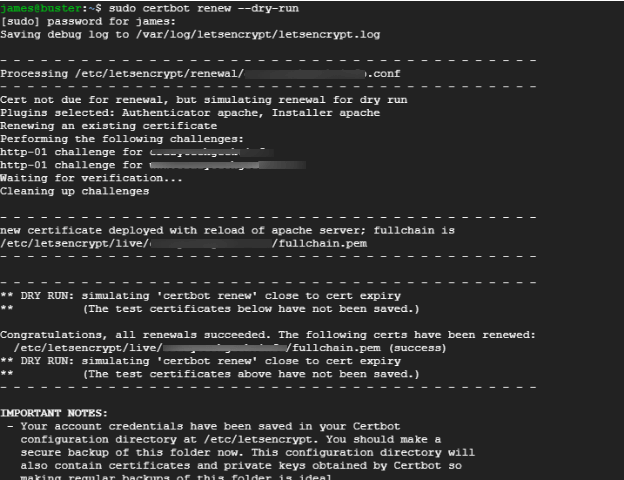
Certbot automatically renews the SSL certificate 30 days prior to its expiration. To verify the renewal process, run the command below.
$ sudo certbot renew --dry-run
The output below confirms that all is well and that the SSL certificate will auto-renew before the 90-day expiry period.
Conclusion
We have finally come to the end of this tutorial. In this tutorial, you learned how to secure Apache web server with Let’s Encrypt free SSL. If you have any comments or queries, do get in touch with us.



I am using google cloud hosting. In my deployed wordpress I tried to install the free ssl certificate. Everything seems right. But on
"https://www.ssllabs.com/ssltest/.” I got Grade “B”. What I am doing wrong? can you please see?I currently have SSL provided by GoDaddy for the first year, and it expires soon. As I am a decent Linux guru I am looking to do it myself. These instructions are simple enough to follow, but should I uninstall the current certificate and all of its files and revert to no ssl before following the above instructions?
@Grant,
Yes, first remove the existing SSL from the system and Apache vhost and then install Free SSL certificate and configure vhost to use it as shown…
After installing this ssl I didn’t connect to my website. My website is using no-ip.com services. Please help me to reverse it back.
Thank you
Hey Long, Kindly let us know what error you are getting on the browser.
Hello,
Can we use this type of certificate as part of an e-commerce site?
According to the answer, why?
If you are wondering whether Let’s Encrypt is good enough for an e-commerce site, the answer is YES. All the certificates by Let’s Encrypt are domain validated and most importantly, your connection to the webserver on which the site is sitting on is encrypted. The only drawback with Let’s Encrypt is its short expiry period (3 months) whose autorenewal can be automated anyway.
Add the following line to: /etc/apt/sources.list file.
The value ‘buster-backports‘ is invalid for APT::Default-Release as such a release is not available in the sources..