This article details how I setup my Mobile Broadband in Netrunner KDE Edition. I have tested it using Airtel, Vodafone and Reliance data cards.

What is Netrunner?
Netrunner is a fantastic, desktop oriented Linux distribution that is easy to use, even for a beginner. It is based on Ubuntu and uses the KDE desktop environment. For more information on this distribution and to download it, head to the Netrunner web page.
Procedure to Setup Mobile Broadband
Netrunner makes it simple to setup your mobile broadband. Mobile broadband may be the only option for people who live in areas without a proper wireline connection. Also, for people who regularly travel, mobile broadband provides a fantastic, high speed connection to keep in touch with the world at large.
The entire process is graphical, and user friendly. There is absolutely no need to use the command line.
1. Plugin your data card into the USB port of your PC. The system should pop up a message that your data card is mounted and available.

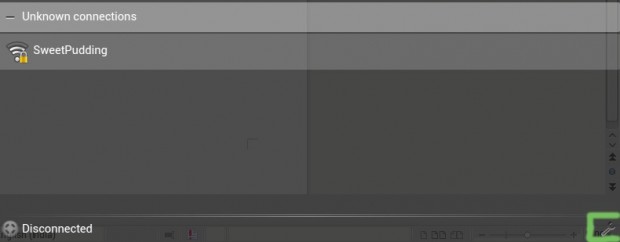
2. Click the Network icon on your toolbar. The icon is highlighted in the following figure.

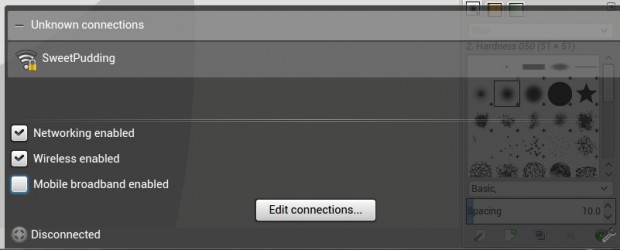
3. Click the Settings icon that is highlighted in the following figure:
4. Click on Edit Connections.
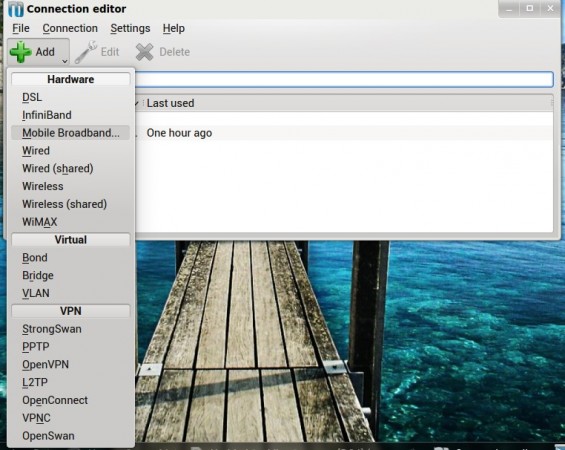
5. Click on Add –> Mobile Broadband from the connections editor.
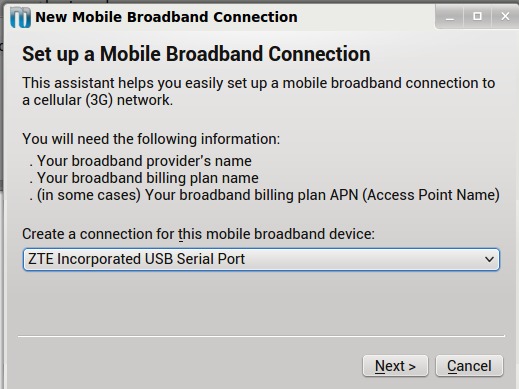
6. Your data card should be auto selected as shown. Else, select the right one.
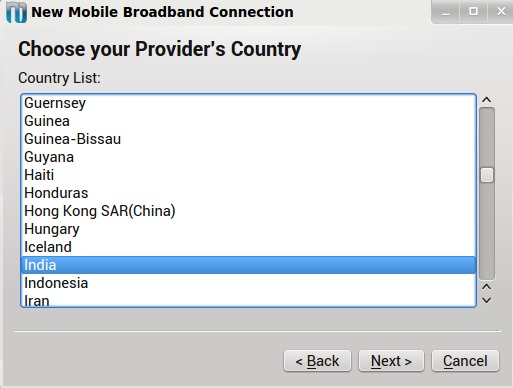
7. Select the country of the mobile broadband provider.
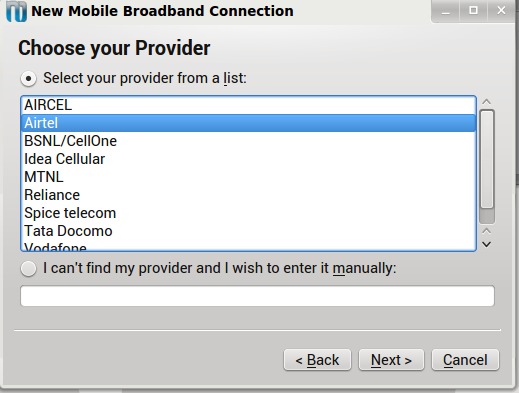
8. Select your mobile broadband provider from the list. If the provider is not listed, enter the provider’s name manually.
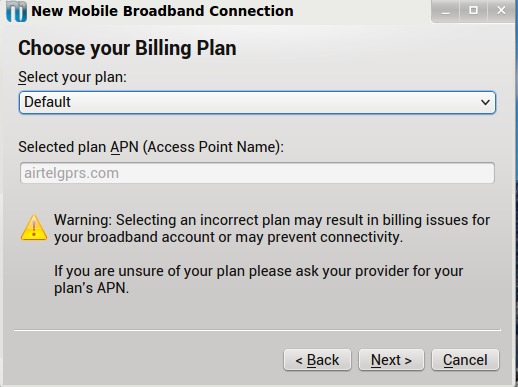
9. Select your billing plan. In most cases, Default is the appropriate choice. If not, select the My plan is not listed option and enter the name of the billing plan manually. Get the correct plan name from your provider.
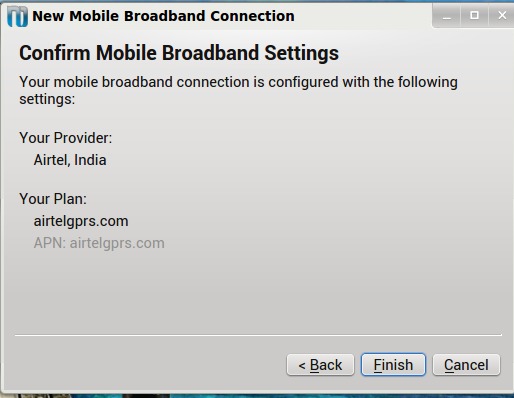
10. Confirm your settings and click Finish.
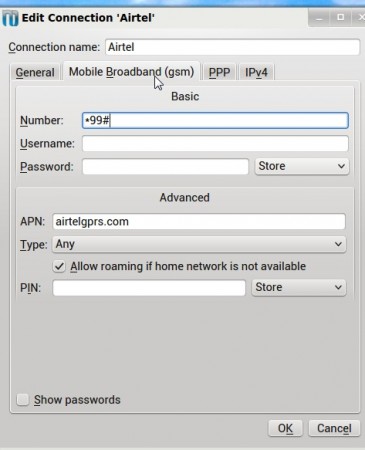
11. Edit the connection properties as desired, from the tabs on the following screen Click OK to save the settings.
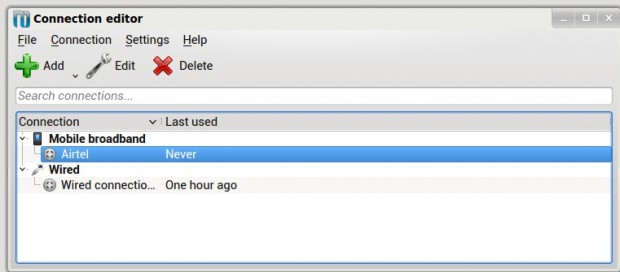
12. The connection is then added as shown in the following figure:
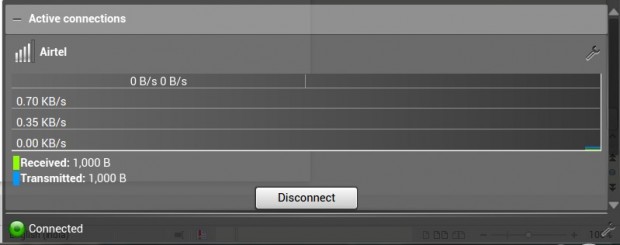
13. Repeat Steps 2 and 3. Enable the Mobile Broadband enabled option. You should be connected in a few seconds.
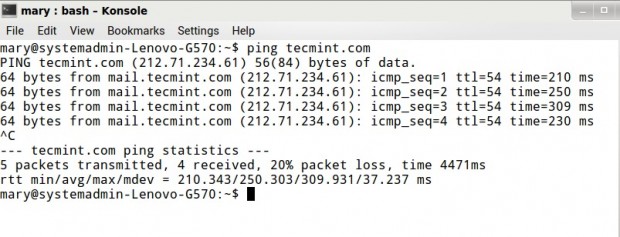
14. Open a terminal and try to ping a site. You should get a proper ping reply as shown, indicating that you are connected.
From this point on, the connection will automatically be established when the system detects that the data card is connected.
