Vim text editor, short for Vi IMproved, is one of the most powerful and popular Linux text editors that enjoys immense patronage from the open-source community. It is an improvement of the vi editor and uses a combination of regular keyboard keys to provide vast functionality.
Vim provides colored syntax among other basic functionalities such as inserting and deleting text, copying and pasting text, and saving changes made to a file. The list of what you can do is quite long and the learning curve is steep.
In this guide, we endeavor to show you various ways that you can split the Vim editor into different workspaces in the Linux command-line.
Installing Vim in Linux
Before we proceed, ensure that Vim is installed on your system. Also, this guide is intended for users running a system with a graphical display so as to observe the split effect of the vim editor on the terminal.
To install vim, run the following commands:
$ sudo apt install vim      [On Debian, Ubuntu & Mint]
$ sudo yum install vim      [On RHEL, CentOS & Fedora]
$ sudo pacman -Sy vim       [On Arch & Manjaro]
$ sudo zypper install vim   [On OpenSUSE]
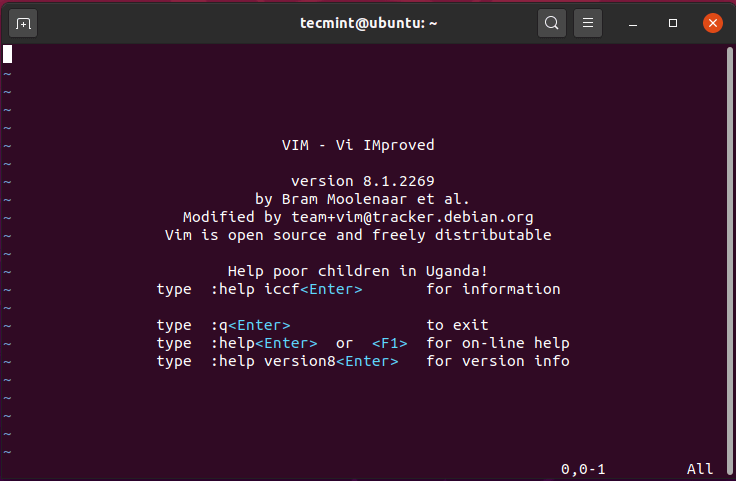
Running the vim command without any arguments displays basic information about the Vim editor including the version and basic commands such as how to get help and exit the text editor as shown below.
$ vim
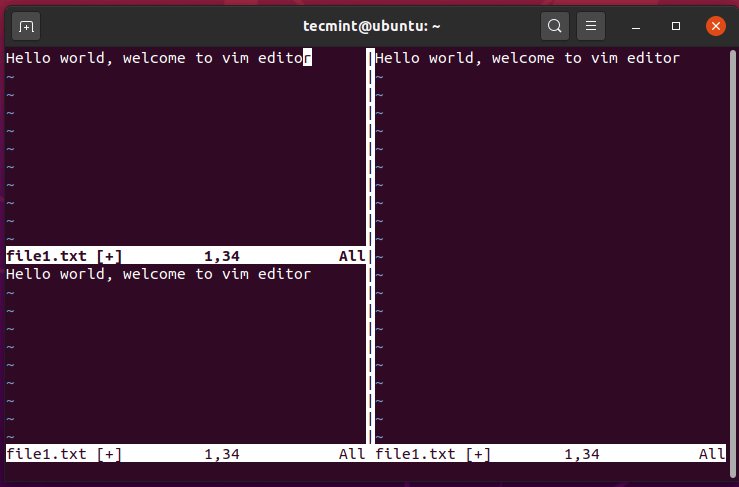
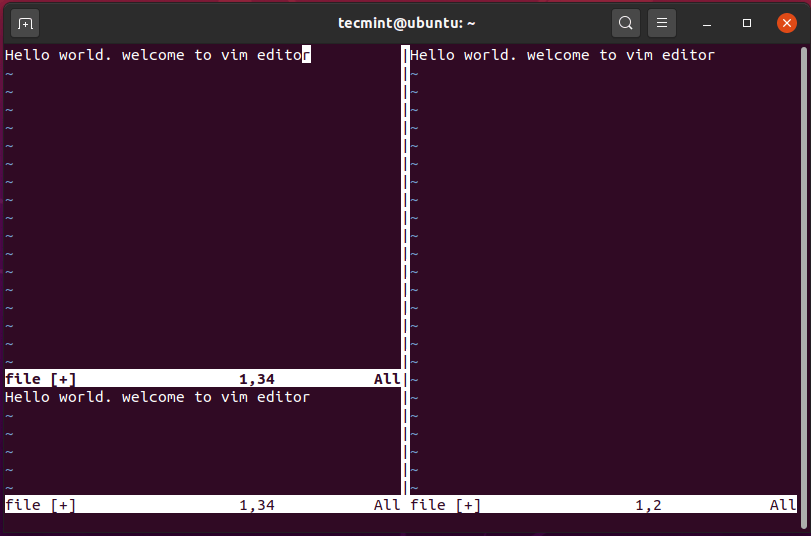
Splitting Vim Screen Vertically
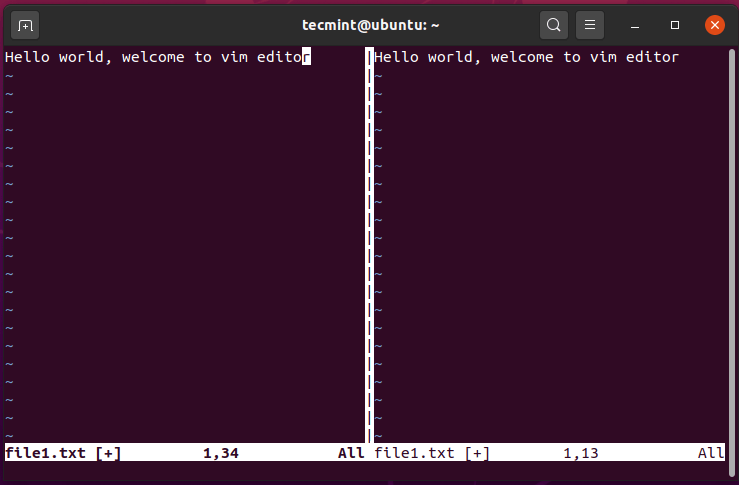
Suppose you have opened a file on Vim editor and you want to split it vertically. To achieve this:
- Enter command mode by pressing the ESC button.
- Press the keyboard combination
Ctrl + w, followed by the letter‘v’.
You will get a split-screen shown below.
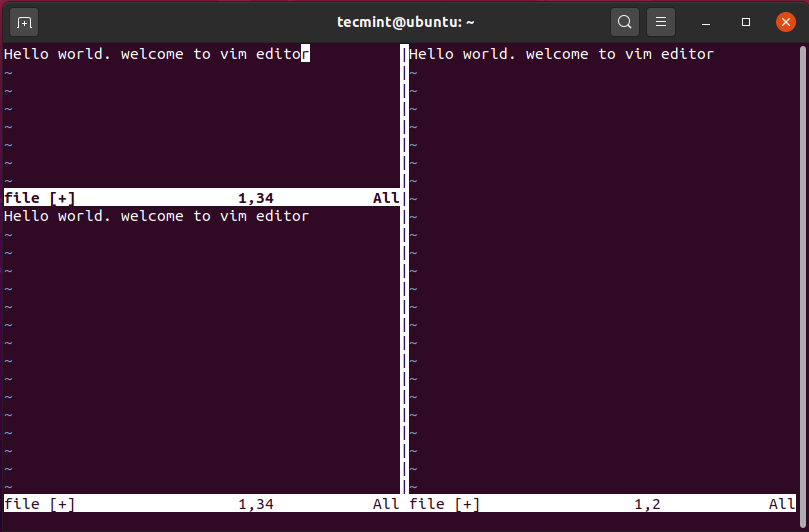
To navigate to the right pane, press Ctrl + w, followed by the letter ‘l’.
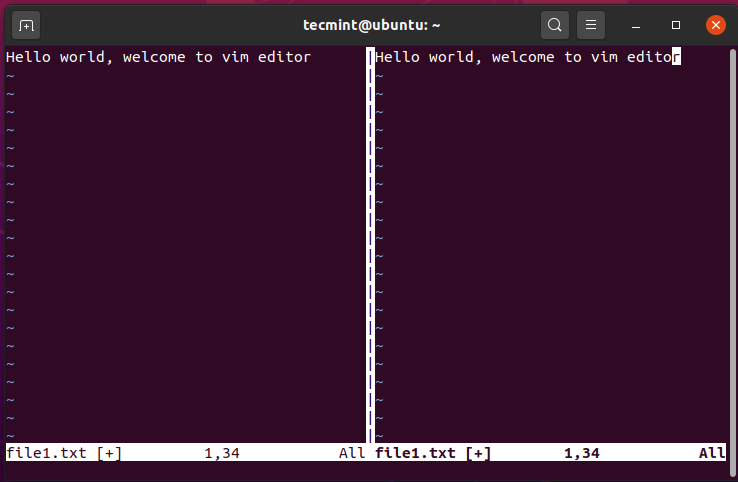
To head back to the left pane, use the combination Ctrl + w, followed by the letter ‘h’.
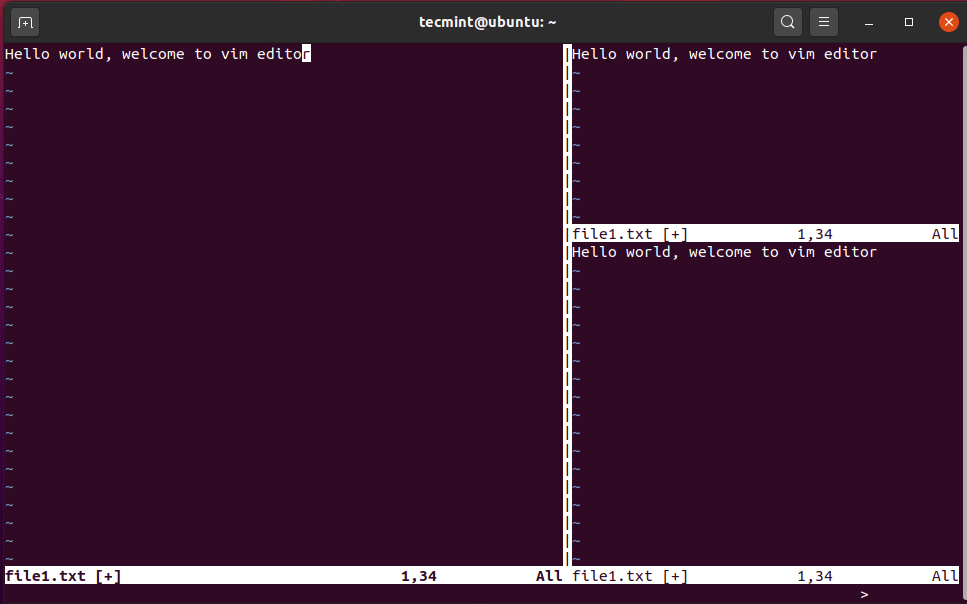
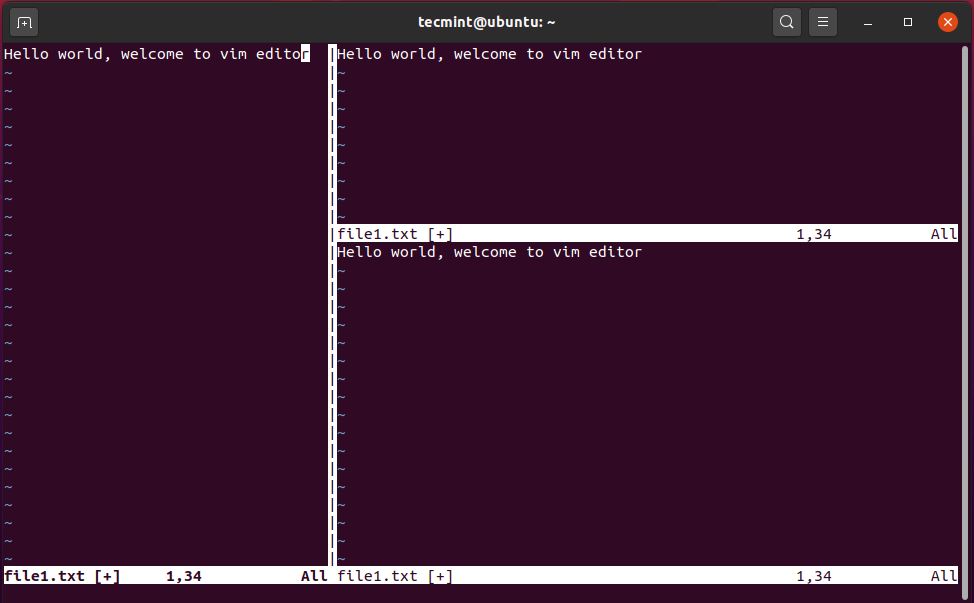
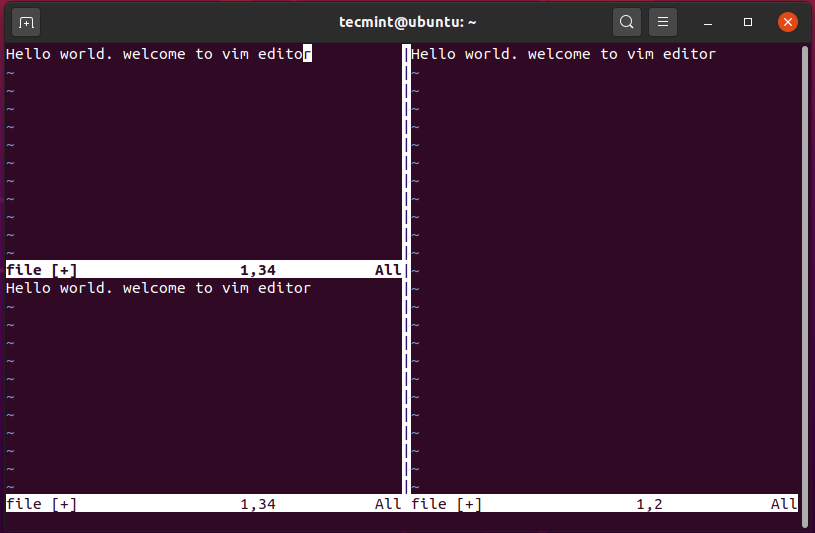
Splitting Vim Screen Horizontally
To split the vim screen horizontally, or open a new workspace at the bottom of the active selection, press Ctrl + w, followed by the letter ‘s’. In the example below, the left section has been split into two workspaces.
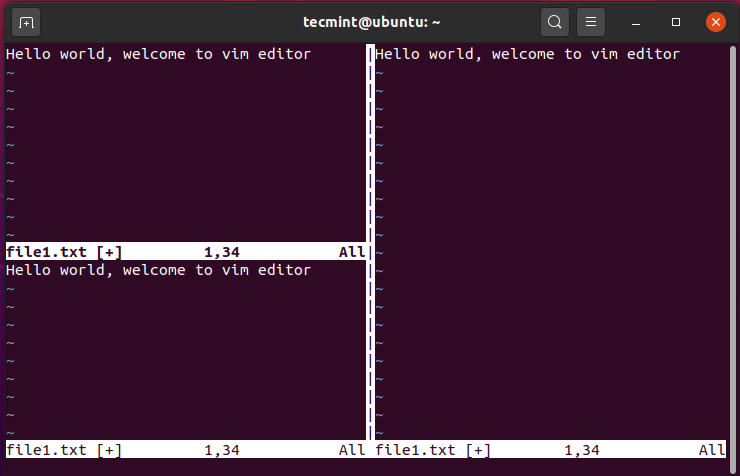
To navigate to the bottom section hit Ctrl + w, followed by the letter ‘j’.
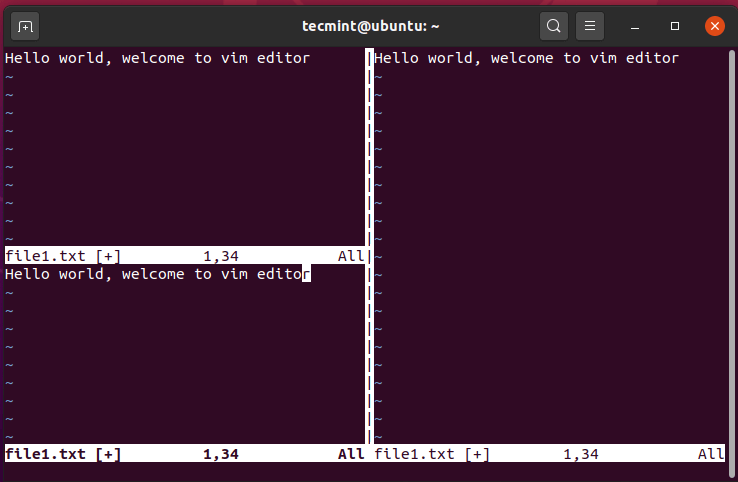
To head back to the upper section, press Ctrl + w, followed by the letter ‘k’.
Increase Width of Vim Current Workspace
To increase the width of your current selection on the Vim editor, press Ctrl + w, and shortly followed by the SHIFT + ‘>’ combination.
In the example below, I have increased the width of the left pane.
To reduce the width of your current Vim selection, press Ctrl + w, and then SHIFT + ‘<’ combination.
In the screenshot below, you can clearly see that the left section has reduced in width.
Increase Height of Vim Current Workspace
To increase the height of your current workspace, use the combination press Ctrl + w, followed by SHIFT + ‘+’ combination. The illustration below shows
To decrease the height of the workspace, press Ctrl + w, followed by the - (minus) sign.
To ensure the height of the upper and lower workspaces is equal press Ctrl + w, followed by the = (equals) sign.
And that’s how you can split the Vim screen into various spaces.


What is the purpose or benefit of splitting your vim window and everything I type is doubled?
This way your code runs faster.
It’s not about having the same buffer in both windows. Once you’ve split into two windows you can now switch to another buffer in one of the windows and use, for example, the two windows to see the differences between two similar source code files.
Good tips. Something I knew existed, but haven’t really made use of. This could be really handy for large files.
Something to fix in the article:
“To navigate to the right pane, press Ctrl + w, followed by the letter ‘v’.”
….should be:
To navigate to the right pane, press Ctrl + w, followed by the letter ‘l’.
Hey Vic, Thanks for the correction. It’s a minor error and we will rectify it.
Well explained!!
For ‘mouse‘, setting “set mouse=a”, the mouse can be used to dread and resize windows.
Thanks for this good tip!