Are you a website or mobile application developer, and want to expose your localhost server behind a NAT or firewall to the public Internet for testing purposes? In this tutorial, we will reveal how to do this securely using ngrok.
Ngrok is a sensational, free open source and cross-platform reverse proxy server for exposing local servers behind NATs and firewalls to the public Internet over secure tunnels. It is a remarkable computer program that you can use to implement personal cloud services directly from home.
It essentially establishes secure tunnels to your localhost, thus enabling you to: run demos of web sites before actual deployment, testing mobile apps connected to your locally running backend and building web-hook consumers on your development machine.
Ngrok Features:
- Easy install with zero run-time dependencies for any major platform and works fast.
- Supports secure tunnels.
- Captures and analyzes all traffic over the tunnel for later inspection and replay.
- Allows you to do away with port forwarding in your router.
- Enables implementing of HTTP authentication (password protection).
- Uses TCP tunnels to expose networked service that do not use HTTP such as SSH.
- Supports tunneling only HTTP or HTTPS with SSL/TLS certificates.
- Supports multiple simultaneous tunnels.
- Allows for replaying webhook requests.
- Enables you to work with virtual-host sites.
- It can be automated via an API plus many options in the paid plan.
Before using it, you need to have a web server installed or consider setting up a functional LAMP or LEMP stack, otherwise follows these guides to:
Install LAMP Stack on Linux:
- Installing LAMP (Linux, Apache, MariaDB, PHP/PhpMyAdmin) in RHEL/CentOS 7.0
- How to Install LAMP with PHP 7 and MariaDB 10 on Ubuntu 16.10
Install LEMP Stack on Linux:
- How to Install LEMP (Linux, Nginx, MariaDB, PHP-FPM) on Debian 9 Stretch
- How To Install Nginx, MariaDB 10, PHP 7 (LEMP Stack) in 16.10/16.04
- Install Latest Nginx, MariaDB and PHP on RHEL/CentOS 7/6 & Fedora 20-26
How to Install Ngrok in Linux
Ngrok is super easy to install, simple run the commands below to download and unzip the archive file which contains a single binary.
$ mkdir ngrok
$ cd ngrok/
$ wget -c https://bin.equinox.io/c/4VmDzA7iaHb/ngrok-stable-linux-amd64.zip
$ unzip ngrok-stable-linux-amd64.zip
$ ls
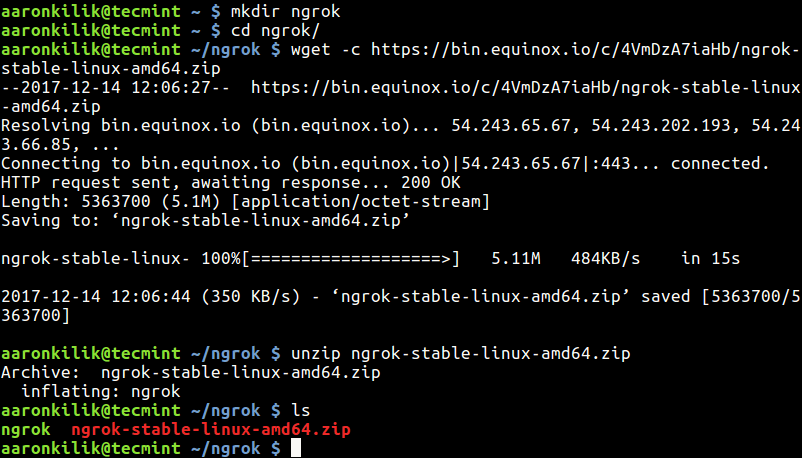
Once you have the binary file, let’s create a basic index.html page in the web server’s (Apache) default document root for testing requests to the web server.
$ sudo vi /var/www/html/index.html
Add the following HTML content in the file.
<!DOCTYPE html>
<html>
        <body>
                <h1>This is a TecMint.com Dummy Site</h1>
                <p>We are testing Ngrok reverse proxy server.</p>
        </body>
</html>
Save the file and launch ngrok by specifying the http port 80 (if you have configured you web server to listen on another port, you need to use that port):
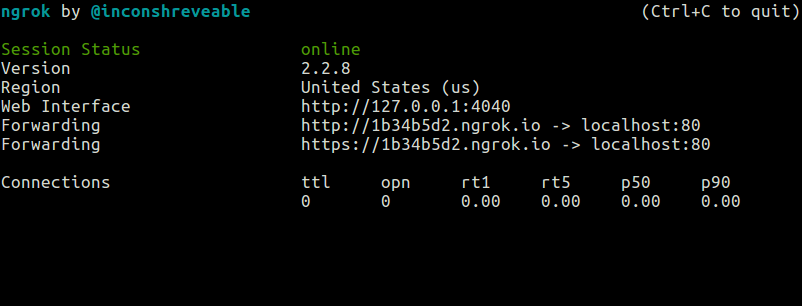
$ ngrok http 80
Once you start it, you should see an output similar to the one below in your terminal.
How to Inspect Traffic to Your Web Server Using Ngrok UI
Ngrok offers a simple web UI for you to inspect all of the HTTP traffic running over your tunnels in real-time.
http://localhost:4040
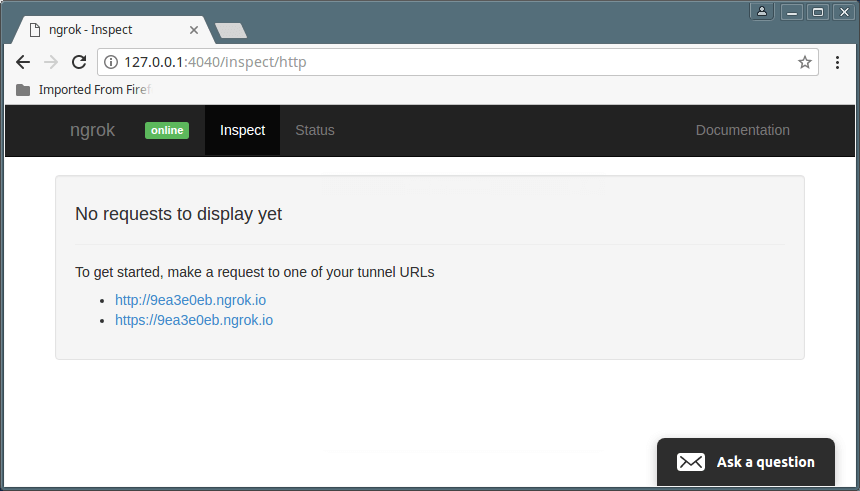
From the output above, no requests have been made to the server yet. To get started, make a request to one of your tunnel using the URLs below. Other user will also use these addresses to access your site or app.
http://9ea3e0eb.ngrok.io
OR
https://9ea3e0eb.ngrok.io
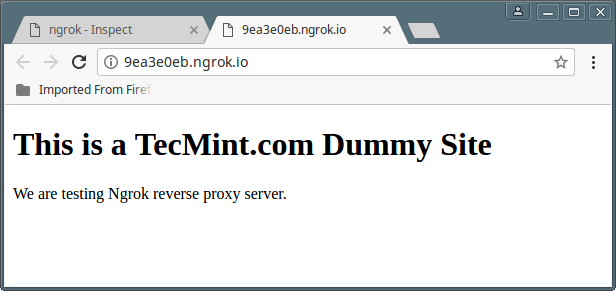
Then check from the inspection UI to get all of the details of the request and response including the time, client IP address, duration, headers, request URI, request payload and the raw data.
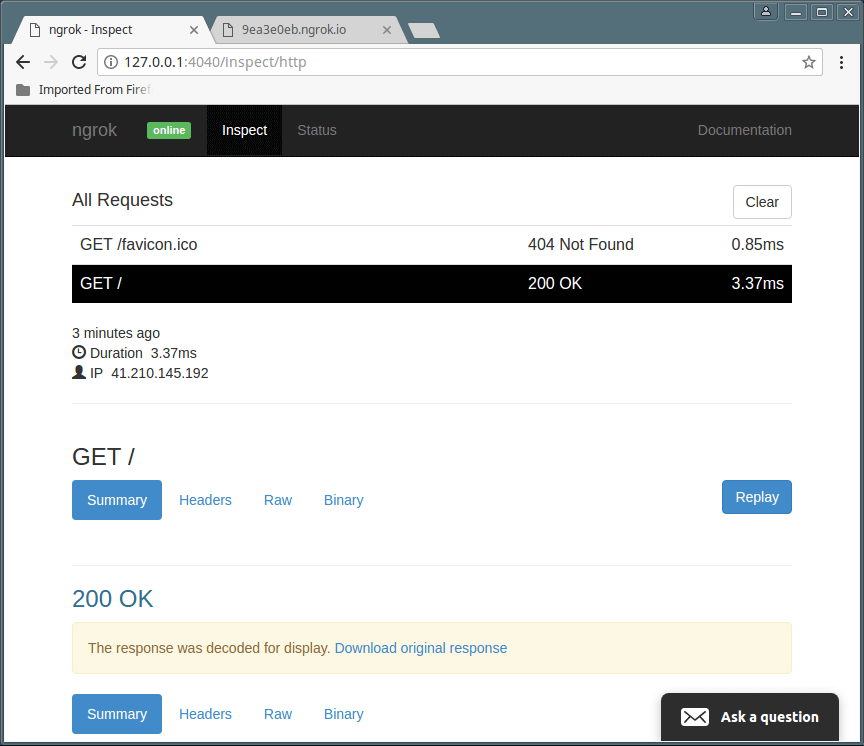
For more information, see the Ngrok Homepage: https://ngrok.com/
Ngrok is simply an amazing tool, it is by far the simplest yet powerful secure local tunnel solution you will find out there. You should consider creating a free ngrok account to get more bandwidth, but if you want even more advanced features, try upgrading to a paid account. Remember to share your thoughts about this piece of software, with us via the comment form below.




Its useful but only allow the few web requests and then ask for the PAID service. If you looking for the open-source then don’t try this.
@niraj
We will try to find an open source alternative as soon as possible. Thanks for sharing your concern.
Great, It’s an excellent post. Thanks. Regards.
@Uriel
Welcome, many thanks for reading through and for the kind words of appreciation.