This guide explains 10 things that you should do after installing Linux Mint 21, Vanessa. This focuses on the Cinnamon edition but should work for those who have installed the Mate and XFCE editions as well.
1. Disable the Welcome Screen
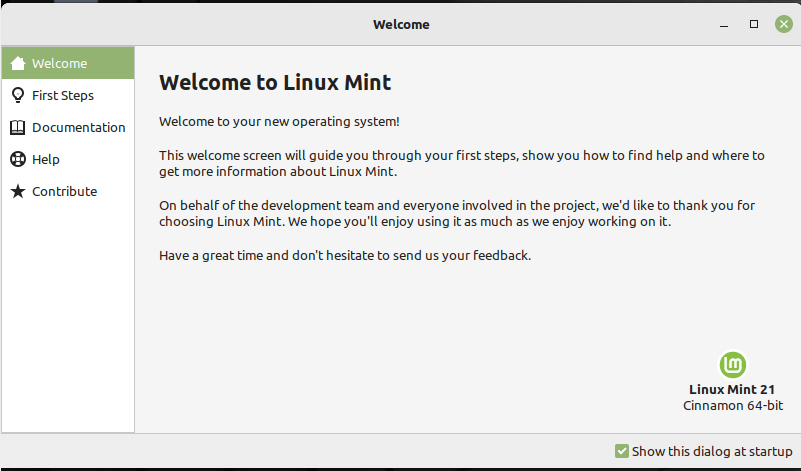
Once the welcome screen appears, go to the right-bottom corner and uncheck the option “Show this dialog at startup”.
2. Run a System Update
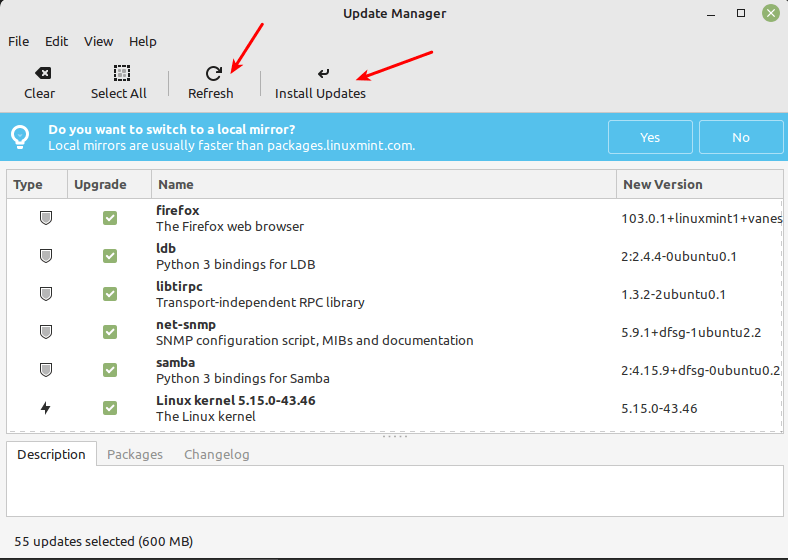
Secondly, ensure that your Linux Mint system is up to date. To perform a system update, ensure that you are connected to broadband internet. Then open the Update Manager, once it opens, click OK to load the updatable software.
You can click the Refresh link to update the package list from configured repositories for updates. Then click Install Updates as highlighted in the following screenshot.
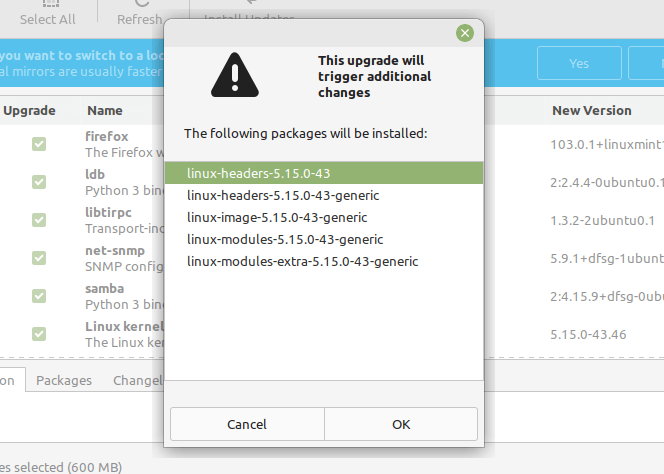
Note that if the update manager detects new packages that need to be installed, it will prompt you to approve (by clicking OK) their installation as shown in the following screenshot.
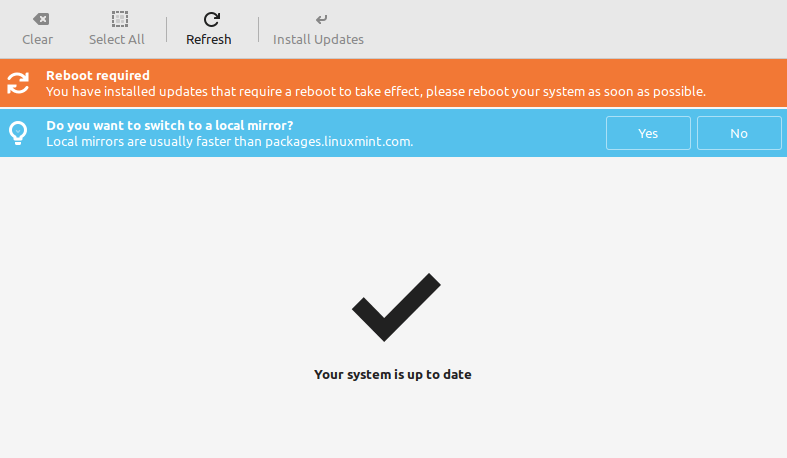
You will be prompted for your account password, enter it to proceed. Once the update is complete, reboot your machine to apply some of the updates that require so.
3. Install Additional Drivers
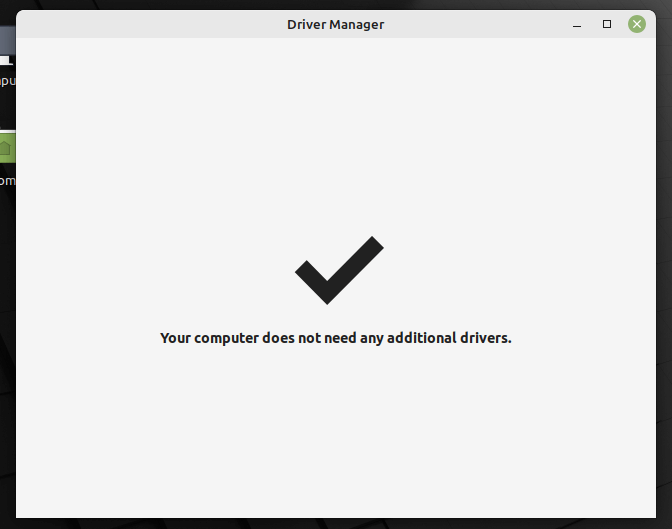
Search for the Driver Manager in the system menu and open it. It will prompt you for your account password, enter it to proceed. If there are any additional drivers to install, the driver manager will show them, otherwise, it will show that your computer does not need any additional drivers as seen in the following screenshot.
4. Set Automatic System Snapshots
System snapshot stores the state of your system at a particular point in time. Therefore it is recommended that before you start using your new system, you need to set up snapshots. In case anything goes wrong, you can recover your system.
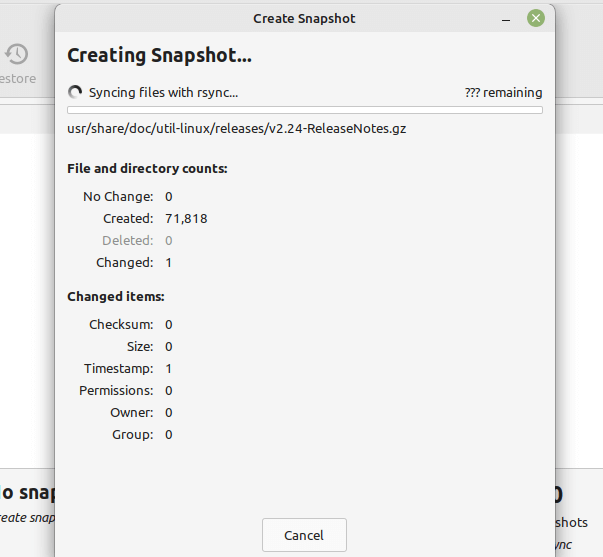
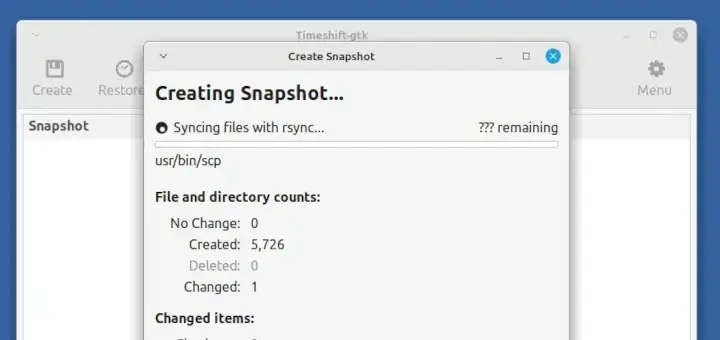
You can set up snapshots using the Timeshift tool. Search for it in the system menu and launch it. You will be prompted for your account password, enter it to continue. Once the Timeshift window opens up, select the Snapshot type [Rsync] and click Finish at the bottom.
Allow Timeshift to estimate the system size and create the snapshot.
5. Enable System Firewall
A firewall allows you to control network traffic flowing in and out of your computer. It is a useful security tool to protect your computer.
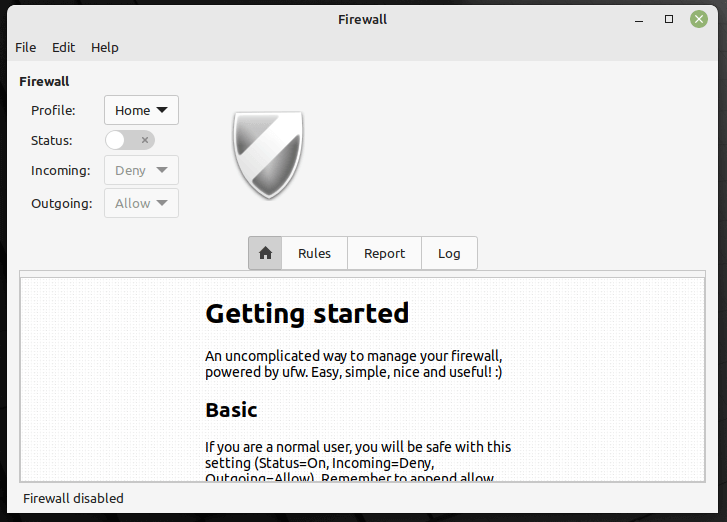
To configure the default system firewall powered by UFW (Uncomplicated Firewall), search for firewall in the system menu and open the application. Then enter your password when prompted.
You can manage different profiles i.e Home, Office, as well as Public. You can enable a profile by turning its status on or off. You can set Incoming and Outgoing traffic to Allow, Deny, and Reject based on your preferences and the network profile you are on.
For example on a home network, you may want to set tighter restrictions on Incoming traffic, something like Deny.
6. Manage Privacy Settings
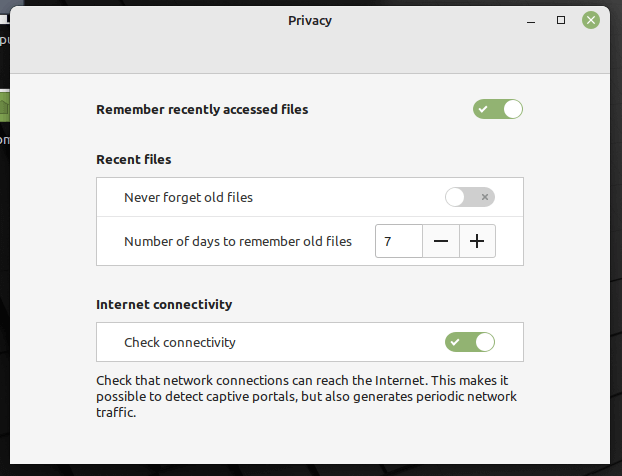
Also, you need to manage privacy settings to do with recently accessed files and Internet connectivity as shown in the following screenshot. You can access the privacy management window by searching privacy in the system menu.
7. Install Useful Applications
Now install your favorite applications. Some of the important applications you might want to install as shown below.
$ sudo apt install shutter       [Screenshot Tool]
$ sudo apt install gimp          [Image Editor]
$ sudo apt install vlc           [Video Player]
$ sudo apt install synaptic      [GUI Package Management Tool]
$ sudo apt install terminator    [Terminal Emulator]
You can also install some of your favorite applications as snaps (an application format that bundles an application with all its dependencies to run on most if not all popular Linux distributions).
To install snaps, you need the snapd package installed on your system, as follows:
$ sudo rm /etc/apt/preferences.d/nosnap.pref
$ sudo apt update
$ sudo apt install snapd
Once you have snapd installed, you can install snaps as shown.
$ sudo snap install vlc
$ sudo snap install shutter
$ sudo snap install skype
8. Manage Startup Applications
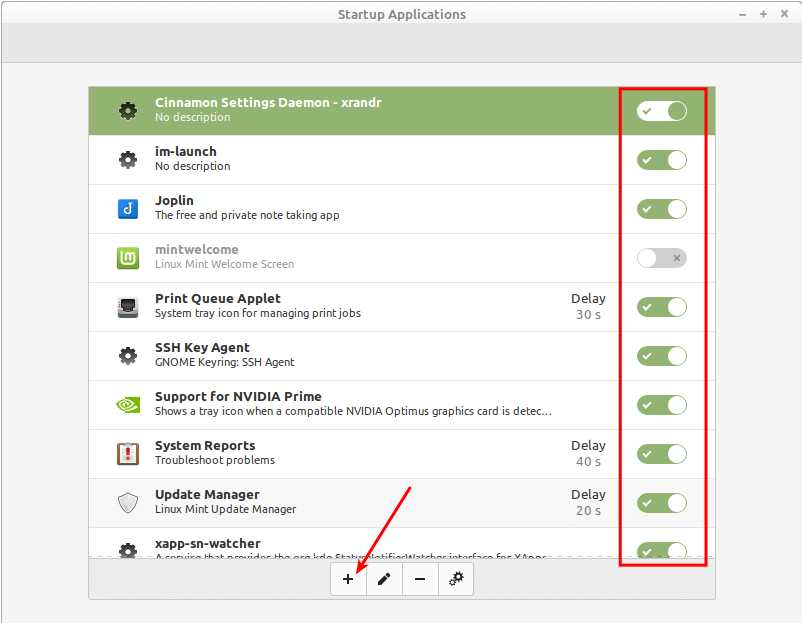
If you wish to auto-start some applications while the system is starting, you can enable them using the startup applications app. Search for startup applications under the system menu, then open it. I
In the configuration window, enable or disable your startup applications accordingly. You can add more applications by using the add (+) button as highlighted in the following screenshot.
Note: Be careful not to disable certain applications required for the smooth startup of the system or other services.
9. Disable Startup and Other Sounds
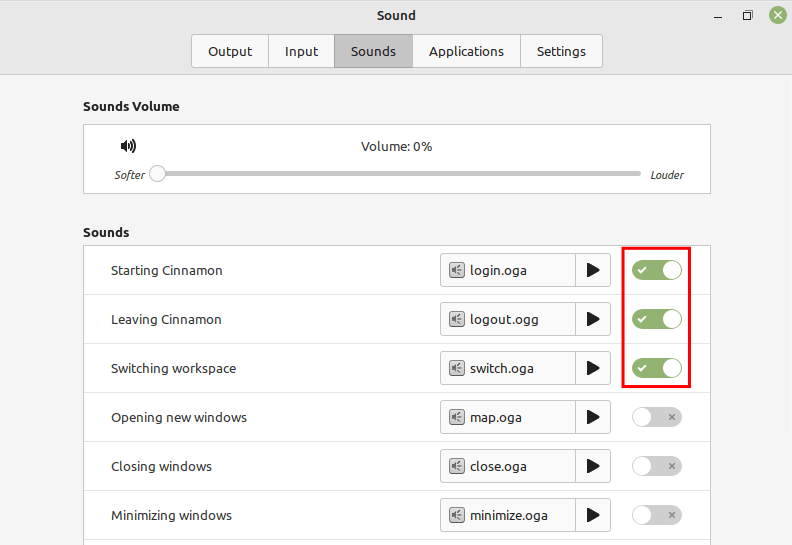
I prefer to disable or turn off the start-up sound and any other sound that is enabled by default. You can do this by going to Sounds under the system menu and opening it.
Then click on the Sounds tab, and disable the sounds accordingly. For examples, Starting Cinnamon, Leaving Cinnamon, Switching Cinnamon, and others.
10. Manage More System Setting
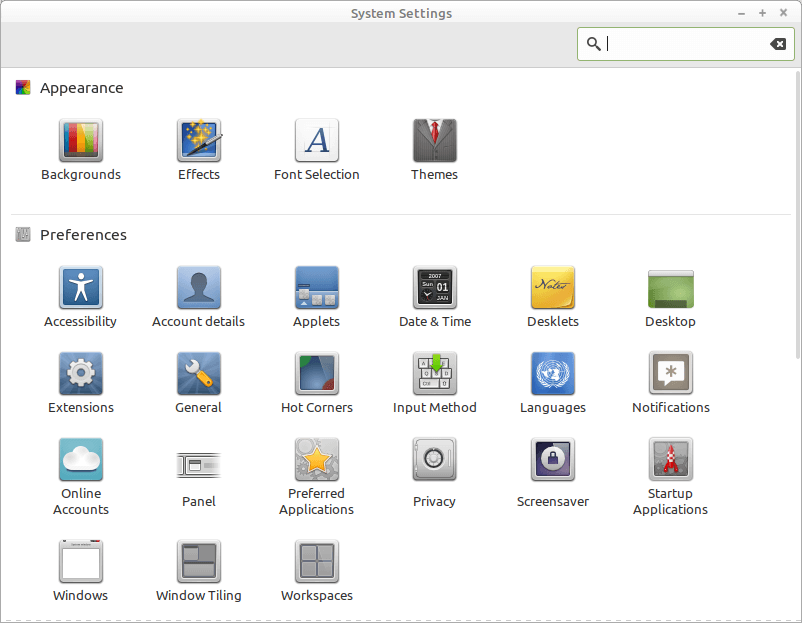
To access more system settings, simply search for the system settings application in the system menu and open it. It gives you access to different categories of settings: appearance settings, preference settings, hardware settings, and administrative settings.
That’s all we had for you. The comment form is down below, use it to post any comments or questions concerning this guide. Stay with us for more exciting guides about Linux Mint.


Linux Mint 21 – ucaresystem-core does not run without throwing out old vital errors.
I have used that out of convenience in all old mint versions in the past but in Mint 21, it works but not without the mentioned old critical errors.
You lost credibility when you suggested installing Snap versions of programs. At the very least, explain (or link to) the difference between Snaps and Flatpaks.
I would add that installing the Microsoft core fonts belongs on a top ten list like this.
You beat me to it! Promoting snap packages is like pushing Internet Explorer on Windows users… it’s all about Ubuntu trying to push its own package system. Ubuntu can go fly a kite for all I care, they have lost their way a long time ago and should be relegated to the back of the line till they can get their mojo back, if ever!
Any idea how to install Virtualbox 6.0?
Newer VBox needs Hardware Virtualization which my Computer does not have.
Thanks!
@Frank,
Check this guide – How to Install Latest VirtualBox 6.1 in Linux
Conspicuously absent from the write-up is how to UNINSTALL unwanted applications such as ‘cowsay’ and/or ‘fortune’, unneeded device drivers, or unneeded language packs.
Dear sir
It help lot.Thank you
Narad, I agree with Serry that screen shots with printed instructions are much better than text only, and better than a video.
But most of your instructions are simply repeating what I can already see on my computer screen if I run the install program. What I need is guidance. Specifically…
The hardest and probably most important part to explain, is for cases where Windows or another OS is already installed. I want to have both Windows and Mint, and be able to choose at bootup. And I want my personal files to be accessible from both operating systems. In your step 6, no other OS is detected, so of course you show no instructions for that situation. When “Something Else” is selected instead of the choice you made, the next screen is pretty intimidating, and I’m lost.
So I need a lot more instruction for how to set up the partitions and how big to make each one.
How do we encrypt OS without giving up windows installation ??
Many thanks, this is most useful! Glad to see ahead of time, that one needs to choose whether to use encryption, whether to use LVM (and what it is). I like this format (a web-page with screen-shots very much better than a video or a text-only description.
I think this release is the best so far. I used to use Ubuntu exclusively but I really wasn’t a big fan of Unity or Compiz so I switched after Ubuntu 11.10 and have used Mint ever since.
If you have trouble configuring the weather applet, use Gconf to configure your location and settings. Till the applet’s config program gets fixed that offers a nice clean way to modify settings no harder then using the registry editor for windows with less clutter to go through.
I want to know why MateNu and dockbarx don’t work under this release?.