Every day there seem to be lots of security breaches reported where our data is at danger. Despite the fact that SSH is a secure way to establish a connection remotely to a Linux system, but still, an unknown user can gain access to your Linux machine if they steal your SSH keys, even if you disable passwords or only allow SSH connections over public and private keys.
In this article, we will explain how to set up two-factor authentication (2FA) for SSH on Fedora Linux distribution using Google Authenticator to access a remote Linux system in a more secure way by providing a TOTP (The Time-based One-time Password) number generated randomly by an authenticator application on a mobile device.
Read Also: How to Setup Two-Factor Authentication for SSH Logins in CentOS and Debian
Note that, you can use any two-way authentication application for your mobile device that is compatible with the TOTP algorithm. There are numerous free apps available for Android or IOS that supports TOTP and Google Authenticator, but this article uses Google Authenticator as an example.
Installing Google Authenticator on Fedora
First, install the Google Authenticator application on your Fedora server using following dnf command.
$ sudo dnf install -y google-authenticator
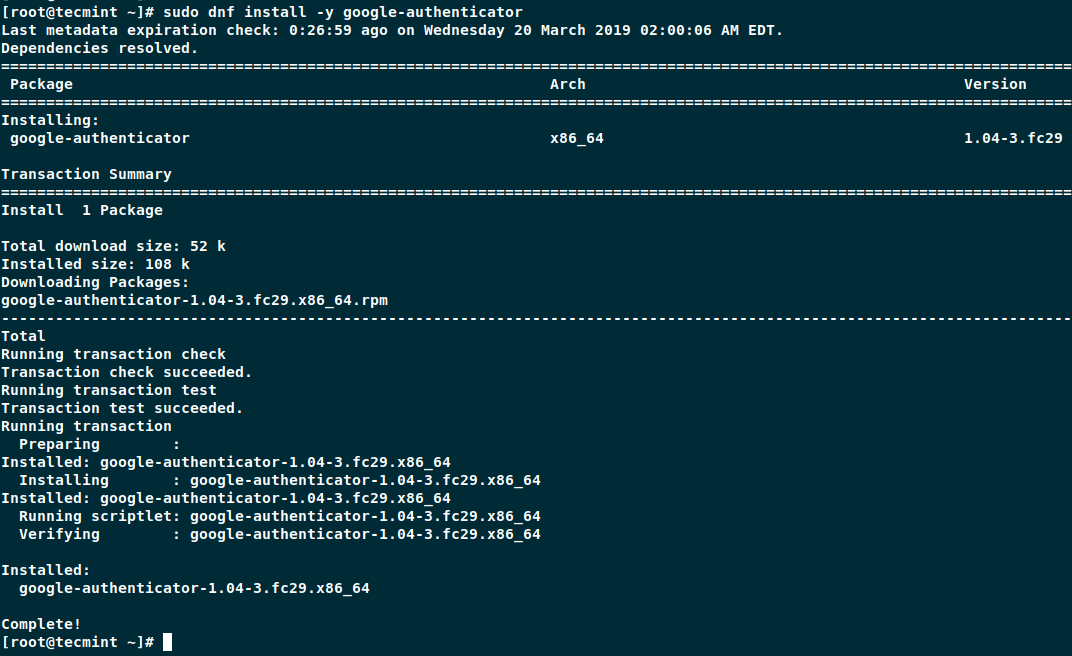
Once Google Authenticator installed, you can now run the application.
$ google-authenticator
The application prompts you with a number of questions. The following snippets show you how to answer for a reasonably secure setup.
Do you want authentication tokens to be time-based (y/n)yDo you want me to update your "/home/user/.google_authenticator" file (y/n)?y
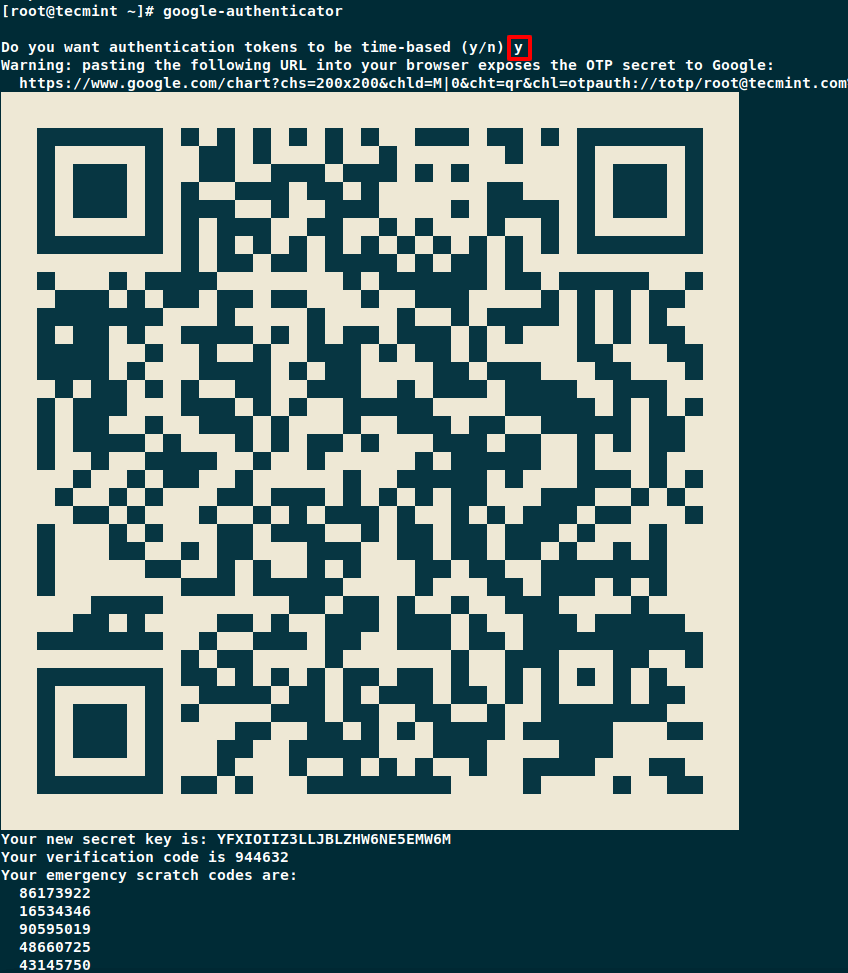
The application provides you with a secret key, verification code, and recovery codes. Keep these keys in a secure safe location, as these keys are the only way to access your server if you lose your mobile device.
Setting Up Mobile Phone Authentication
On your Mobile phone, go to app store Google Play or iTunes and search for Google Authenticator and install the application.
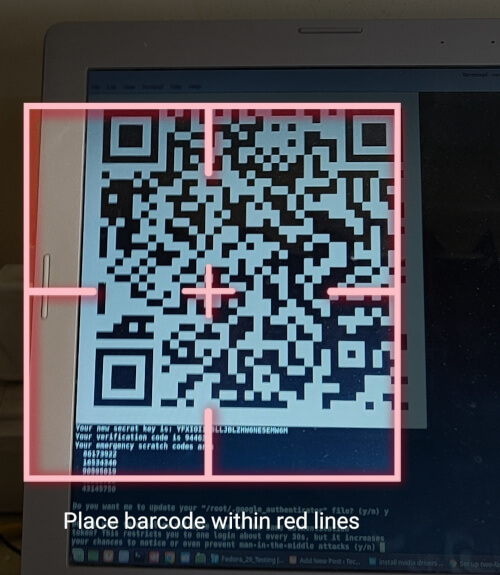
Now open Google Authenticator application on your mobile phone and scan the QR code displayed on the Fedora terminal screen. Once the QR code scan is complete, you will get a randomly generated number by the authenticator application and use this number every time you connect to your Fedora server remotely.
Finish Google Authenticator Configuration
The Google Authenticator application prompts further questions and the following example shows how to answer them to setup secure configuration.
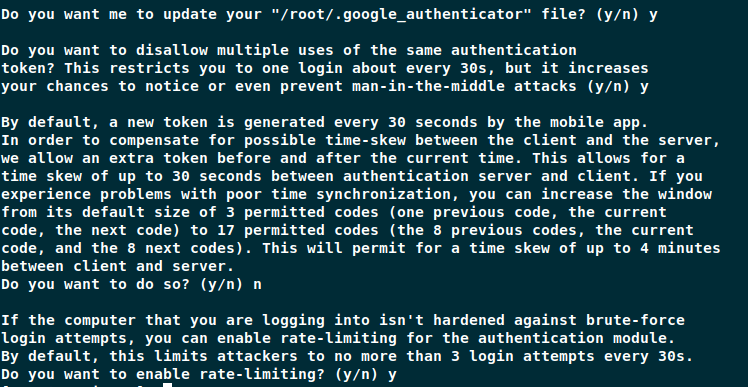
Now you need to configure SSH to use the new two-way authentication as explained below.
Configure SSH to Use Google Authenticator
To configure SSH to use authenticator application, first you need to have a working SSH connection using public SSH keys, as we will be disabling password connections.
Open /etc/pam.d/sshd file on your server.
$ sudo vi /etc/pam.d/sshd
Comment out the auth substack password-auth line in the file.
#auth substack password-auth
Next, place the following line to the end of the file.
auth sufficient pam_google_authenticator.so
Save and close the file.
Next, open and edit the /etc/ssh/sshd_config file.
$ sudo vi /etc/ssh/sshd_config
Search for the ChallengeResponseAuthentication line and change it to yes.
ChallengeResponseAuthentication yes
Search for the PasswordAuthentication line and change it to no.
PasswordAuthentication no
Next, place the following line to the end of the file.
AuthenticationMethods publickey,password publickey,keyboard-interactive
Save and close the file, and then restart SSH.
$ sudo systemctl restart sshd
Testing Two-factor Authentication on Fedora
Now try to connect to your server remotely, it will ask you to enter a verification code.
$ ssh [email protected]

Verification code:
The verification code is generated randomly on your mobile phone by your authenticator application. Since generated code changes every few seconds, you need to enter it quickly before it creates a new one.
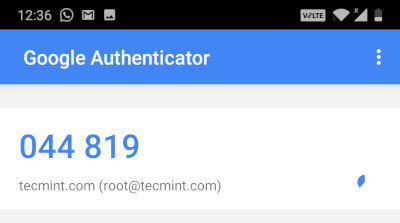
If you enter the wrong verification code, you will not able to connect to the system, and you will get a following permission denied error.
$ ssh [email protected]

Verification code:
Verification code:
Verification code:
Permission denied (keyboard-interactive).
Conclusion
By implementing this easy two-way authentication, you have added an extra layer of security to your system and as well as this makes more difficult for an unknown user to gain access to your server.


How secure is Google authenticator app as this needs Internet connection on secure zone linux servers and is it possible without Internet connection too?
@Ramesh,
It’s Google app, so there is no issue about security. I haven’t tested it without internet, but I think it should work without internet connection also. Give a try and see..
Google Authenticator is no longer open source, so I would not run it on my systems anymore. I have done 2FA on CentOS and RHEL systems using US Government PIV/CAC cards, all with open source software that comes with CentOS/RHEL (coolkey driver). It’s not that hard, and I imagine that the new replacement driver, called OpenSC, is available in the latest Fedora (it’s present in RHEL 7.4).
Anyone using Authy vice Google Authenticator to do this?
What you set is a single factor authentication, not double. Double factor means
– Something you know (password)
– Something you have (your OTP device).
What you do is to use only the OTP. This is single factor. Keep the password there, and you have two factors.