Ubuntu is probably the most well known Linux distribution right now and it’s used by millions of people around the world. It’s recognized to be one of the most user friendly Linux distribution, which is probably why it gained it’s popularity. With the release of Ubuntu 15.10 codenamed “Wily Werewolf” just recently i.e October 22nd 2015, it’s time to show you guys, how to install it on your system.

What’s new in Ubuntu 15.10
Before we start we should mention what is new in Ubuntu 15.10. The changes in this new version are important, but not that glamorous as some may have expected. As promised earlier Ubuntu 15.10 comes with kernel version 4.2. This means that Ubuntu will have better support for:
- New AMD CPUs
- Intel SkyLake CPUs
- Better drivers for sensors
- New drivers for different input devices
Of course, kernel version 4.2 has some important bug fixes, which should also provide better overall performance.
Here is what else is new in Ubuntu 15.10:
- Persistent network interface names – you can now setup custom names for network devices. The names will remain even after reboot
- Overlay Scrollbars – the annoying Ubuntu scrollbar has finally been fixed
- Core application updates – as usual Ubuntu ships with the newer version of it’s core applications
Requirements
The first part is obviously downloading the Ubuntu image. You can get it from here:
I would like to add a little note here. All system installations made from UEFI booting sequence assumes that your hard drive is partitioned in GPT style. If possible, try do disable the Secure Boot option and Fast Boot options from UEFI settings, especially if you are trying to boot from a USB UEFI compatible bootbale drive made with Rufus utility.
In case you are installing Ubuntu on UEFI enabled machine, besides the regular partitions, you will need a separate standard EFI partition required for the boot loader.
Ubuntu 15.10 (Wily Werewolf) Desktop Installation Guide
1. First step you need to take is to create a bootable Ubuntu USB flash drive or CD. You can check the instructions for that here:
When you have prepared the bootable media, put in the appropriate drive, then enter the UEFI settings and disable Secure Boot and Fast Boot options and configure your machine to reboot in UEFI with the bootable media you have used.
2. Once you boot, you should see the Ubuntu installation screen:
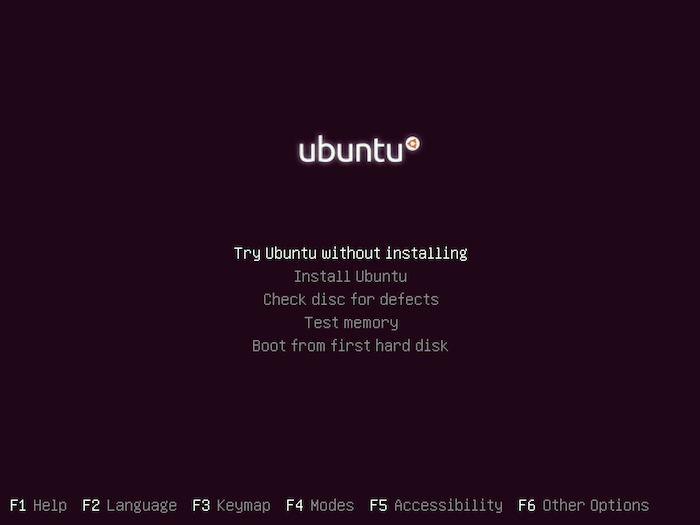
If you want to take Ubuntu out for a spin you can choose “Try Ubuntu without installing“. That way you can try the new features of Ubuntu without installing it.
If you are sure you want to run the installation , then choose “Install Ubuntu“. For the purpose of this tutorial, I will be using the second option as we will cover the installation process.
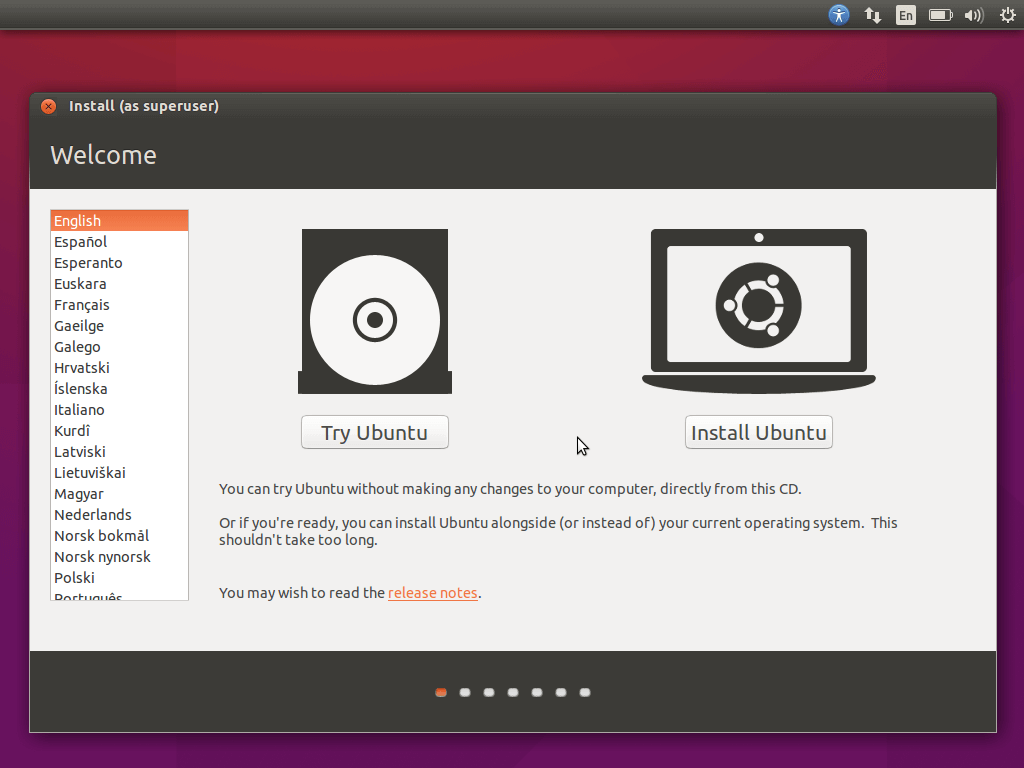
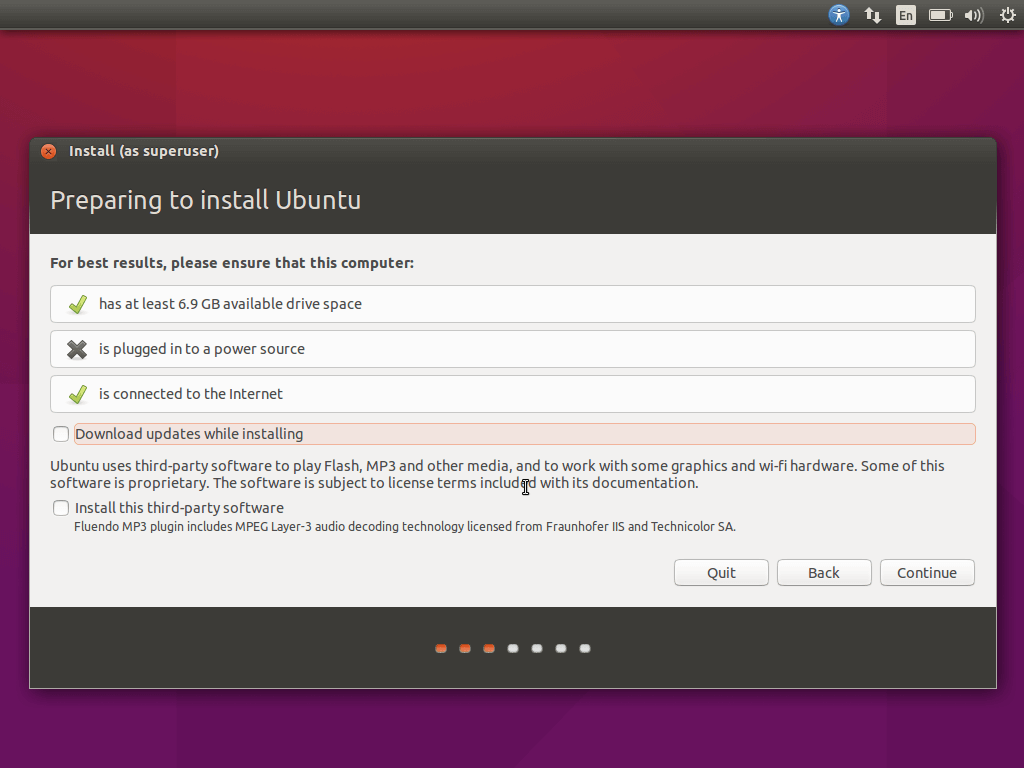
3. On the next step, Ubuntu will run few checks if your system meets the requirements for running the install. You will need to make sure that your system has enough disk space, your computer is plugged to a power source and has internet.
During the installation you can tell the installer to download updates while installing Ubuntu and install third party software like media codecs:
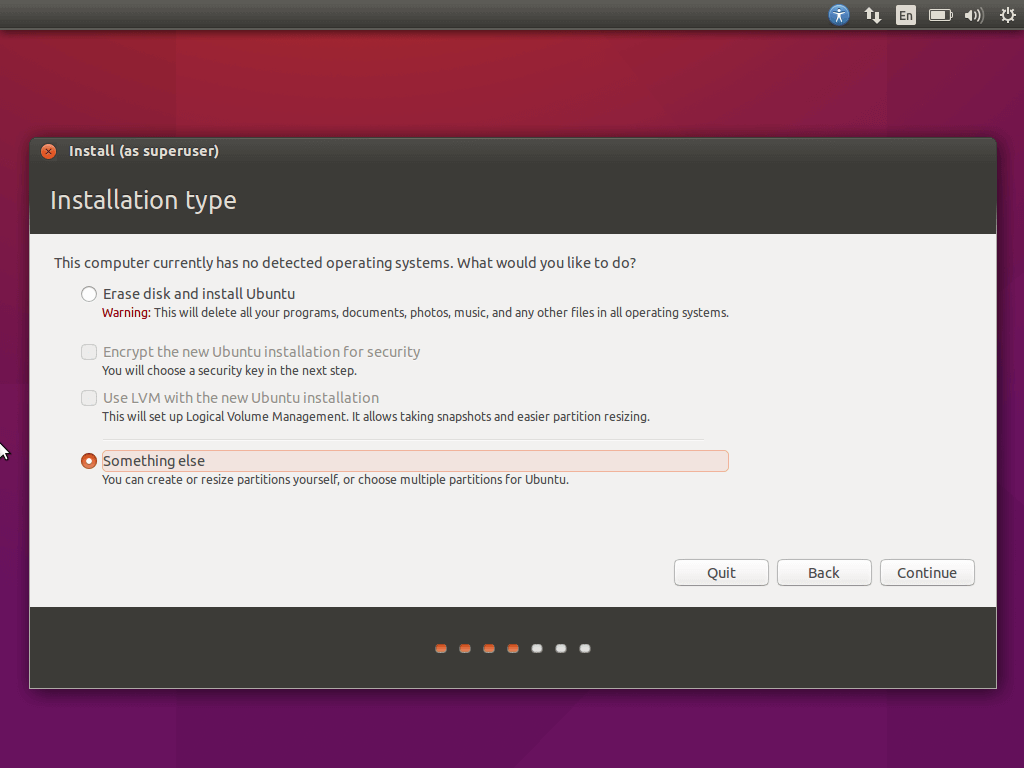
4. Now you have to configure the partitions of your Ubuntu installation. You have few different options here. If Ubuntu is going to be the only operating system on your computer, you can choose “Erase disk and install Ubuntu“. If you want to configure your partitions, choose “Something else”
5. In the next window, click on “New partition table“:
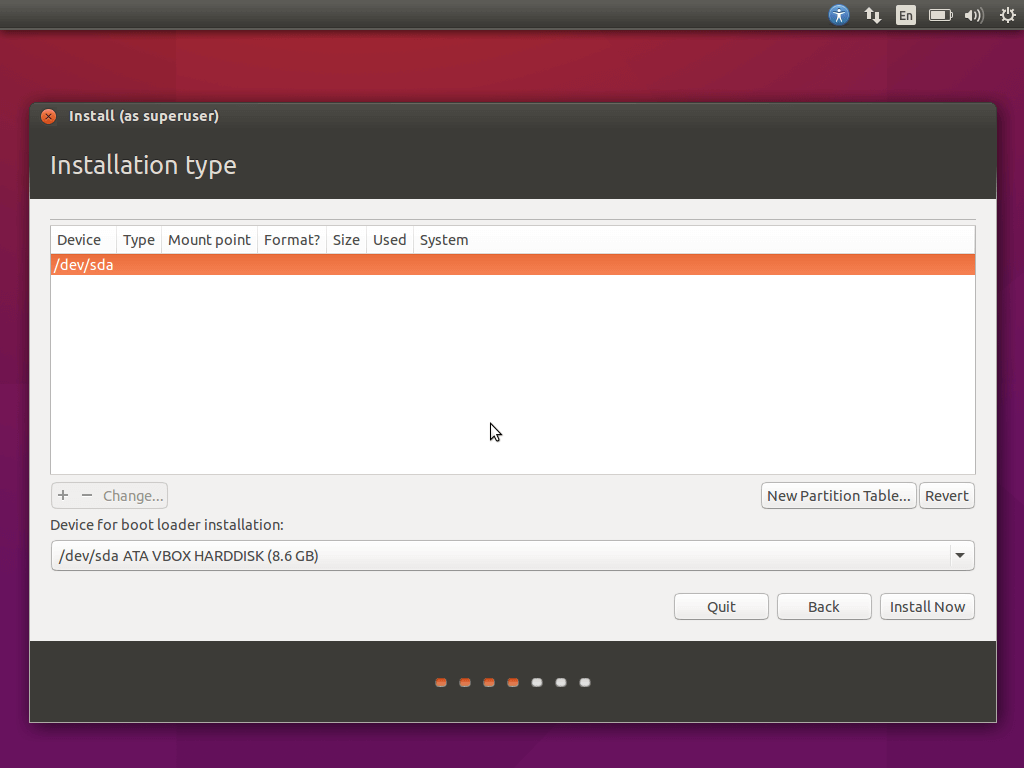
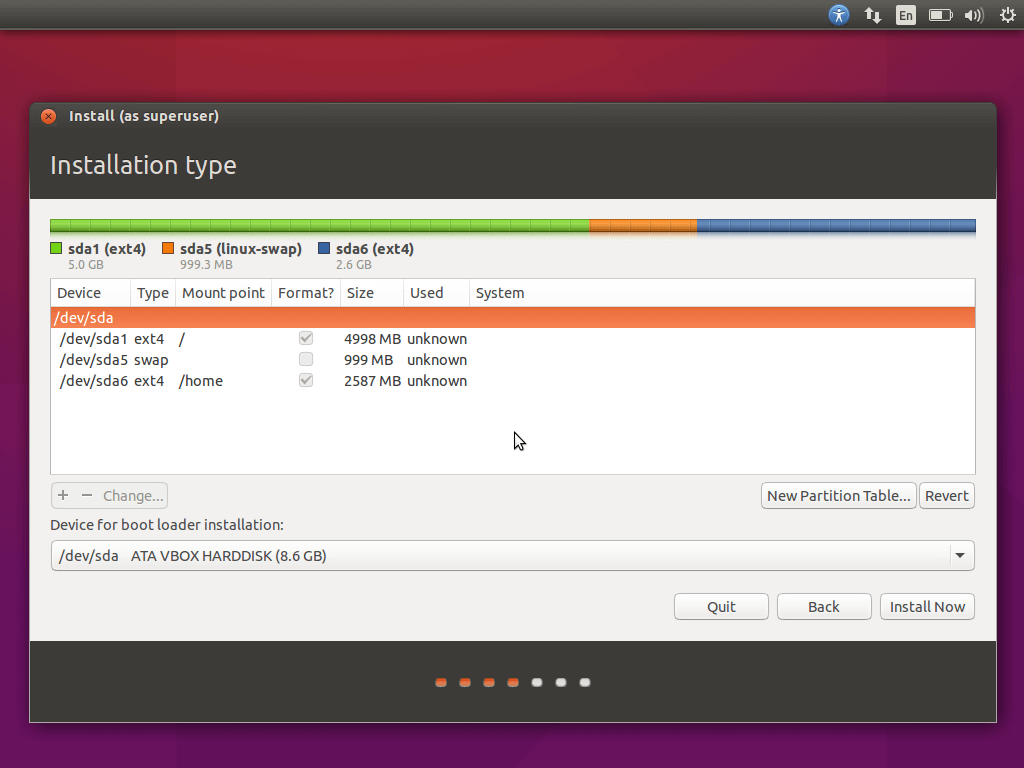
6. Now it’s time to manually create the new partitions on your system. Here the ones that you will need to create:
- EFI System Partition – 650 MB (only if you use UEFI)
- Mount Point /(root) Partition – min 10 GB – Formatted EXT4 journaling file system.
- Swap Partition – min 1GB (or double RAM size).
- Mount Point /home Partition – custom space (or all remaining space) – Formatted EXT4 journaling file system.
- All partitions should be Primary and At the beginning of this space.
Start by selecting free space and click on the Plus + button to create your first partition. This one will be the EFI standard partition.
Set it to 650 MB and choose Use as EFI System Partition and Press OK to confirm and create the partition.
7. Now repeat the procedure and select “free space” then click on Plus button. Create a new partition and set it’s disk space to minimum of 10 GB. You will need to configure the following settings:
- Use as: Ext4 journaling system
- Mount point: / (root)
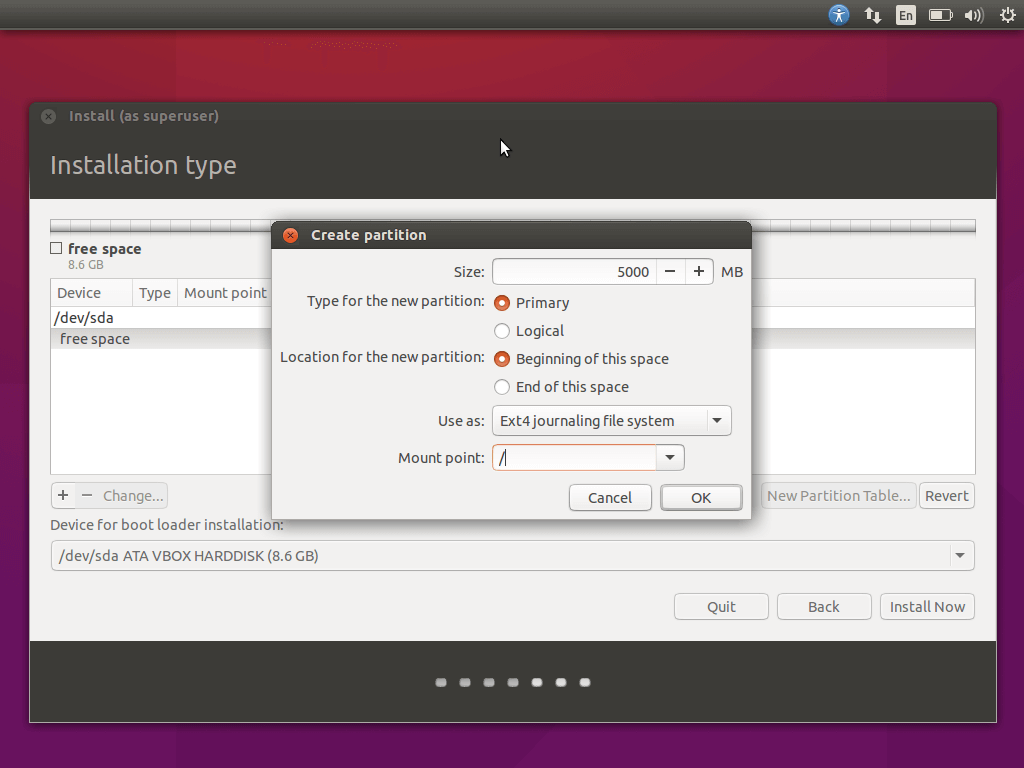
8. Our next step is to prepare “swap” partition using the exact same steps you have used so far. Usually it is recommend to set your swap memory to double the size of your RAM.
However with newer machines coming with lots of RAM, you can set the swap to 1 GB which should be more than enough:
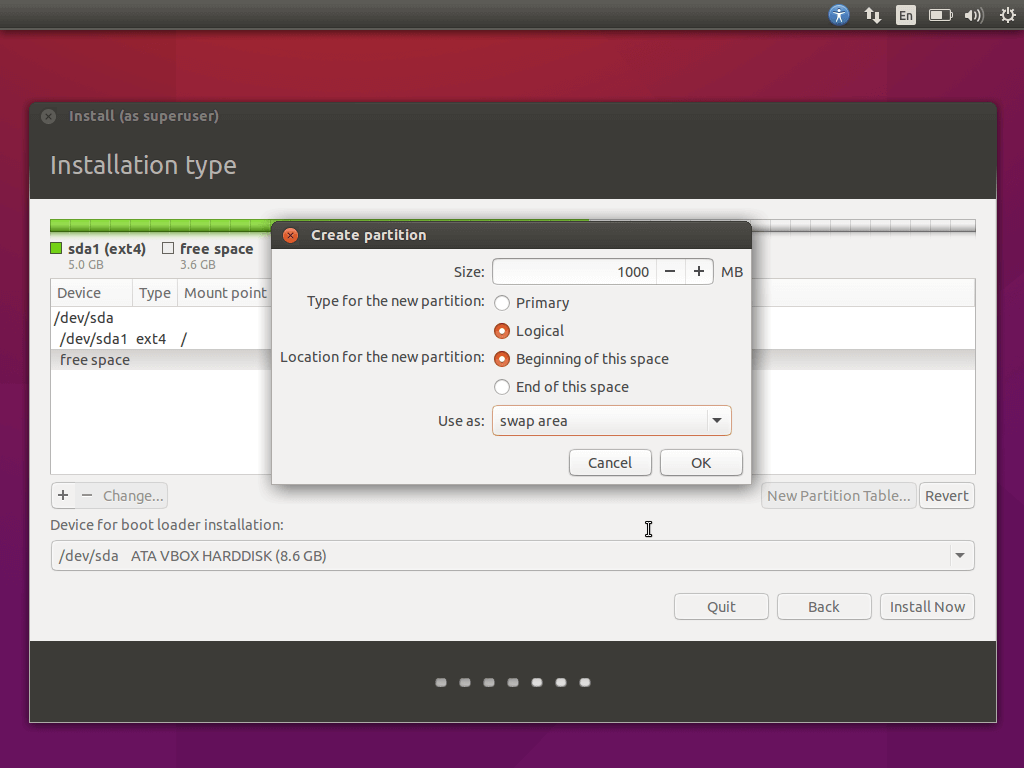
9. The final partition that you need to create is “/home“. This is where all your users stuff will be.
To create the partition again select “Free space” and hit the “plus” button. You can now use all the space for that partition. Set it as:
- Use as: Ext4 journaling system
- Mount point: /home
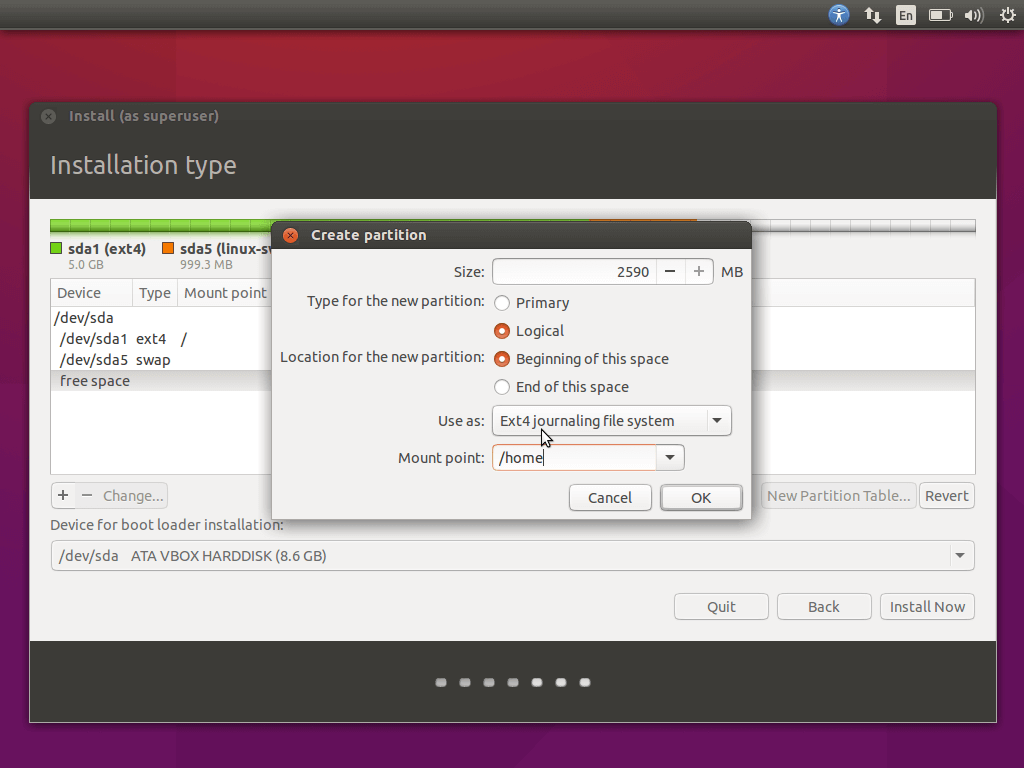
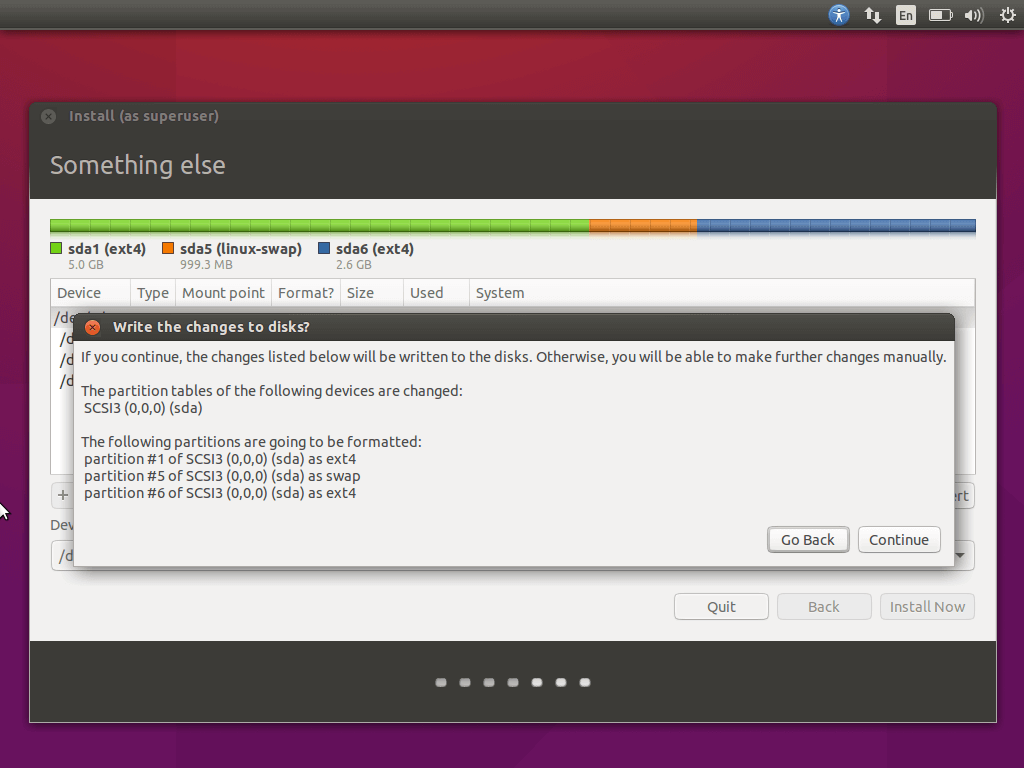
10. Once all partitions are created, hit the “Install now” button to continue with the installation process and confirm the hard disk changes.
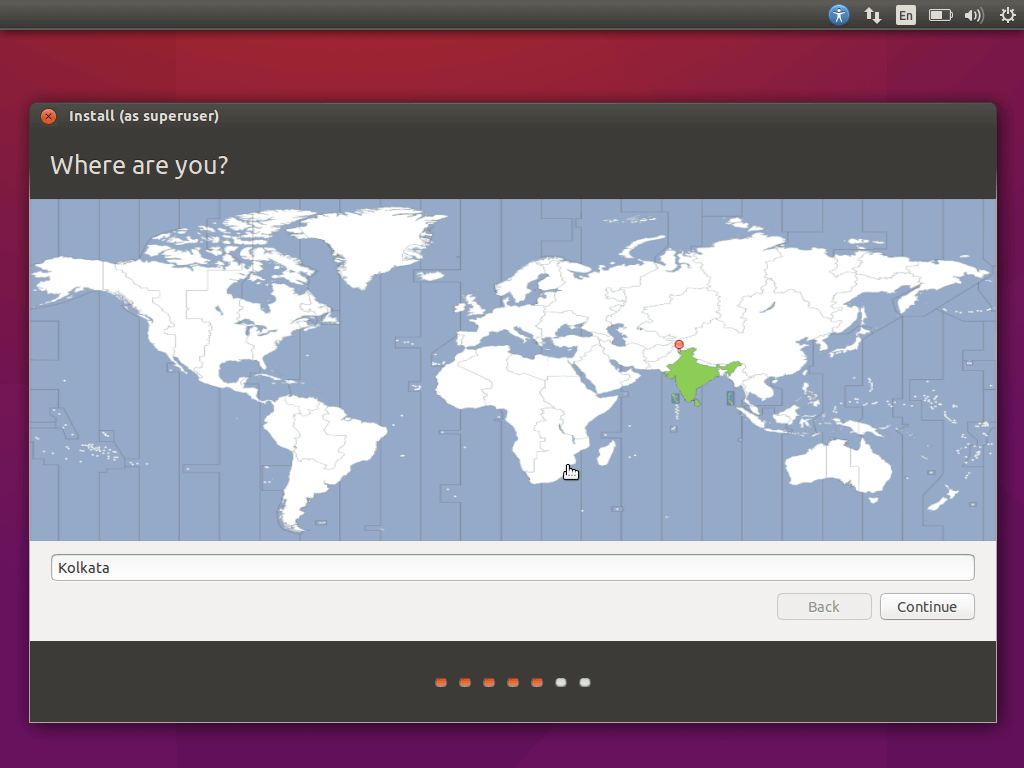
11. On the next step you can configure your location by either choosing the city on the map or by typing it down:
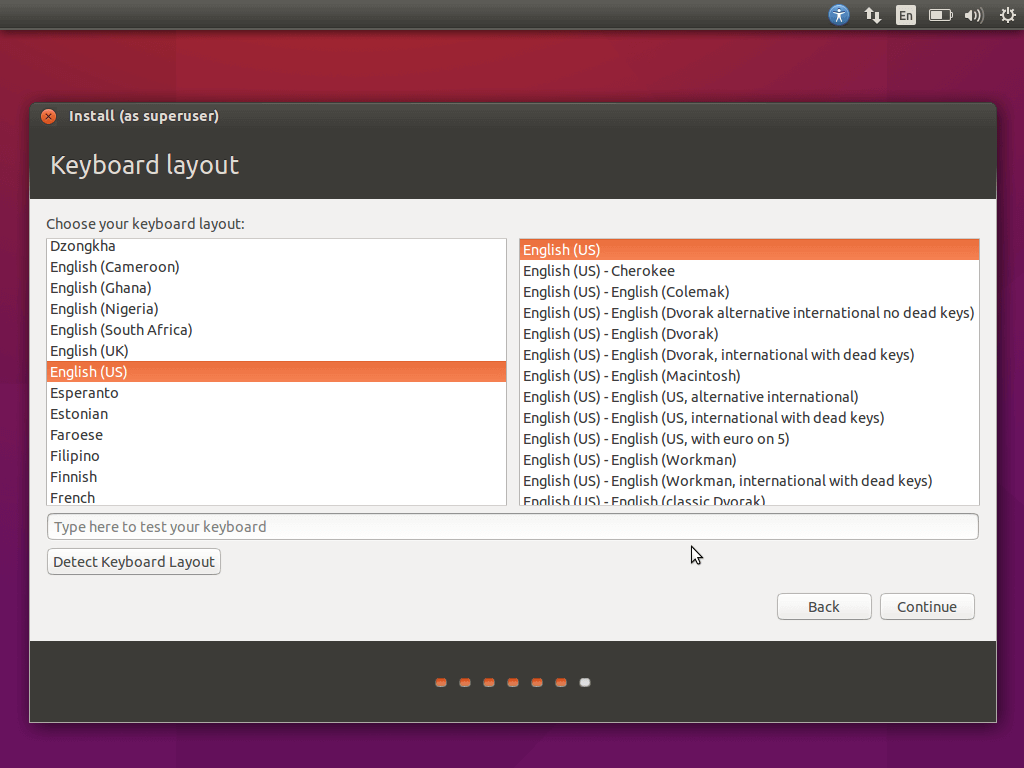
12. Ubuntu allows you to choose your keyboard layout upon it’s installation. From the list of available layouts, choose the one that meets your needs and click the “Continue” button:
13. On the next screen you can configure few more details about your computer and create your new user:
- Your name – set your name or nick name
- Computer Name – set a name for your computer
- Pick username – choose your user’s name
- Choose password
- Repeat the password
- Configure whether the user should be automatically logged upon boot or the system should require a password
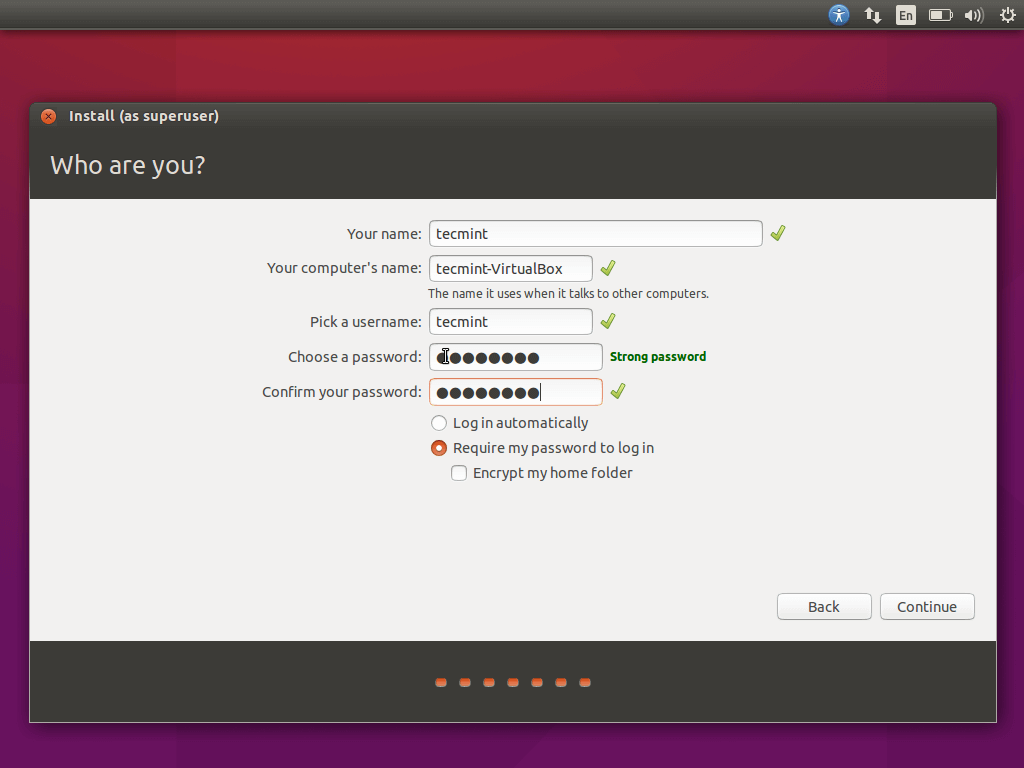
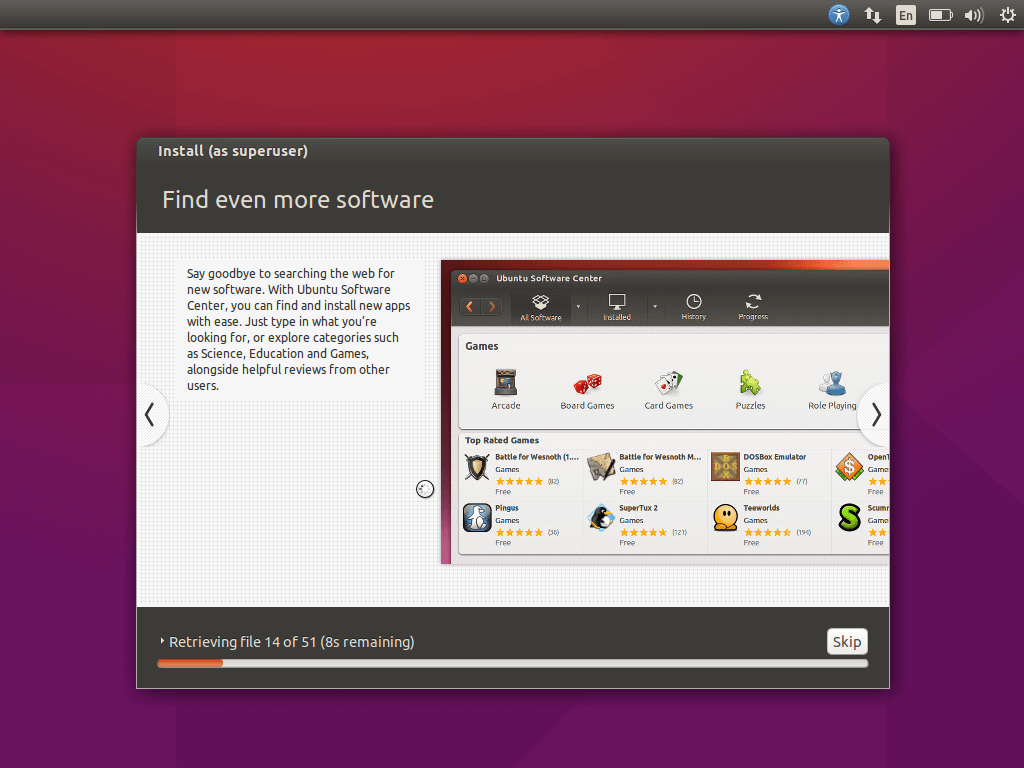
Click the “Continue” button and the installation will start:
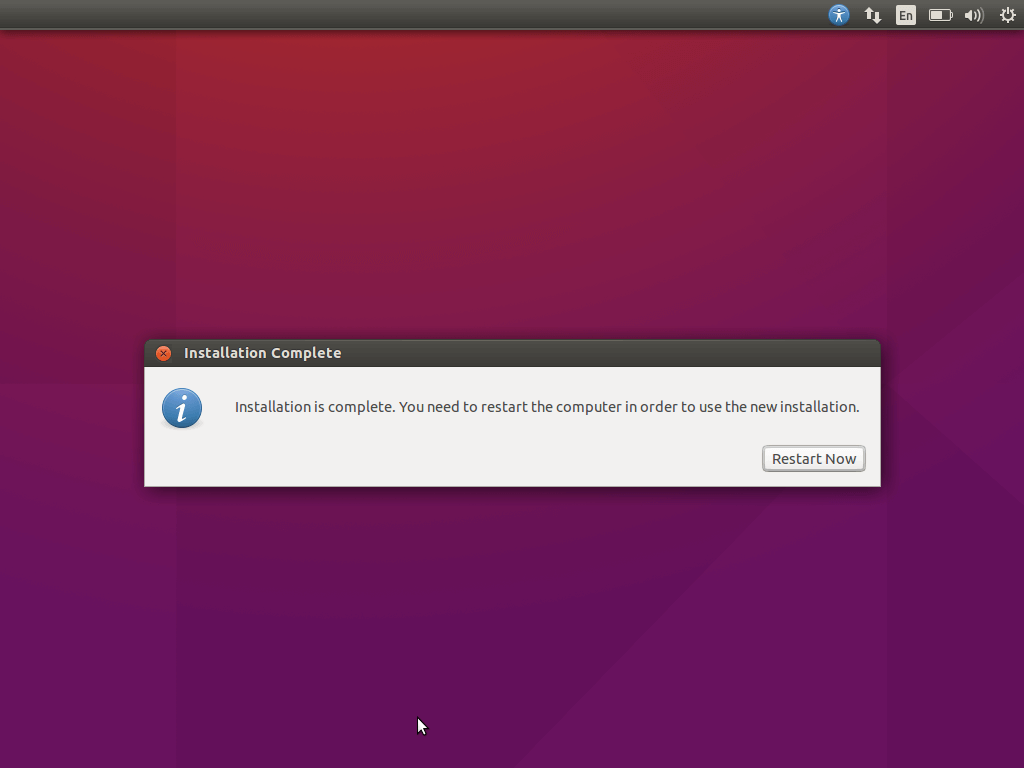
Once the installation is complete, you will be asked to restart your computer and eject the installation media:
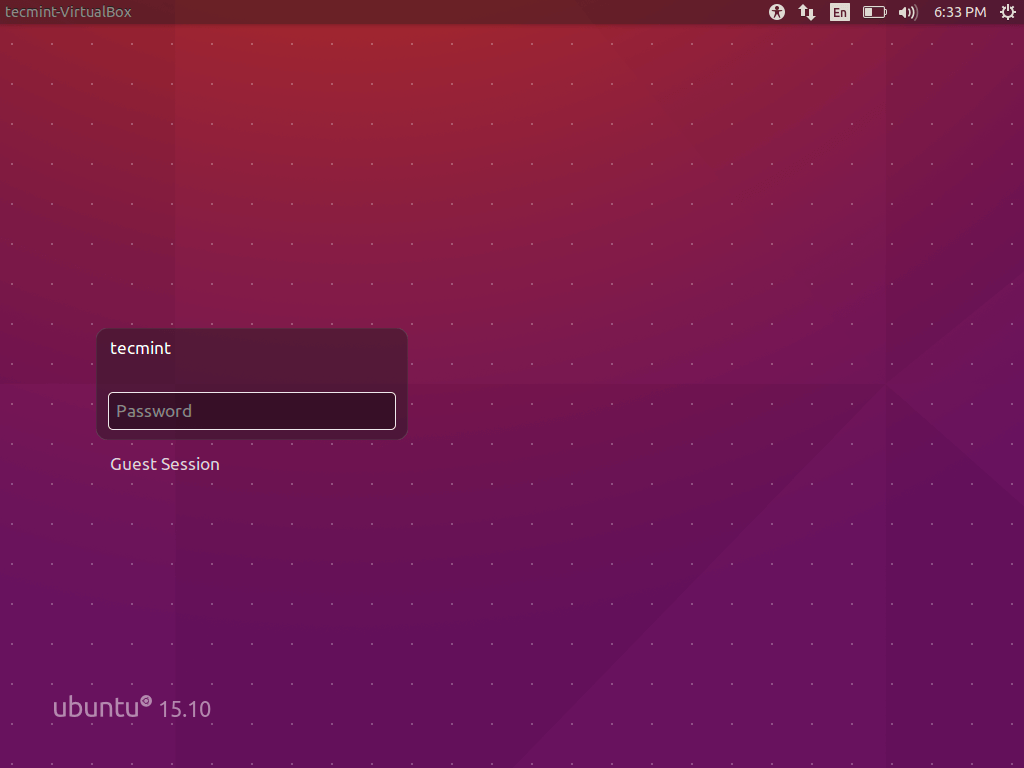
Once the reboot completes, you are able to login your new Ubuntu install:
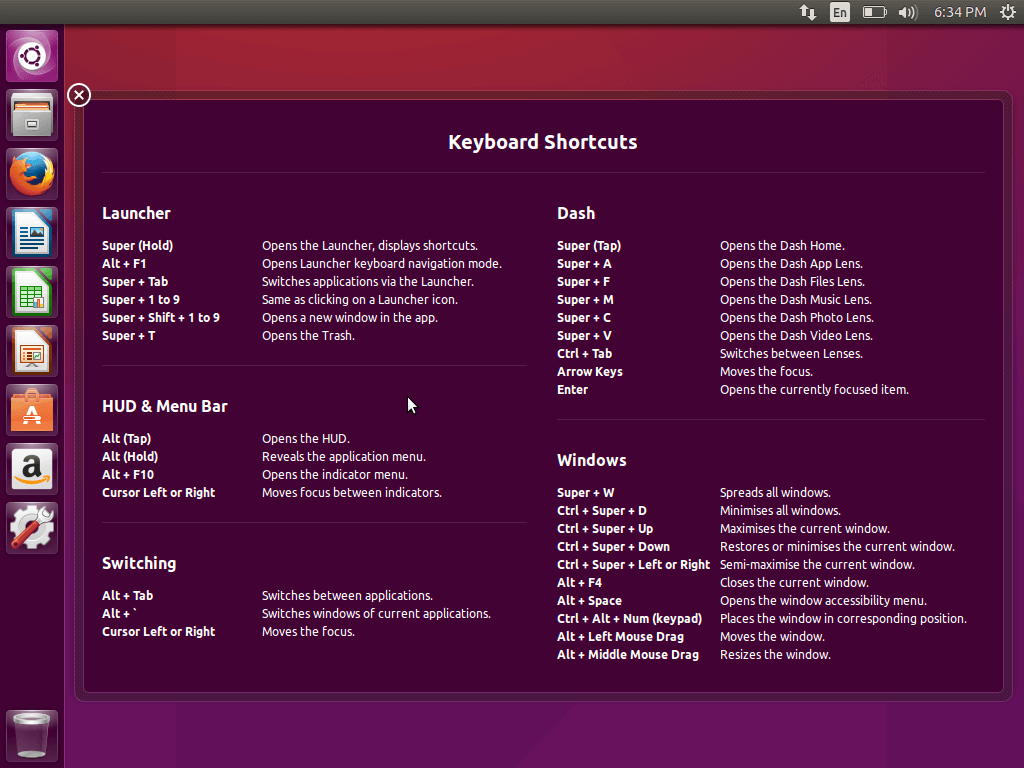
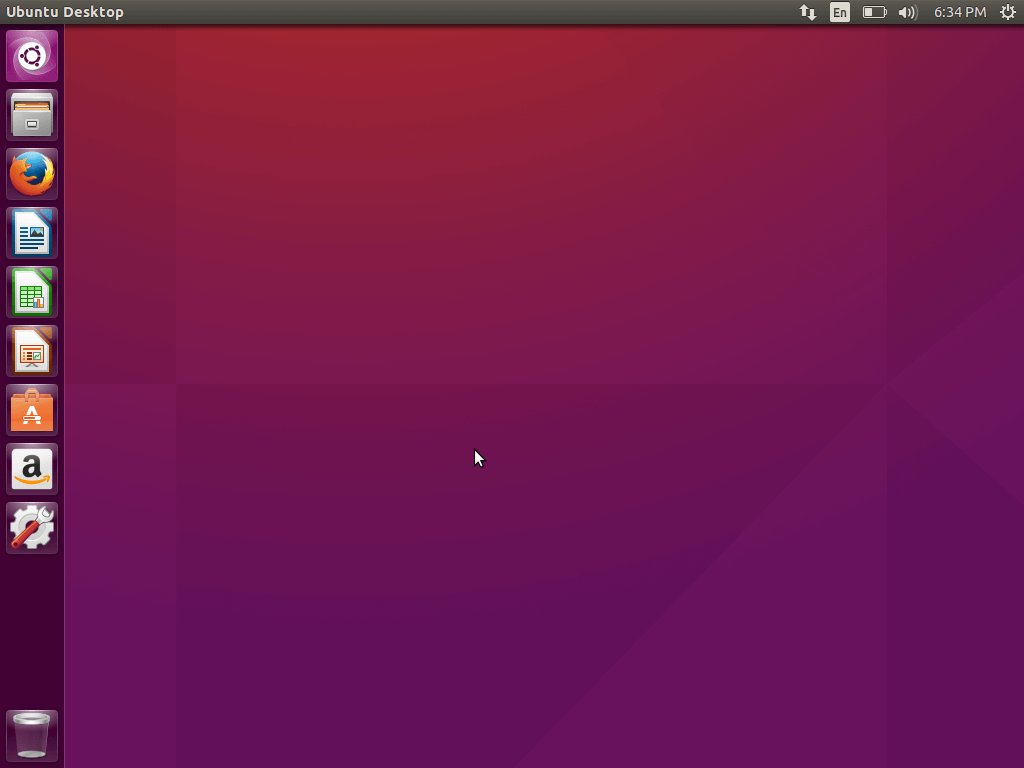
The installation is complete! You can now enjoy the latest Ubuntu release. If you are not sure where to take from here, you can check our guide about that shows 27 things to do after installing Ubuntu 15.10.



Hi Rajeev,
Such convert will require additional work and if this is a new installation I would not recommend bothering at all. Also how many partitions you currently have? Please provide the output of “sudo fdisk -l” so we can have a look at that.
The screenshot has partition as logical for home and swap which I followed and did not make them primary. What is the issue with this and how to fix it after install?