Ubuntu 16.04, codename Xenial Xerus, with Long Term Support has been officially released today in wild for Desktop, Server, Cloud and Mobile. Canonical announced that the official support for this version will last till 2021.
Among many bug fixes and updated packages, Ubuntu 16.04 comes with the following new features on server version:
Ubuntu 16.04 Server Features
- Linux kernel 4.4
- OpenSSH 7.2p2 (SSH version 1 protocol completely removed as well as support for 1024-bit DH key exchange)
- Apache and Nginx with PHP 7.0 supprt
- Python 3.5
- LXD 2.0
- Docker 1.10
- libvirt 1.3.1
- qemu 2.5
- Apt 1.2
- GNU toolchain ( glib 2.23, bindutils 2.2, GCC 5.3)
- OpenStack Mitaka
- VSwitch 2.5.0
- Nginx 1.9.15 with HTTP/2 support
- MySQL 5.7
- ZFS file system support
Ubuntu 16.04 Desktop Features
The desktop version side comes with the following notable features:
- Unity 7
- Ubuntu Software Center is replaced by Gnome Software
- Brasero and Empathy removed
- Dash online searches disabled
- Launcher can be moved to the bottom
- LibreOffice 5.1
- Multiple bug fixes
- Firefox 45
This tutorial will guide you on how you can upgrade from Ubuntu 15.10, Desktop and Server, to the new version of Ubuntu, 16.04, from command line.
Important: Ubuntu 14.04 LTS users can upgrade to Ubuntu 16.04 LTS using our official upgrade guide Upgrade to Ubuntu 16.04 LTS from Ubuntu 14.04 LTS.
You should be aware that the process of upgrade from an older version to a newer version always involves some risks and data loss or may break your system or put it in a failure state.
Thus, always make backup of your important data before you proceed with system upgrades and always test the process on non-production systems.
Upgrade System Packages
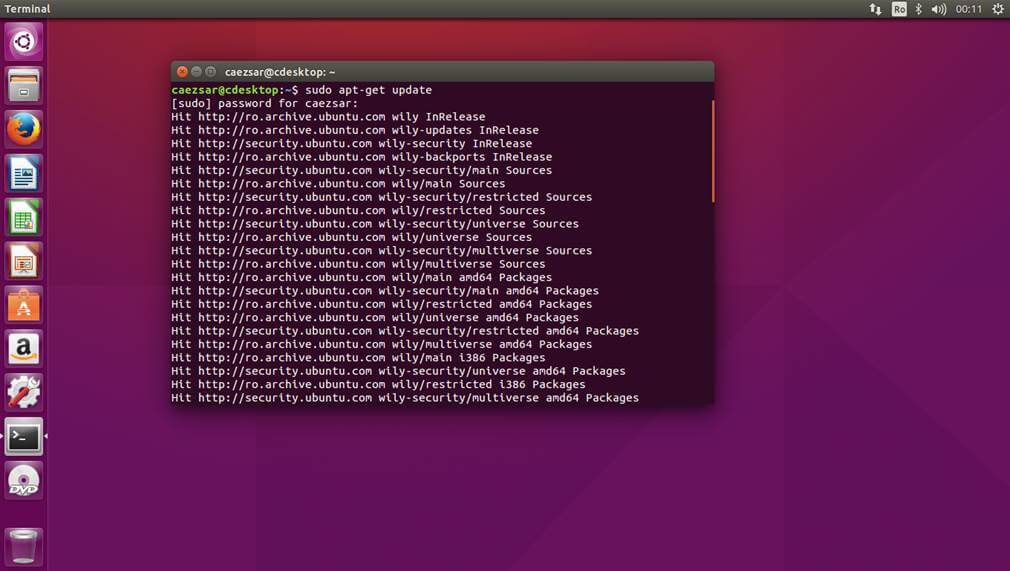
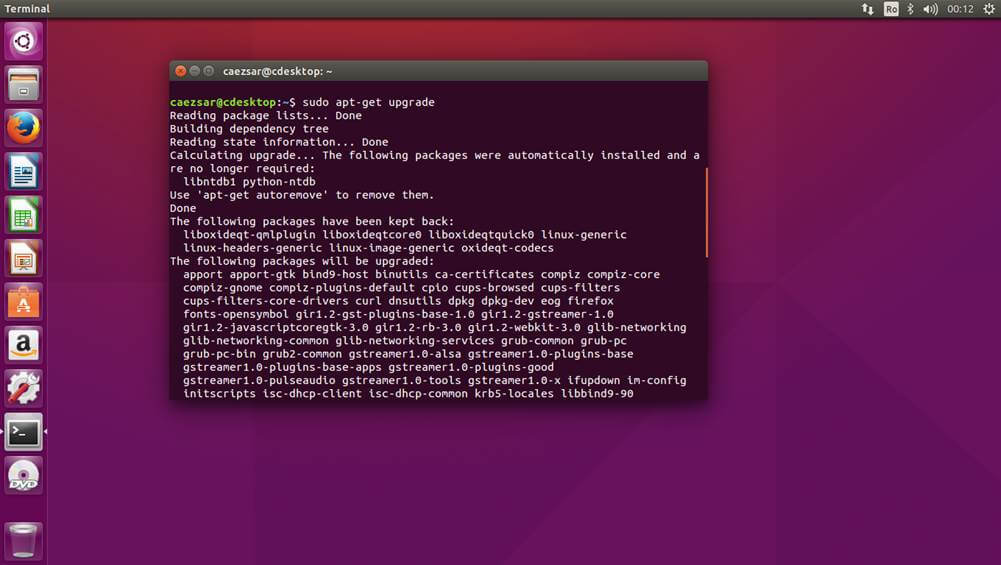
1. Before proceeding with the upgrade process first assure that you have the latest packages from your current release installed on your system by issuing the below commands on Terminal:
$ sudo apt-get update
$ sudo apt-get upgrade
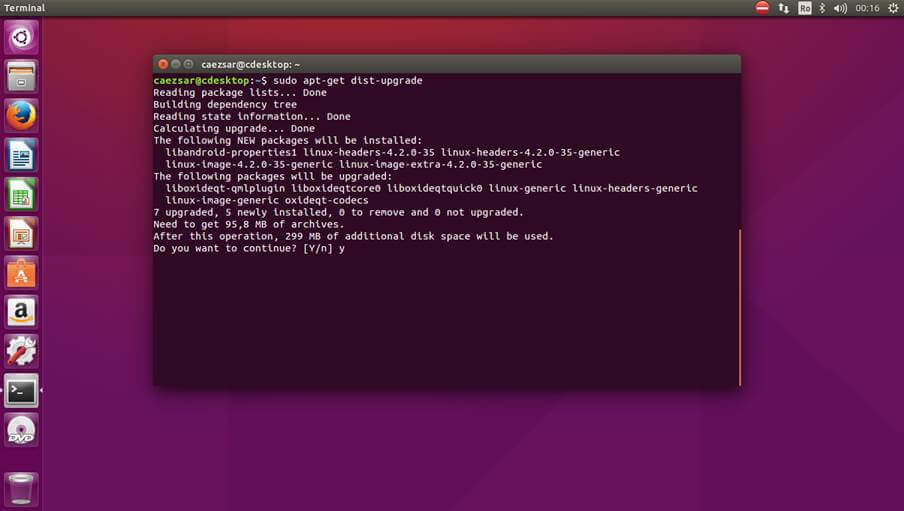
2. Next, make sure you also upgrade the system with the latest dependencies and kernels or packages that are held-back by update command by running the below command.
$ sudo apt-get dist-upgrade
3. Finally, after the update process finishes, start removing junk software from your system in order to free disk space by issuing the below commands:
$ sudo apt-get autoremove
$ sudo apt-get clean
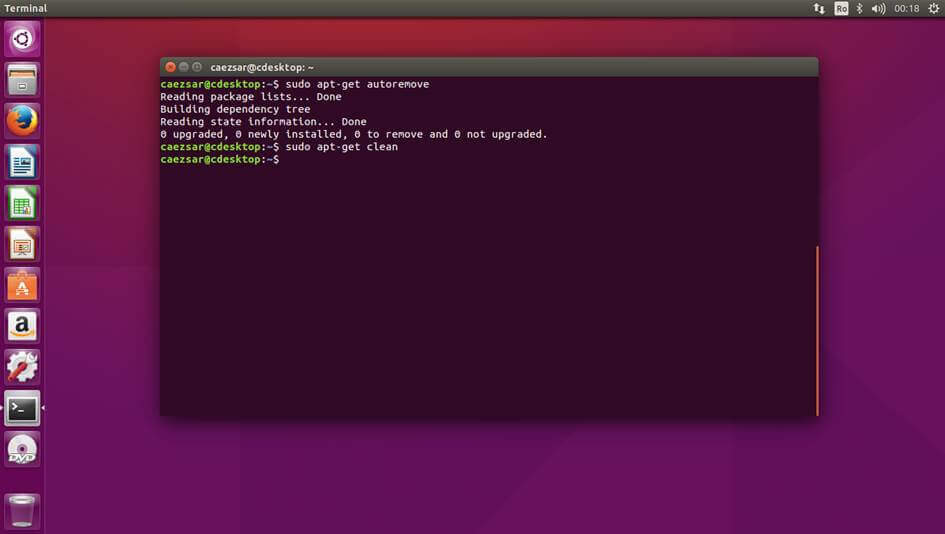
This will remove all previously deb packages stored in /var/cache/apt/archive/ directory and unnecessary dependencies, packages, old kernels or libraries.
Once the system has been prepared for upgrade you should restart the system after the upgrade process in order to boot with the new kernel.
Upgrade to Ubuntu 16.04 Desktop
4. Before starting the upgrade process to the latest version of Ubuntu, make sure that update-manager-core package, which is the recommended tool provided by Canonical for version upgrade, is installed on the system by issuing the below command.
$ sudo apt-get install update-manager-core
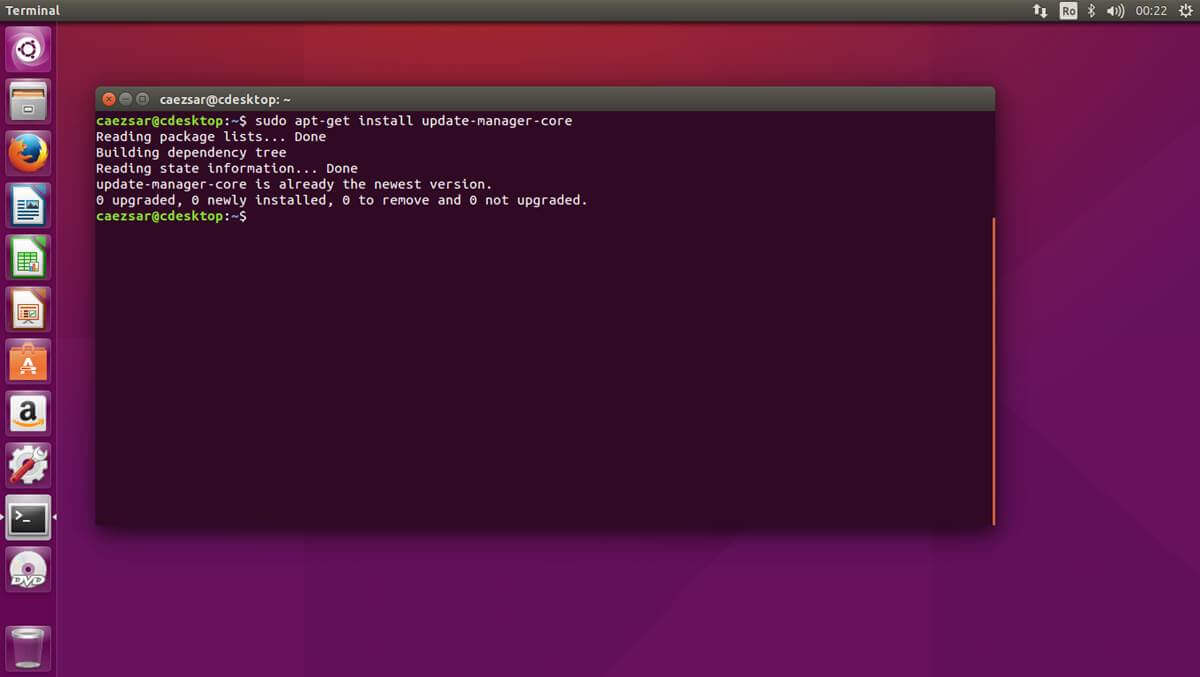
5. Now, start the upgrade with the below command:
$ sudo do-release-upgrade
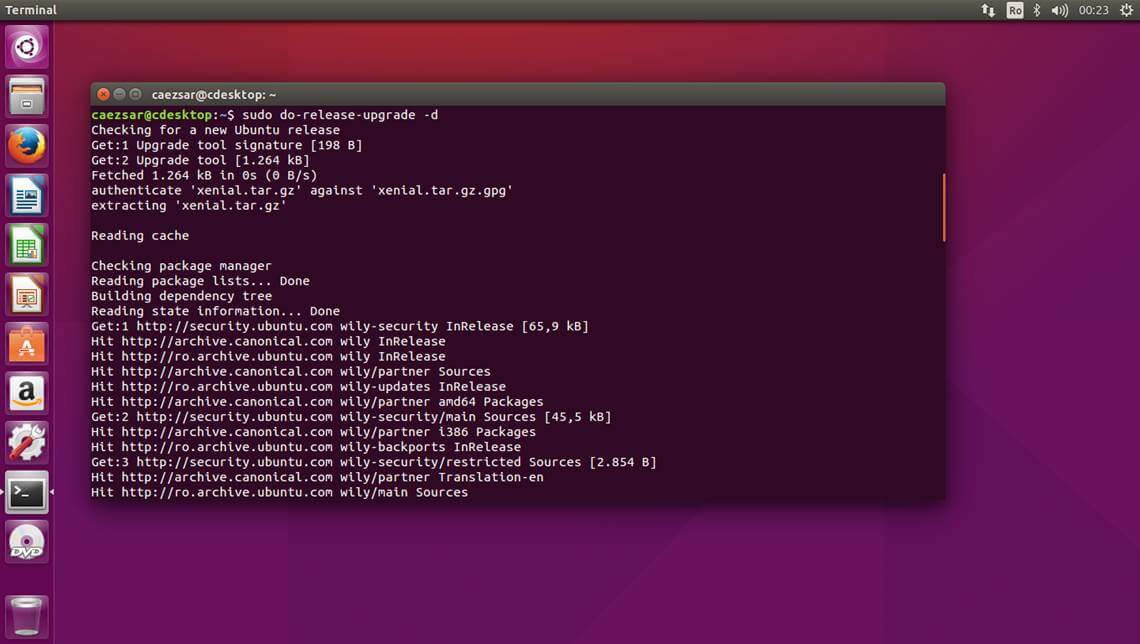
6. After a series of system checks and repositories file modifications the tool will inform you about all system changes and will ask you whether you wish to continue or view detail about the upgrade process. Type y on the prompt in order to continue the upgrade.
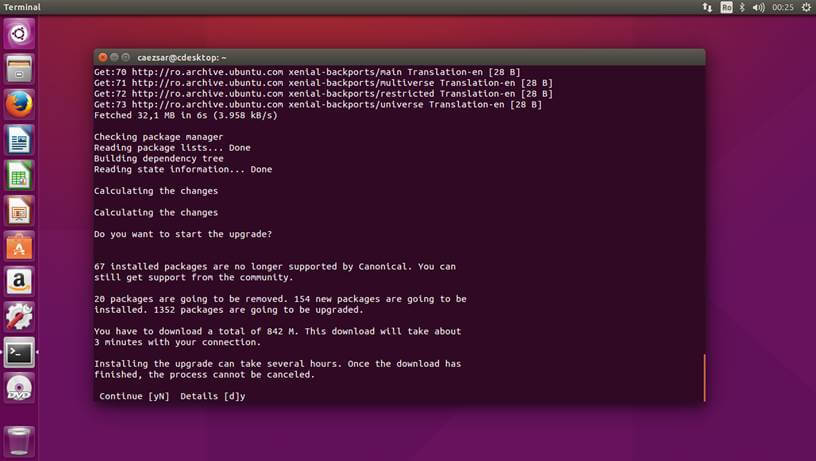
7. Depending on your internet connection the upgrade process should take a while. Meanwhile the packages will be downloaded on your system and installed.
Also, you might be asked by the update-manager-core whether you want to automatically restart services and or replace configuration file for packages with the new version.
You should answer with yes for services restart but it’s safer to keep the old configuration files for the newly installed packages in case you didn’t backup those conf files already. Also, it should be safe to remove obsolete packages by typing y on interactive prompt.

8. Finally, after the upgrade process finishes with success the installer will inform you that the system needs to be restarted in order to apply changes and finalize the whole upgrade process. Answer with yes to proceed.
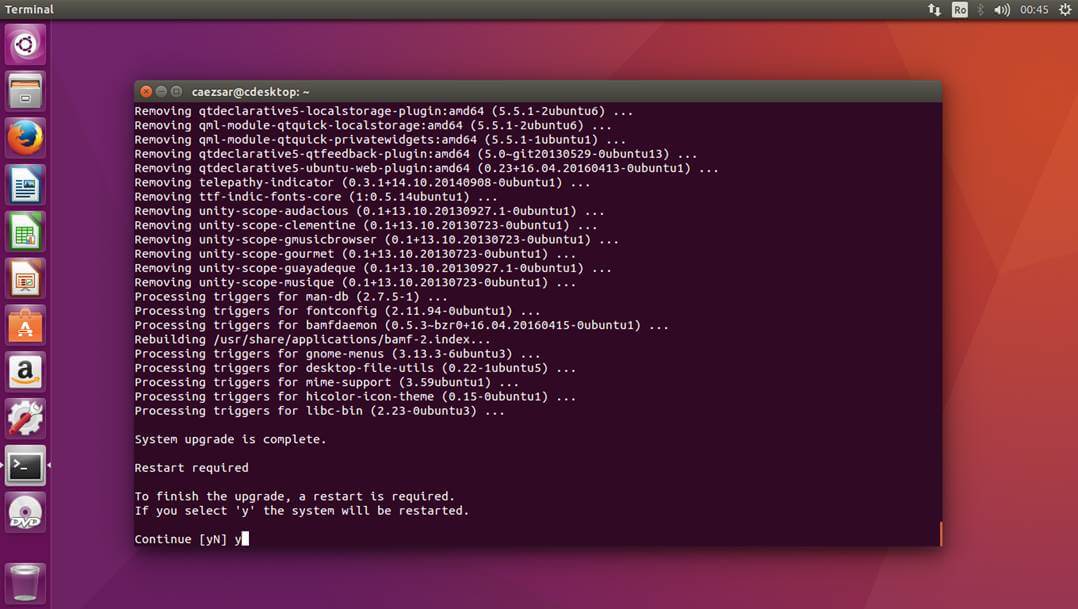
9. After restart, the system should boot-up to the latest upgraded Ubuntu distribution, 16.04. To verify your distribution release issue the below commands on terminal.
$ uname –a
$ cat /etc/lsb-release
$ cat /etc/issue.net
$ cat /etc/debian_version
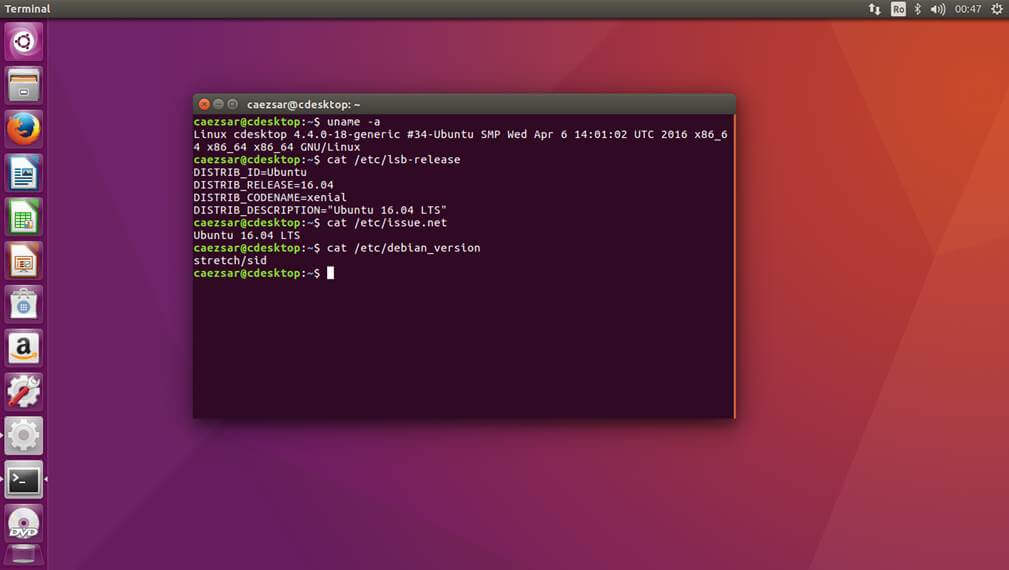
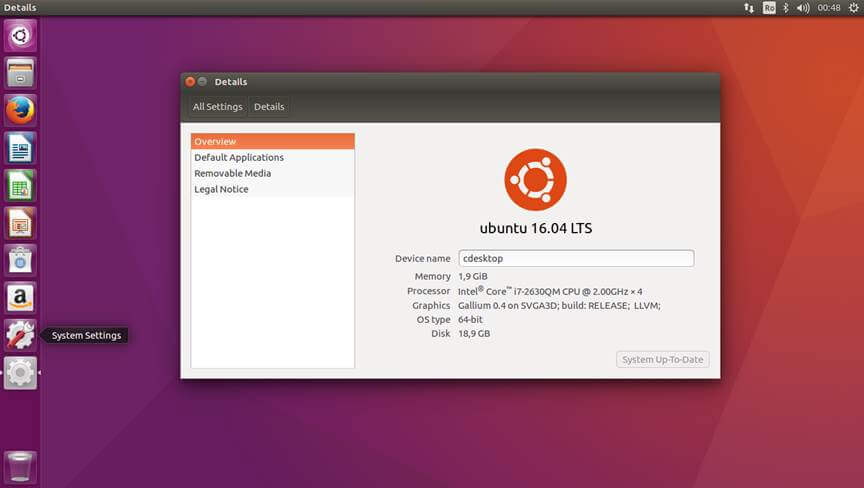
10. If you prefer to verify your distribution release from GUI, open System Setting and go to Details tab.
Upgrade to Ubuntu 16.04 Server
11. The same steps explained here can be applied on Ubuntu Server releases too. However, if the upgrade process it’s done remotely from a SSH connection an additional SSH process for recovery will be automatically started for you on port 1022 in case of system failure.
Just to be safe connect to server console via SSH on port 1022 as well, but not before you add a firewall rule in order to make the connection available for outside attempts, in case the firewall is up and running, as illustrated on the below screenshots.
$ sudo do-release-upgrade -d
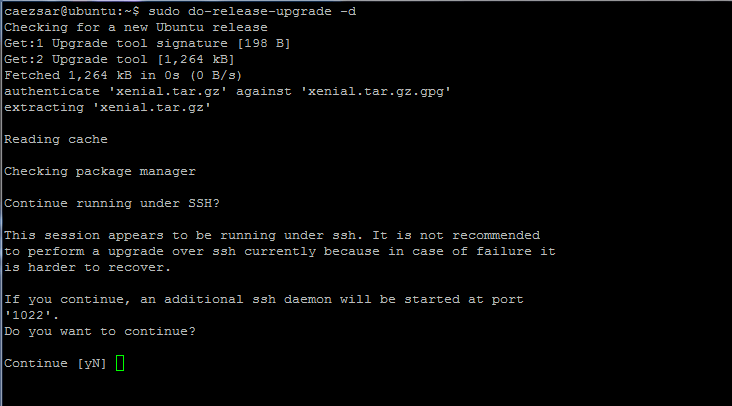
12. After you’ve made the second SSH connection on your server, proceed with the system upgrade as usual. After the upgrade process finishes, reboot the machine and perform system clean-up by issuing the below commands:
$ sudo apt-get autoremove
$ sudo apt-get clean
That’s all! Enjoy Ubuntu 16.04 on your computer, whether it’s a desktop or a server.
Read Also: Top 7 Things You’ll Mostly Need to Do After Installing Ubuntu 16.04 Xenial Xerus




I have followed your guide and it enabled me to have a fully upgraded machine. Simple and straightforward.
do-release-upgrade should not be used with sudo, it will ask you for your password when required.
Also, I have had many problems when running the process in X-Windows, now I always do it in a basic console. It is much safer.